4 Replacement Procedures
4.3 HDD
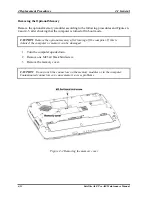
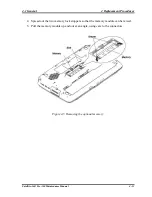
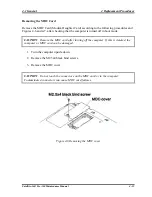
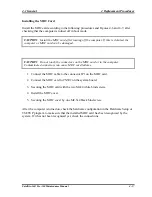
Installing the HDD
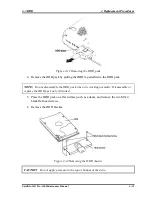
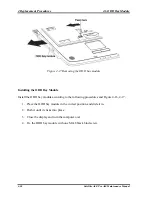
Install the HDD according to the following procedures and Figures 4-10, 4-11 and 4-12.
CAUTION
: To avoid damage, always hold the HDD only by its sides.
1. Secure the HDD and its bracket with the two M3x4 black flat-head screws.
CAUTION
: When installing the HDD pack into the computer, do not press the center of
the HDD pack to prevent the HDD bracket from being distorted. Always hold the HDD
pack by its sides.
2. Install the HDD pack into the correct position in the computer. Connect the HDD
pack to the computer, holding the HDD pack by its sides.
3. Insert the HDD pack.
4. Secure the HDD cover with one M2.5x4 black flat-head screw.
4-22
Satellite A60/ Pro A60 Maintenance Manual
Содержание Satellite Pro A60 Series
Страница 10: ...x Satellite A60 Pro A60 Maintenance Manual ...
Страница 11: ...Chapter 1 Hardware Overview ...
Страница 12: ...1 Hardware Overview 1 ii Satellite A60 Pro A60 Maintenance Manual ...
Страница 35: ...2 Troubleshooting 2 Chapter 2 Troubleshooting 2 i Satellite A60 Pro A60 Maintenance Manual ...
Страница 65: ...Chapter 3 Diagnostic Programs ...
Страница 68: ......
Страница 134: ...Chapter 4 Replacement Procedures 4 1 ...
Страница 135: ...4 Replacement Procedures 4 ii Satellite A60 Pro A60 Maintenance Manual ...
Страница 141: ......
Страница 202: ...6000 1 次 Appendices ...
Страница 203: ...Appendices App ii Satellite A60 Pro A60 Maintenance Manual ...
Страница 211: ...Appendices Apx A Handling the LCD Module A 6 Satellite A60 Pro A60 Maintenance Manual ...
Страница 221: ......
Страница 223: ......
Страница 225: ......
Страница 229: ......
Страница 231: ......
Страница 235: ......
Страница 237: ......
Страница 239: ......
Страница 250: ......
Страница 252: ......
Страница 254: ......
Страница 256: ......
Страница 262: ......
Страница 264: ......

