– 77 –
4
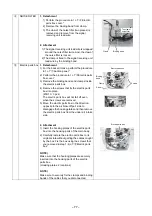
NOISE FILTER
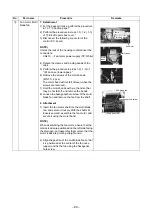
1. Detachment
1) Perform the procedure in 1 of “
3
Electric
parts box cover.”
2) Remove the binding band from clamp.
3) The claw of the noise filter (two places) is
removed and remove from the signal
receiving unit lead wire.
2. Attachment
1)The signal receiving unit lead wire is wrapped
around the noise filter twice. And, the claw of
the noise filter is locked.
2)The clamp is fixed to the signal receiving unit
lead wire by the binding band.
5
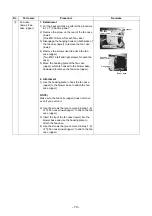
Electric parts box
1. Detachment
1) For the back air intake, perform the procedure
in 1 of “
1
Suction panel.”
2) Perform the procedure in 1 of “
3
Electric parts
box cover.”
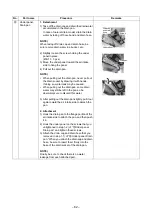
3) Remove the binding bands and clamps inside
the electric parts box.
4) Remove the screws that fix the electric parts
box into place.
(Ø4×10 3 pcs)
The electric parts box will not fall off even
when the screws are removed.
5) Move the electric parts box in the direction
opposite to the air blow-off port side to
disengage the hooking plates and then remove
the electric parts box from the under air intake
side.
2. Attachment
1) Insert the hooking plates of the electric parts
box into the hooking parts of the main body.
2) Carefully restore the electric parts box to its
original state without getting the cables caught
by the box. Fix the box using the screws that
you removed in step 1-4) of “
5
Electric parts
box.”
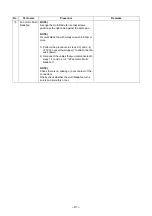
NOTE)
Make sure that the hooking plates are securely
inserted into the hooking parts of the electric
parts box.
(Hooking plates: 2 locations)
NOTE)
Make sure to securely fix the clamps and binding
bands of the cables that you disconnected.
The claw of
noise filter
Binding band
Clamp
Electric parts box
Screw
Binding
band
Clamp
Screws
Hooking part
Electric parts box
Содержание ras-m07g3dv-e
Страница 86: ... 85 13 EXPLODED VIEWS AND PARTS LIST 13 1 Indoor Unit ...
Страница 93: ......


