–
98
–
No.
Part name
High voltage
generator
Procedures
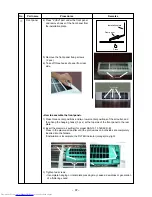
1) Follow to the procedure in the item
.
2)
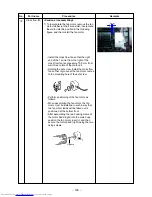
To remove the air ionizer from the back body,
pull it toward you.
Remarks
2
)
Secure it using the fixing screws. (2 pcs)
(only in model
RAS-10,13,16
SKVR-E)
3
)
Connect the connectors of the high-voltage
generat
4
)
Attach the air ionizer to the back body.
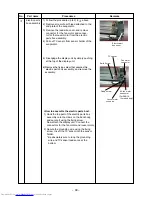
<How to assemble the high voltage generator>
1
)
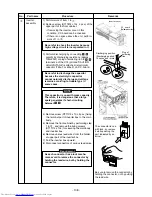
Insert the high voltage generator straight into
the evaporator
voltage generator from the evaporator.
Check whether it is
c
ompleted inserted.
3) Disconnect the connectors of the high voltage
generator.
4) Remove the fixing screws (2 pcs) and remove
the high voltage generator from the evaporator.
Connector
2 Screws
Содержание RAS-16SAV-E
Страница 19: ... 18 5 WIRING DIAGRAM 5 1 RAS 13SKV E RAS 13SAV E RAS 10SKVR E RAS 10SAVR E RAS 13SKVR E RAS 13SAVR E Revised 1 ...
Страница 20: ...5 2 RAS 16SKV E RAS 16SAV E RAS 16SKVR E RAS 16SAVR E 19 ...
Страница 106: ... 105 R05 L01 C01 CN23 FUSE R04 R01 CN10 J04 IC03 C20 IC01 T01 C03 DB01 RAS 16 Series ...


