97
Recording
Editing the names of recorded tracks
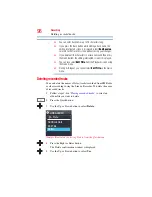
4
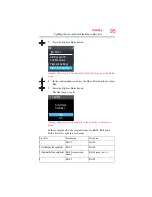
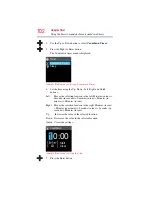
Press the Right or Enter button.
The Edit Title
menu appears.
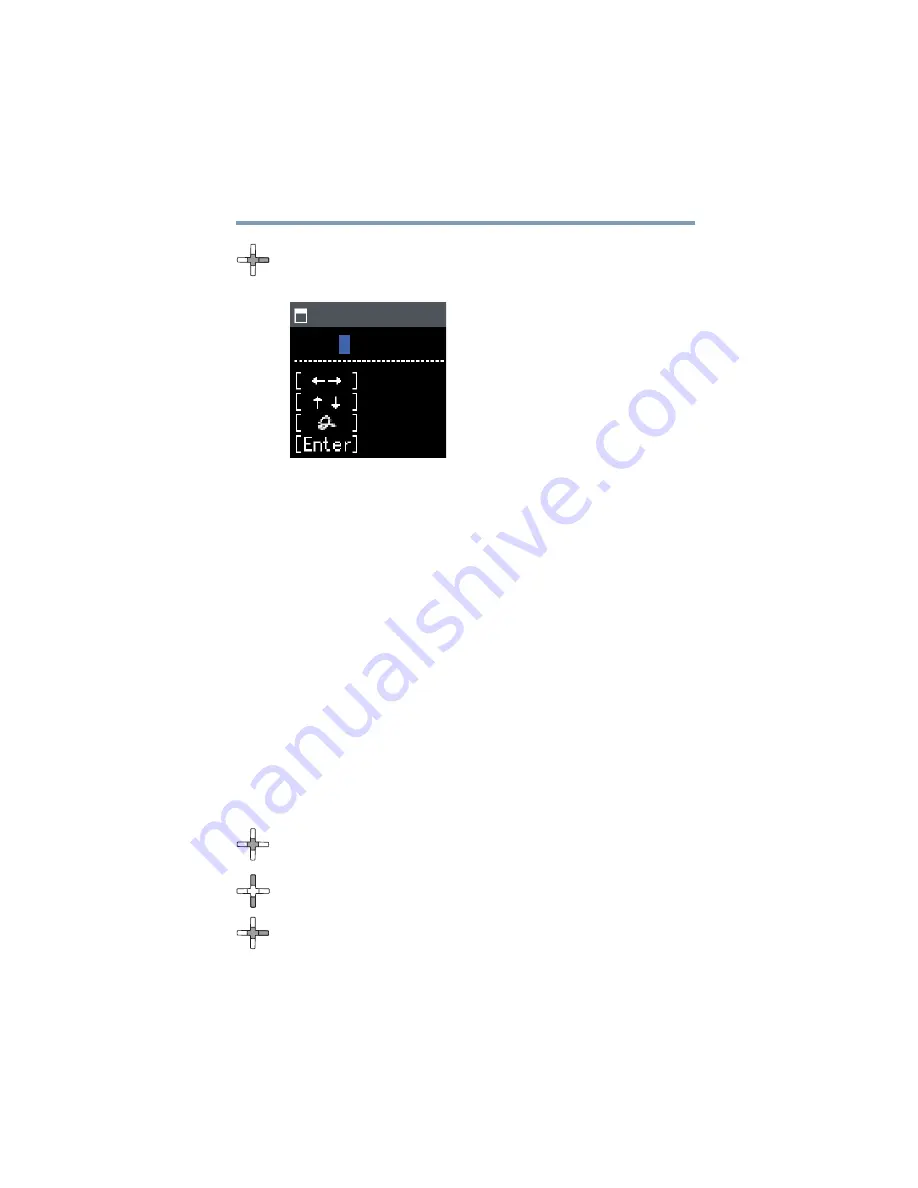
(Sample Illustration) Edit Title menu
5
Edit the text using the Up, Down, Left, Right, and Quick
buttons:
Left: Moves the selection location to the left. Pressing this button
at the beginning of the text moves the cursor to a new input
field or to the 15th character.
Right: Moves the selection location to the right. Pressing this
button in a new input field or at the 15th character moves
the cursor to the beginning of the text.
Up:
Changes the character at the selection location. The
character changes as shown below each time you press the
button. “A”> “B” ... “Y”> “Z” > “[“ >”]” > “_” “a”> “b” ...
“y” > “z” “ “ > “0” >”1” > ... “8” > “9” > “A” ...
Down:
Changes the character at the selection location. The
character changes in the reverse of the above sequence each
time you press the button.
Quick: Deletes the character at the selection location. The text
shifts left to fill the space. Holding down the Quick button
deletes all the characters in the track name being edited.
6
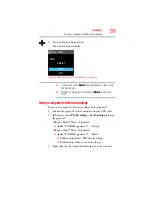
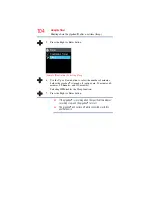
Press the Enter button.
A confirmation window appears.
7
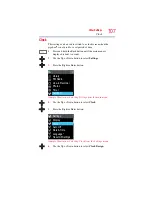
Use the Up or Down button to select
Yes
in the confirmation
window.
8
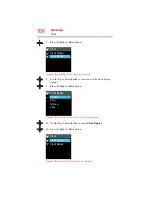
Press the Right or Enter button.
The track name is confirmed and you are returned to the track
name list screen.
Edit Title
Ext01
Cursor
Char.
Delete
Confirm

