


28
Multi audio/DVB-Subtitle/Using the Digital Service (UK only)
Multi audio
You can select your preferred Audio mode and DVB (digital TV)
subtitle Language.
The Multi audio menu will display the Audio mode and
Language options available with the current broadcast.
1
Press
AUDIO SELECT
to display the Multi audio menu.
The Audio mode and Language code will be displayed if
available.
Multi audio
Audio mode
No. Language Code
001 ENG
Stereo
2
To select Audio mode, press or . In general the below
audio modes will be supported in a service.
Stereo, Left, Right and L + R.
To select a Language code, press or to select code
within Language code list.
When completely different audio tracks are being broadcast
from the left and right channels, select Left or Right.
•
Multi audio
Audio mode
No. Language Code
001 ENG
L+R
3
Press
EXIT
. Your selected audio preferences will be saved.
DVB-Subtitle
DVB-Subtitle is a feature supported in DVB (Digital Video
Broadcasting) applications in which the service shown can be
accompanied by a text display on the screen in parallel with the
corresponding audio service. The DVB-Subtitle feature can be
enabled or disabled at anytime.
1
Press or to select “Subtitle”, then press
ENTER
.
Time Setup
Password Setup
Subtitle
Display Setup
Main menu
System Configuration
ABC
CH
1
CH
2
CH
3
Texd
CI
i
ABC
i
2
Press or to select your desired subtitle language from
the available languages.
Subtitle
e
g
a
u
g
n
a
L
English
Navigate
Enter
Exit
3
To turn off the DVB-Subtitle, press or repeatedly until
‘Off’ appears in the Subtitle menu.
Press
EXIT
. Your selected subtitle language will be saved.
Using the Digital Service (UK only)
Some services bring you programmes with the Digital Service,
letting you experience DTV interactively.
When provided, the Digital Service will start when you press
.
Note:
When you display the DVB-Subtitle, Digital Service screen
cannot display. If you want display the Digital Service, setting
the DVB-Subtitle to Off.
•
Note:
Dolby Digital audio can be selected
for some language options.
There is no sound output from the
main unit’s speakers when Dolby
Digital audio is selected.
You can only hear Dolby Digital audio
through the amplifier equipped with a
Dolby Digital decorder.
DVB-Subtitle can also be changed by
pressing of
SUBTITLE
repeatedly.
•
•
52R0131A_ENG.indd 28
3/13/09 3:21:20 PM
29
EPG (Electronic Program Guide)
The Guide menu shows the
available programme listings for the
next 8 days only, including today.
However, the guide menu will show
‘No Event Name’ for programmes
which are more than 8 days ahead,
or for programmes within the 8 days
when no programme information is
available.
1
Press
GUIDE
to display the Guide menu.
Events
list
Highlighted programme
Service list
Guide
16:50 Sun 20/08/2008
TV
Page -
Page +
Prev.Day
Next Day
MNO
PQS
STU
TCM
VWXYZ
SAT.1
ARTE
DEF
671_MNO_10Step_0820_0100_0120_Audio2_0100_0120...
8
0
0
2
/
8
0
/
0
2
n
u
S
671 MNO
01:00
Channels
679_VWXYZ_Monosoo_0100_0300...
No Event Name
No Event Name
No Event Name
No Event Name
671_M...
672_PQR_SMPTE_col...
673_STU_SDTV... 673_STU_SDTV Moving...
672_PQR_SMPTE_col...
671_M...
671_MNO_10step
02:00
01:30
Navigate
Enter
Exit
Guide
View
Info
TV/Radio
Service list :
Lists all the services that are currently available.
As you scroll through the service list by pressing or ,
the Event list will be refreshed accordingly, and you will see
the programme information for the currently highlighted
programme.
To scroll through the service list page by page, press
Red
or
Green
button.
Events list :
List the events in a grid of rows and columns.
Each row shows the list of events that are available, for the
corresponding service in the service list. Within each row,
you can press or to navigate through the rest of the
events.
You can easily move to the Previous day or Next day in the
Events List by pressing
Yellow
or
Blue
button (the date
of the programme information you are currently viewing is
shown in the top right hand corner).
The full Event name along with the duration of the event will
be displayed in the bar above. Event title will be displayed
only if available otherwise ‘No Description’ message will be
displayed.
2
From within the Guide menu, you can open the Description
menu for the currently highlighted programme by pressing .
The Guide/Description menu shows the extended event
description of an event. You can scroll and view the
complete event description of the event using or .
To return to the Guide menu, press .
To clear the menu screen, press
EXIT
.
52R0131A_ENG.indd 29
3/13/09 3:21:21 PM
30
EPG Timer
You can choose whether or not the screen switches on when the timer event begins - please see
page 18 (Rec screen status (LCD Power on/off)). This is so that if you are using the timer to make
a recording to your VCR or other device, the TV screen will not switch on unless you want it to.
If you try to switch to another channel while a timer event is in progress, the following message
will appear: ‘WARNING: CHANGING THE CHANNEL WILL INTERRUPT YOUR EVENT TIMER. ARE
YOU SURE YOU WANT TO PROCEED? YES/NO’. Select Yes or No according to your wishes.
Note:
When the EPG Timer starts, the
message “Event Timer Started” will
appear.
A maximum of eight Timers can be
programmed.
If the EPG Timer starts when it is
already switched on, it will start at the
exact time that is set. If it starts from
the standby mode, it will begin 20
seconds in advance of the stated time.
You cannot hasten the start time from
the original start time of the Event.
You cannot set with the same date
and time of another Event.
Press the
Yellow
button to change
the start time of the event.
Press the
Blue
button to change the
time duration of the event.
If the EPG Timer begins during
standby mode, the
(Power)
indicator on the unit will be lit in
orange. This is to indicate that an
EPG Timer event has begun in
standby mode.
When in power-off-condition, EPG
Timer cannot be activated.
•
•
•
•
•
•
•
•
•
1
Press
GUIDE
to display the Guide menu. Then press
/// to highlight the programme you want to set as a
timer event, then press
ENTER
.
Page -
Page +
Prev.Day
Next Day
MNO
PQS
STU
TCM
VWXYZ
SAT.1
ARTE
DEF
671_MNO_10Step_0820_0100_0120_Audio2_0100_0120...
8
0
0
2
/
8
0
/
0
2
n
u
S
671 MNO
01:00
Channels
679_VWXYZ_Monosoo_0100_0300...
No Event Name
No Event Name
No Event Name
No Event Name
671_M...
672_PQR_SMPTE_col...
673_STU_SDTV... 673_STU_SDTV Moving...
672_PQR_SMPTE_col...
671_M...
671_MNO_10step
02:00
01:30
Navigate
Enter
Exit
Guide
View
Info
TV/Radio
Guide
16:50 Sun 20/08/2008
TV
Note:
If you select an event which has already started, the selected
program will be displayed on the screen, as you cannot set
the timer for a programme which has already started.
To display the stored timer events, press
GUIDE
twice.
The Event Timer menu (see step 3 below) will appear. You
can also delete or change the frequency (Once / Daily /
Weekly) of the stored timer events (but please note that
you cannot edit the time details that have been set from
the EPG).
•
•
2
The confirmation banner will be displayed.
Press or to select ‘Yes’ or ‘No’, then press
ENTER
(the
selected option is shown in blue).
3
The Event Timer menu will appear.
Press the
Red
button to set the Timer mode for a selected
event.
Event Timer
Navigate
Enter
Exit
Service Name Mode
Date
Time Duration
BBC ONE Once
26/02/08 08:10 00:23
Timer mode
Delete Timer
Edit Timer
Edit Duration
4
The Timer mode
specifies the
frequency of Timer
wake-up which can
be set as Once,
Daily or Weekly.
Press
ENTER
to
save the selected
Timer mode.
Event Timer
Service Name Mode
Date
BBC ONE Once
26/02/
Once
Daily
Weekly
Note:
To delete a timer event, select the specified event, then
press the
Green
button.
5
To return to the Guide menu, press
DIGITAL MENU
.
To clear the menu screen, press
EXIT
.
52R0131A_ENG.indd 30
3/13/09 3:21:21 PM
31
Disc
DVD discs must be Region 2 or Region ALL type to play on this unit.
The suitable disc formats are: DVD-Video, DVD-R/-RW (Video format only), Audio CD, CD-R/CD-RW and
Video CD.
Some CD-R/RW discs may be incompatible.
This unit can play an 8cm disc. Please do not use a disc adapter. It may cause trouble.
Please do not insert any disc of an irregular shape into the unit, as it may interfere with the function of the unit.
You may not be able to remove it.
Please do not use after market accessories, such as a ring protector, as this may cause trouble with the
operation of the unit.
Do not play DVD-ROM, DVD-Audio, CD-G, Photo CD or SVCD to prevent accidental erasure of prerecorded
material.
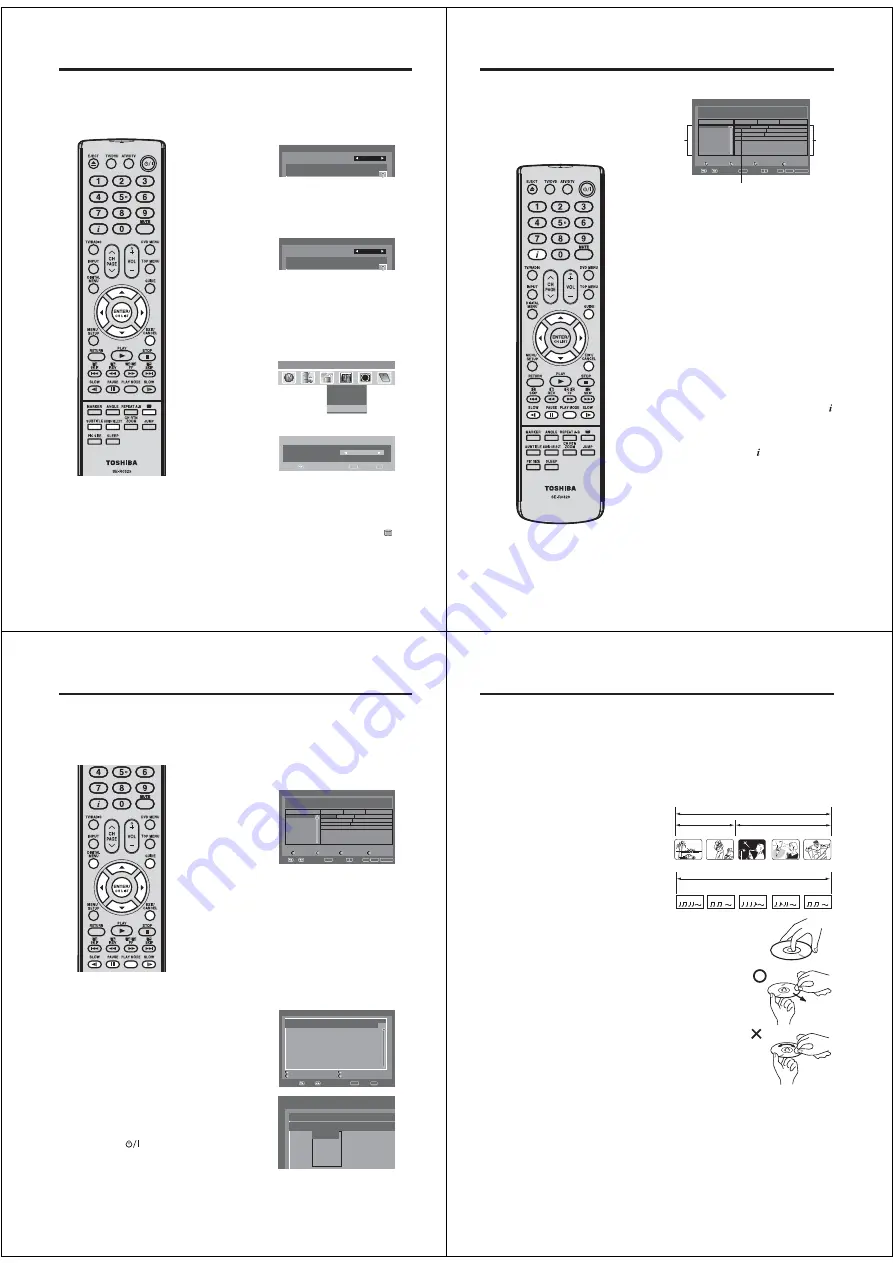
Title
When two or more movies are recorded on a disc, the
disc is divided into two or more sections. Each section
is called a “TITLE”.
Chapter
The titles can be subdivided into many sections.
Each section is called a “CHAPTER”.
Track
Video CD/Audio CD can contain several items.
These are assigned to tracks.
Removing Disc from Case
Be sure to hold the edge of disc. Do not touch the
surface of the disc.
Pick up the disc gently from the case.
Do not scratch the disc.
Do not get dirt on the surface of the disc.
Do not stick a label or adhesive tape on the disc.
Do not drop or bend the disc.
Storing Disc
Store the disc in the case to avoid risk of scratches, dirt or damage.
Do not leave disc exposed to direct sunlight or in hot or humid places.
Cleaning Disc
Wipe the disc with a clean, dry cloth from center to edge.
Do not wipe in circular direction.
Do not use liquid or aerosol cleaners.
On Video CDs
This unit supports Video CDs equipped with the PBC (Version 2.0) function.
(PBC is the abbreviation of Playback Control.) You can enjoy two playback
variations depending on types of discs.
Video CD not equipped with PBC function
(Version 1.1) Sound and movie can be played on this TV/DVD in the same way as an audio CD.
Video CD equipped with PBC function
(Version 2.0) In addition to operation of a Video CD not equipped with the PBC function, you can enjoy
playback of interactive software with search function by using the menu displayed on the TV screen
(Menu Playback). Some of the functions described in this owner’s manual may not work with some discs.
To turn off the PBC
Press
PLAY MODE
in the Stop mode.
Press / to select “Mode”, then press
ENTER
repeatedly until “Off” appears.
Press
PLAY MODE
again to clear the screen.
To turn on the PBC
Follow the above step 1~2, then press
ENTER
repeatedly until “PBC” appear.
•
•
•
•
•
•
•
•
•
•
•
•
•
1.
2.
3.
CHAPTER 1
TITLE1
TITLE2
DVD DISC
CHAPTER 2
CHAPTER 2
CHAPTER 3
CHAPTER 1
TRACK 1
TRACK 2
TRACK 3
TRACK 4
TRACK 5
Video-CD/Audio-CD
52R0131A_ENG.indd 31
3/13/09 3:21:22 PM


