The menu setup system – DVB-T Section
Advanced features
Advanced features
4.4
Language
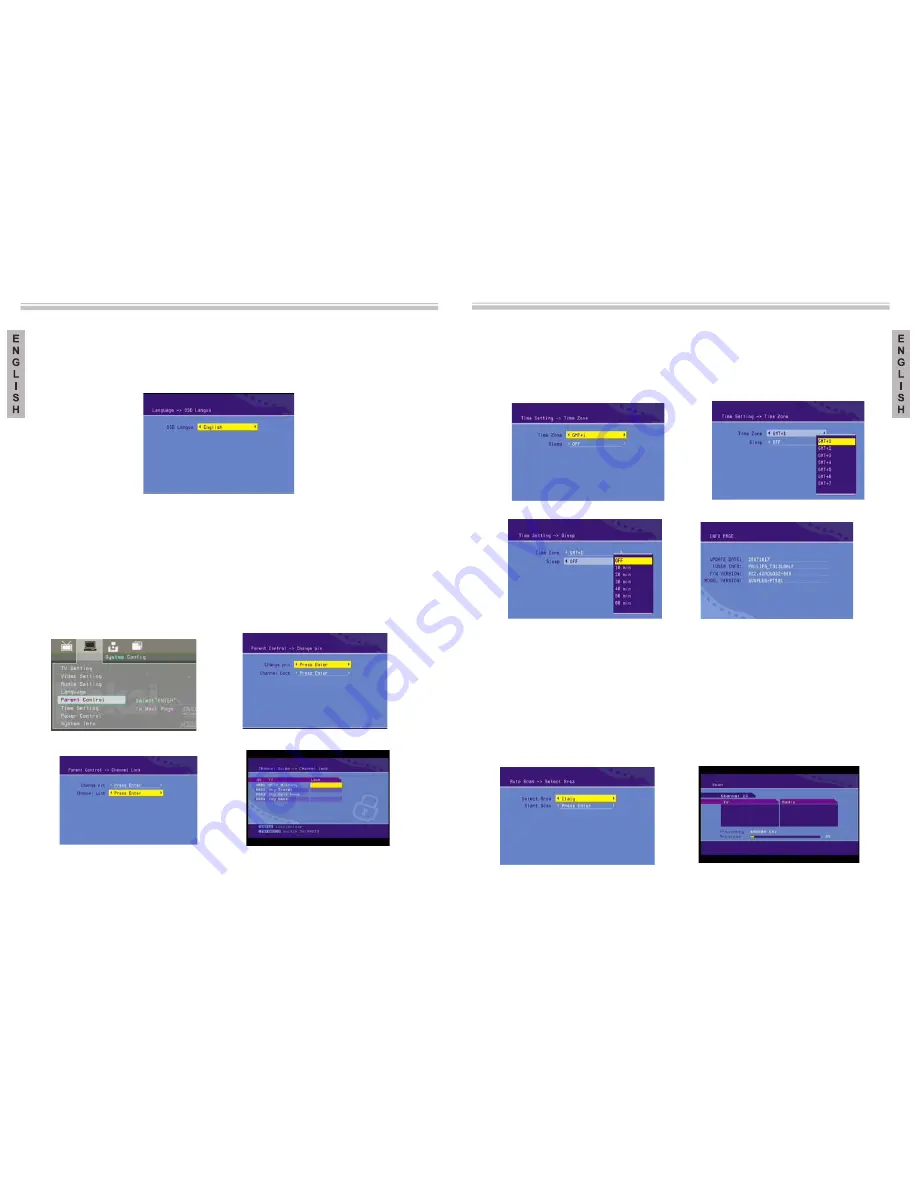
The Language Menu, shown in Picture 20, allows
system’s software (OSD). Use the “left” or
a
English, Spanish and Italian.
the user to change the language of
the
“right” function keys to select a
language, or ENTER to choose amongst a list with ll the possible languages.
OSD languages:
Picture 20: Language Menu
4.5
Parental control
The Parental Control Menu (Picture 21) has two aspects: change of password (pin) and
channel blocking. When changing the password the user will be requested to introduce
the old password, the new one, and the new one once again (Picture 22). To change the
channel blocking, the user will first have to introduce the password, as shown in Picture
23. If the password is correct, the Channel lock Menu will appear (Picture 24). Use
the “up” and “down” function keys to select a channel, the ENTER function key to
block or unblock a channel and the TV / RADIO function key to alternate between
television channels and radio channels.
Picture 21: Parental Control Menu
Picture 22: Changing the Password
Picture 23: Introducing the Password
Picture 24: Channel lock
4.6
Setting the time
From the Time Setting Menu (Picture 25), the time zone and the
sleep
mode settings can
be changed. Use the “up” and “down” function keys to select a point, and the “left” and
“right” function keys to change the setting. Alternatively, you can press the ENTER
function key to choose amongst a list of possible options.
Picture 25: Time Setting Menu
4.7
System information
The system information shows the
firmware
version and date, together with the receiver
and model information. See Picture 28.
Picture 26
Picture 27
Picture 28: System Information
64
65
The menu setup system – DVB-T Section
5.
Installation
5.1
Auto Scan
The Auto Scan Menu or automatic search is shown in Picture 29. You must first select
the country using the “left” and “right” function keys. Next, press the “down” function
key to select “Start Scan” and press ENTER. Scanning will
“yes” or “no” (Picture 30).
start after choosing
between
Picture 29: Auto Scan Menu
Picture 30


