


2
Under Recording Storage, click SD Card or Network Share.
3
Select Only during time frame.
4
On the schedule overview, click on the row (1-10) representing the schedule you wish to
configure.
5
To add days to the schedule, select the appropriate check boxes.
6
Specify the start time and duration of the recording.
Duration range: 00:00 to 168:59.
7
Click Save.
To delete a recording schedule
1
On the schedule overview, select the schedule that you want to delete.
2
Click Delete.
6.11
Schedule
System > Schedule
On the Schedule page, Administrators can create up to ten time schedules that meet the
surveillance requirements for functions, such as Motion detection, Application, and Network
failure detection.
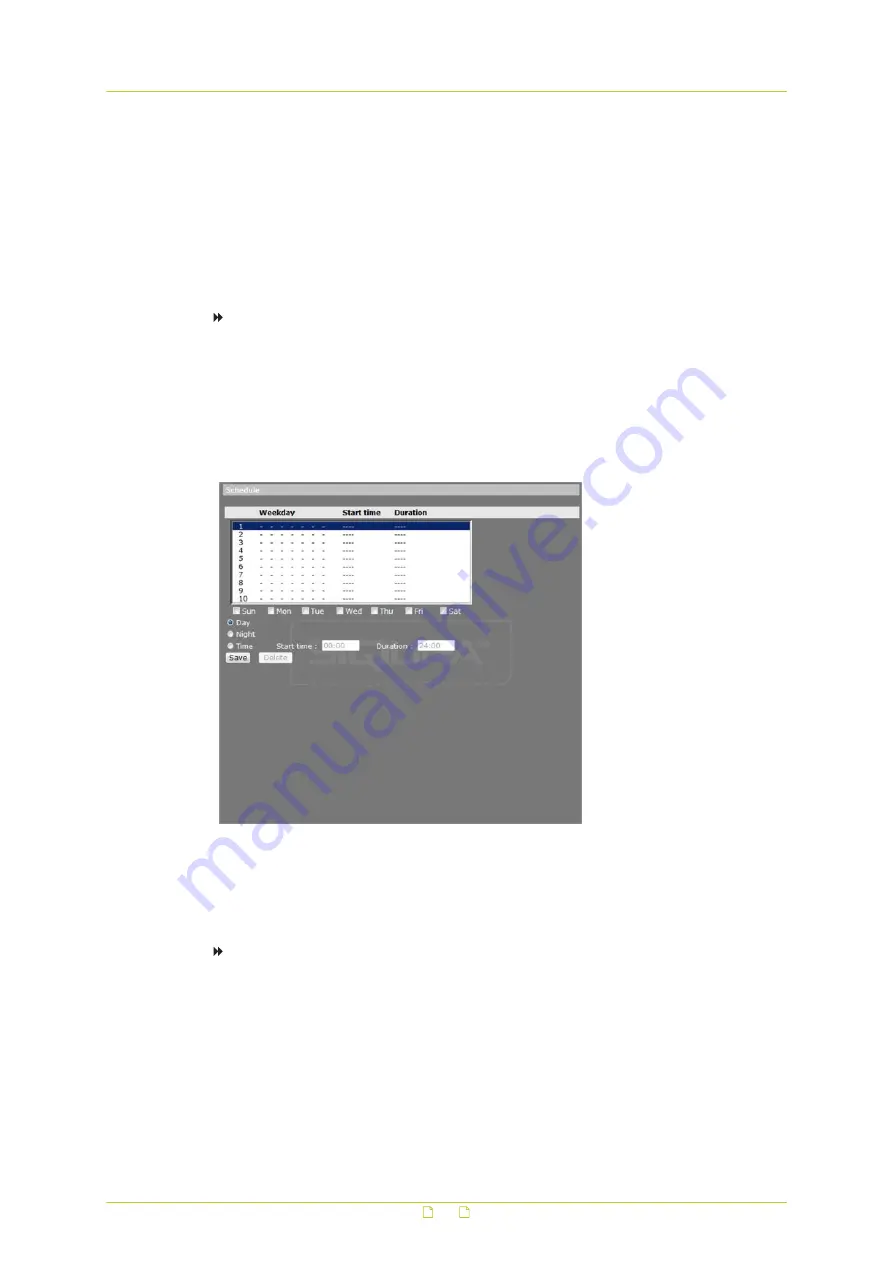
To create a schedule
1
On the System tab, click Schedule in the menu on the left.
2
On the schedule overview, click on the row (1-10) representing the schedule that you
wish to configure.
3
To add days to the schedule, select the appropriate check boxes.
4
To specify the start time and duration of the schedule, select one of the following:
Day: the camera profile will be loaded when the IR cut filter is off.
Night: the camera profile will be loaded when the IR cut filter is on.
System settings
62


