


Set the Timecode Mode
SyncBac PRO has two different Timecode modes:
RF Slave
and
GP Master TX
. These
modes define how your SyncBac PRO's clock is synchronised with other devices, and
so it is important that you choose the appropriate setting.
Note:
If you are unfamiliar with the concept of master and slave devices,
please read
Master and Slave Relationship on page 22
.
To set the
Timecode Mode
:
1. Connect your SyncBac PRO to a HERO4™ (if it is not connected already). For
further details, see
Connect SyncBac PRO to a GoPro HERO4™ on page 16
2. If your SyncBac PRO is currently off, switch it on (see
).
3. Press the
Select
button.
4. Use the
Up
and
Down
buttons to scroll to the
Timecode Mode
option.
5. Press the
Select
button.
6. Use the
Up
and
Down
buttons to scroll to the appropriate mode:
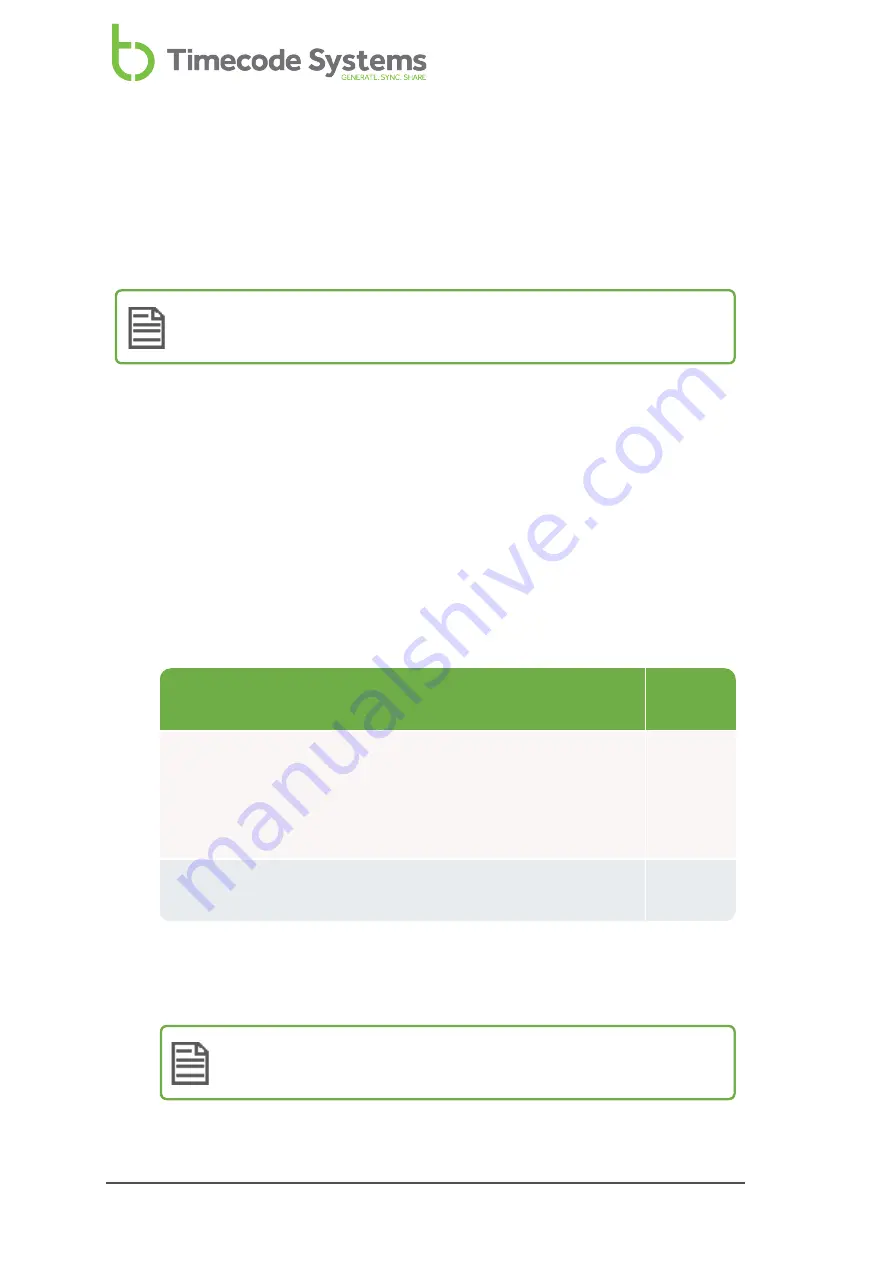
Operation
Timecode
Mode
SyncBac PRO is master and sets the clock of:
l
Its own HERO4™ camera (the HERO4™ camera that is
connected to the master SyncBac PRO)
l
Other SyncBac PROs in the same BLINK network.
GP Master
TX
SyncBac PRO is slave and has its clock set by another device in
the same BLINK network
RF Slave
*When a SyncBac PRO is free running and in RF Slave mode, it uses its own
clock settings but continues to search for a master on the same BLINK
network. If it finds a master, the master will set the clock.
Note:
A SyncBac PRO can only be the master to SyncBac PRO slaves -
it cannot be a master to :wave, :pulse, or .
20
SyncBac PRO User Guide
Содержание SyncBac PRO
Страница 6: ...vi SyncBac PRO User Guide...
Страница 58: ...58 SyncBac PRO User Guide...
Страница 63: ...SyncBac PRO User Guide 63...


