


18
Files type
Chose the type of recording files.
Pre/next event
Chose the previous or next event files.
Digital zoom
Zoom partly in the selected channel.
Color
Adjust the color of selected channel.
Snapshot
Capture the picture of the selected channel or all
channels, which can be found in the image
search.
Edit
Edit recording files during playback, which can be
gotten after saved.
Save
Save the edited recording files.
Audio
Open or close the voice while playing back.
Minimize
Hide the playback toolbar.
Exit
Exit the playback interface.
Pre/next section Previous/Next 30 minutes playback
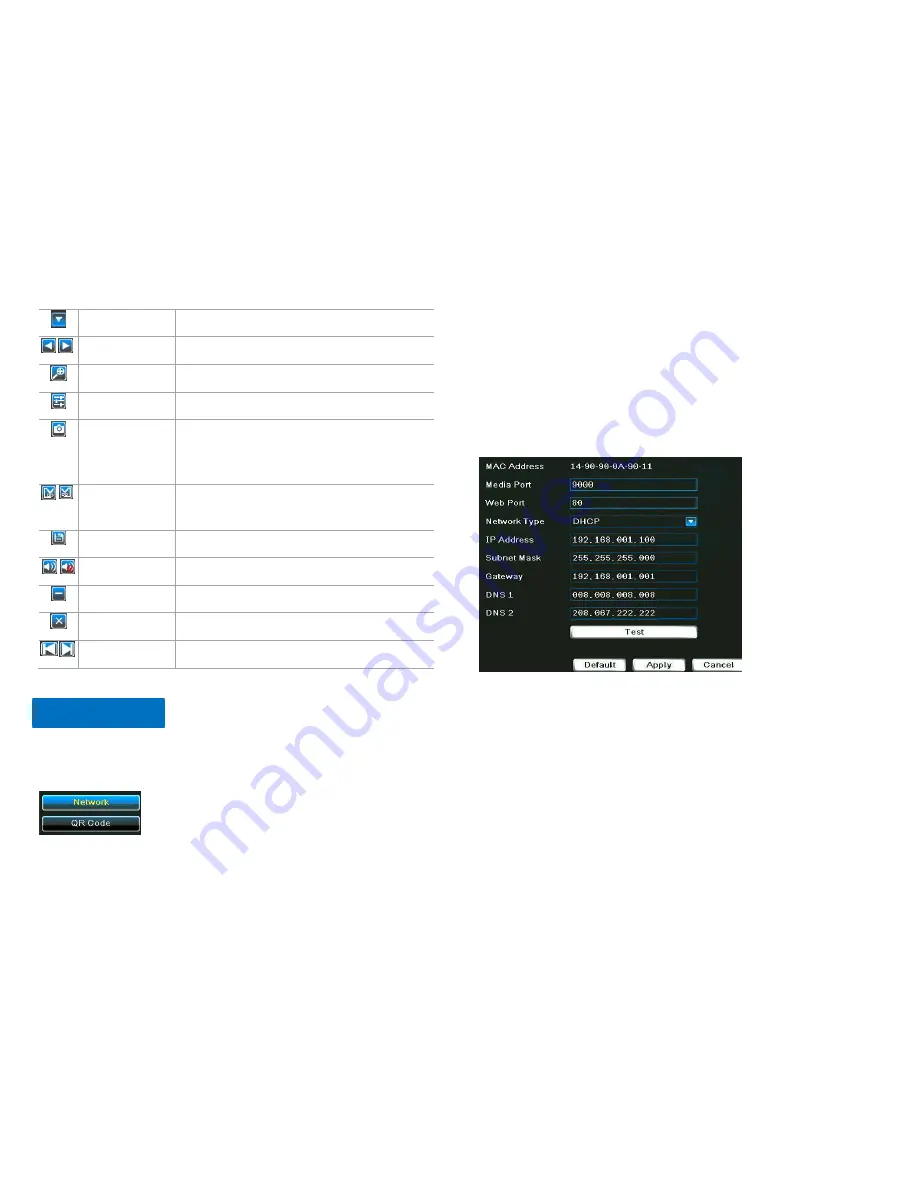
Using the
Network Menu
, you can manually configure network settings for the
DVR.
1.
Network
In the
Network
page, you can set
DHCP
and
Static IP
. These two are the most
commonly used network types. Choose
DHCP
(by default) if you’re new to
computers or DVRs.
Click Test to see if the network is good. If connection failed, please check if the
Ethernet cable is good or not, and the setting of router is correct or not.
2.
QR Code
Check out the Status. Connected means the DVR is connected to Internet and
you may view the DVR on your phone by the App named CHere.
For more instruction, please find the paper guide in the DVR kit.
Network Menu


