FDU-XT PLUS User Guide
I
11
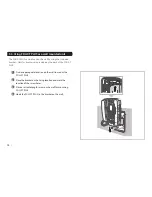
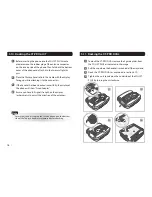
5.4. Start using the FDU-XT PLUS
Plug in the attached power supply to an external power source and
connect the power cable to the DC IN connector on the reverse side
of the FDU-XT PLUS. Then flip the Power Switch on the reverse side
of the unit to On. The green LED will be activated to indicate that the
FDU-XT PLUS is powered on.
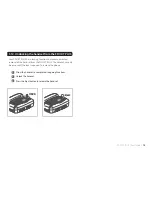
5.5. Connecting an extension phone to the FDU-XT
PLUS
An analogue extension phone can be connected to the FDU-XT
PLUS at the RJ-11 interface using the included RJ-11 cable.
1
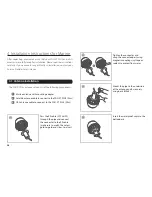
Plug one end of the RJ-11 cable to the RJ-11 interface
marked “EXT” on the FDU-XT PLUS.
2
Connect the other end of the RJ-11 cable to the RJ-11
interface of the phone.
5.6. Connecting a Group 3 fax machine to the
FDU-XT PLUS
The FDU-XT PLUS can be used for sending and receiving fax messages
when connected to selected Group 3 fax machines via the RJ-11
interface.
1
Plug one end of the RJ-11 cable to the RJ-11 interface
marked “FAX” on the FDU-XT PLUS.
2
Connect the other end of the RJ-11 cable to the Group 3
Fax machine.
Contact your Service Provider to register fax services on your
SIM card.
Note
Содержание FDU-XT PLUS
Страница 1: ...FDU XT PLUS USER GUIDE...
Страница 2: ......
Страница 35: ......
Страница 36: ...www thuraya com Thuraya Telecommunications Company Emall customer care thuraya com...


