17
Advanced functions
EN
VCR
Language selection
To change the language of the VCR menus, please refer to the
Language
menu of the DVD player
on page 30.
Auto tracking
The video recorder automatically adjusts the tracking to provide the best picture quality.The
message
A.TRACKING
is displayed when this function is in operation.
If the quality of the recording is poor, repeatedly press the
and
buttons on the remote
control to manually adjust the tracking until all distortions have been removed. Press the
0
button
on the remote control to restore the standard setting.
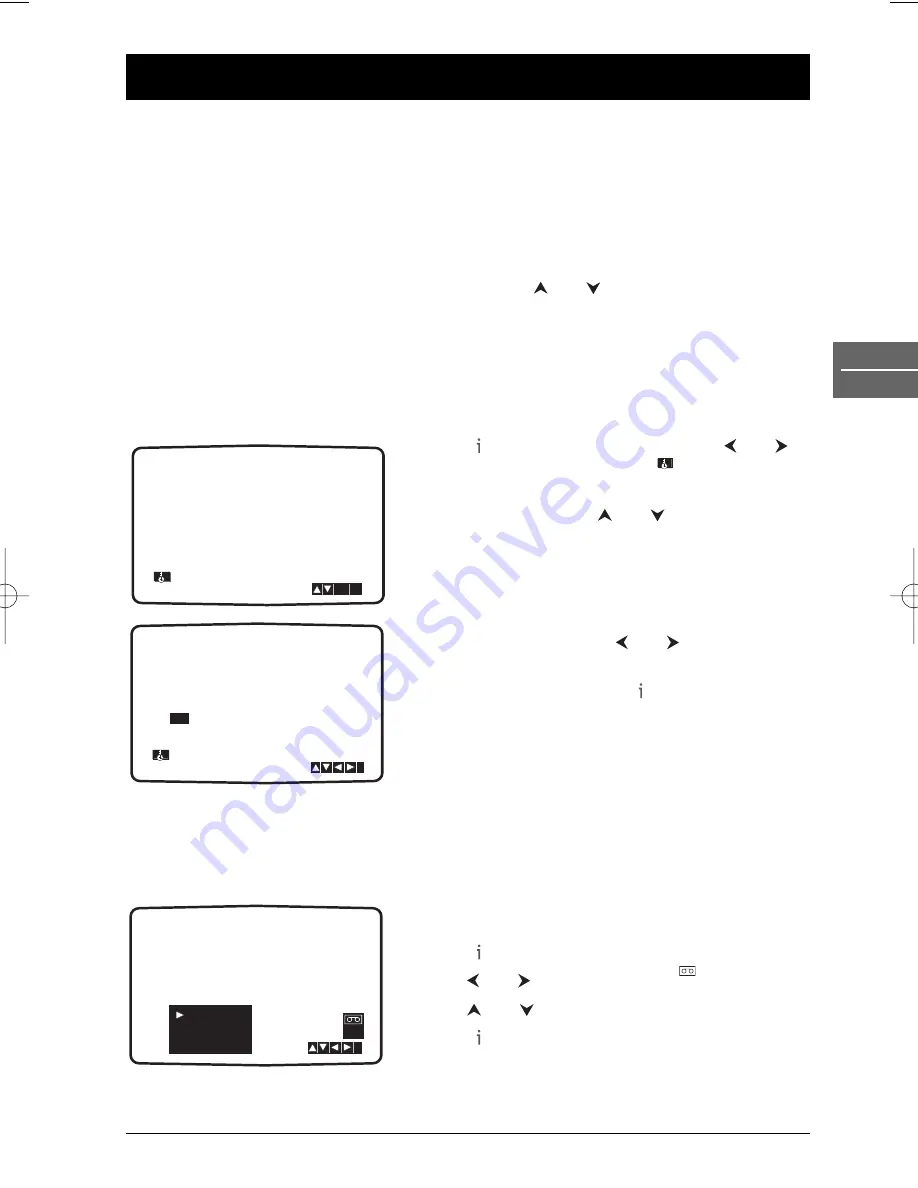
Setting the clock
The video recorder uses a 24 hour clock.To enter a single digit number, first press the
0
button
(e.g. 01 for 1).
1.
Press to access the main menu. Use the
and
buttons to select
TIME DATE
then press
OK
.
2.
To set the clock manually, set the
AUTO ADJUST
function on
OFF
using and . Press
OK
to adjust
the date and time.
3.
Use the numbered buttons on the remote control to
enter the
HH
(hours),
MN
(minutes),
DD
(day),
MM
(month) and
YY
(year).The day of the week is
automatically displayed once the date has been entered.
If you make a mistake use
and
to select the item
and re-enter the details.
4.
When you are finished, press to store your settings.
The new time is displayed on the front display.
Note: If Auto Adjust is on and the signal is sufficiently strong, the
clock settings will be automatically checked against teletext and
adjusted as necessary.
Colour standards
The video recorder comes with an automatic colour standard detection system.When playing a
tape causes problems (scrambled pictures or black and white), you must force the play mode by
selecting one of the available options (PAL, SECAM, MESECAM).
If you wish to record a tape in a particular colour
standard, choose one of the displayed options.
1.
Press to access the main menu.
2.
Use and to
select
SYSTEM
then press
OK
.
3.
Use
and
to select a colour system.
4.
Press to exit the menus.
SYS-
TEM
1 2
TIME
DATE
i
SYS-
TEM
AUTO
PAL
SECAM
MESECAM
AUTO
ADJUST
- -
i
1
2
TIME
DATE
ON
:
OK
HH
MN
DD
MM
YY
:
.
.
- -
- -
- -
- -
- -
- - -
i
1
2
TIME
DATE
DTH6300F_EN 28/05/04 15:41 Page 17


