45
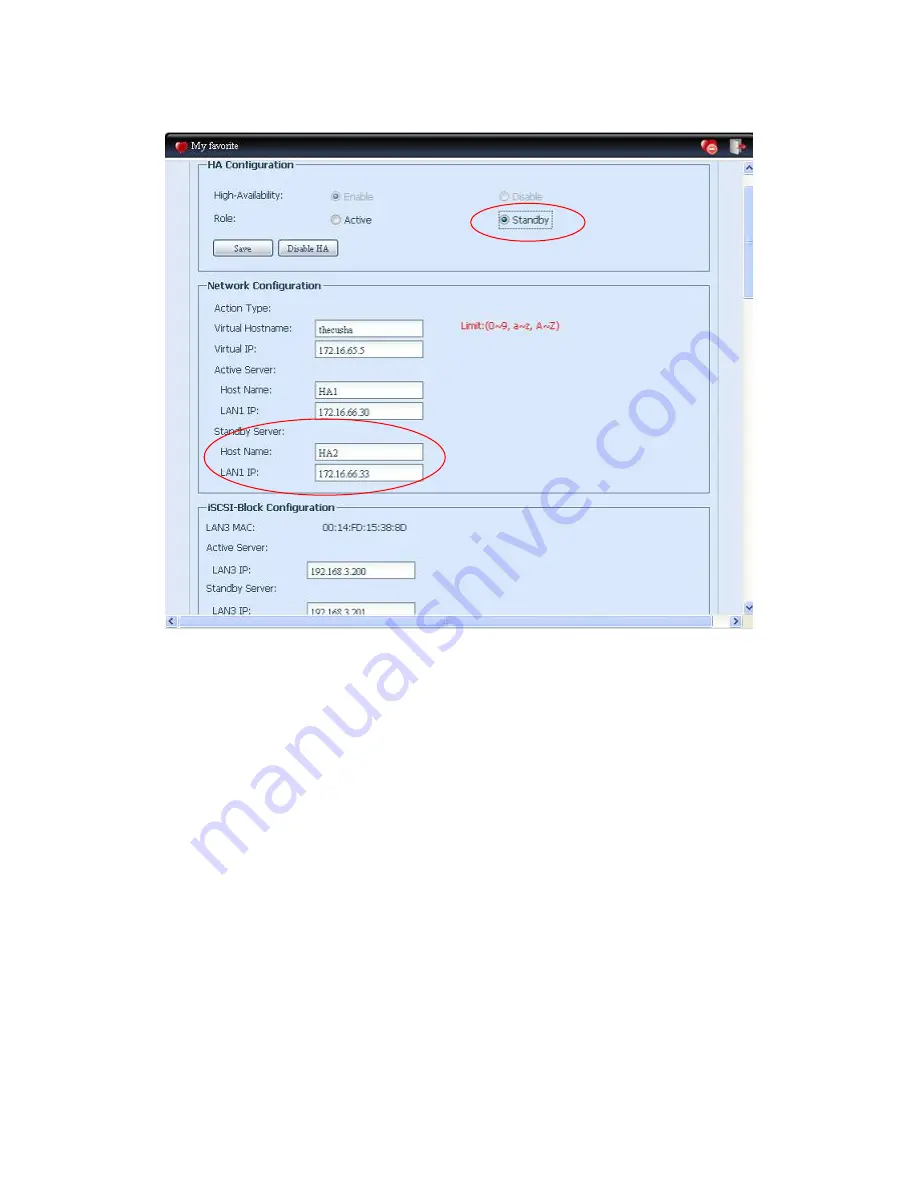
Setup Standby unit for HA, take example unit HA2 (172.16.66.33):
vi.
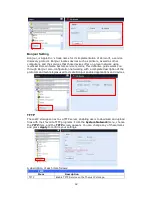
Login in to web UI of system 172.16.66.33 then go to “High Availability” HA
configuration page.
vii.
Click on “Standby” radio button, then “Standby Server” will be filled in this
system’s host name and IP address.
viii.
Filled in “Virtual Hostname” and “Virtual IP”, be sure while setup HA Active
Unit has used same name and IP. In here, “thecusha” and “172.16.65.5” as
example accordingly.
ix.
Normally, no need to change iSCSI Block Configuration. If it has changed, be
sure the HA Active Unit has done the same.
x.
Click “Save” to save HA Standby unit configuration.
After both HA units has completed configuration and confirmed with “Save”
button, then Carry on to click “Enable HA” for both units, system will check
“Active/Standby” configuration information correctness. If it has found the
associated “Active” or “Standby” unit has incorrect setting such as “Virtual Host
Name” or “Virtual IP” then system will prompt “Message” like below. If the

