Access the Console, Power On, and Log In
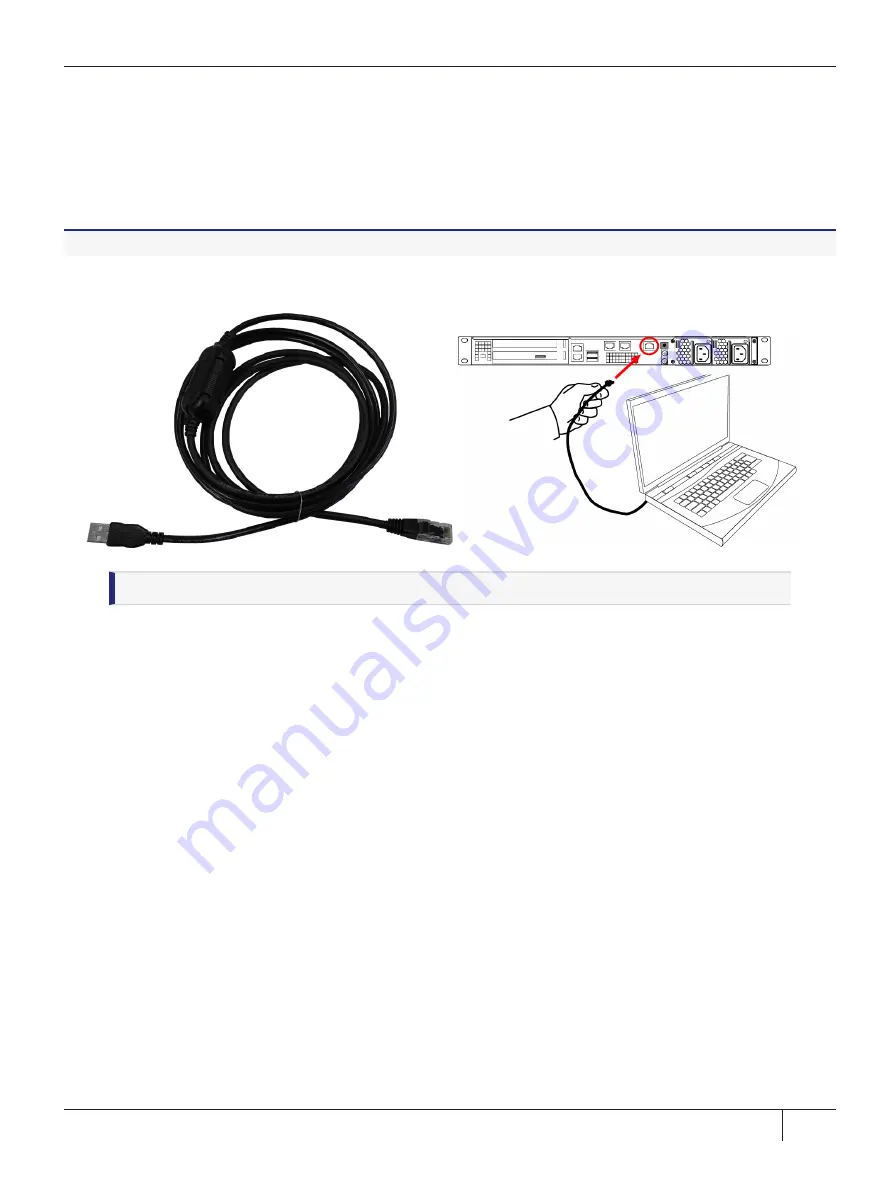
To test the system and configure the network, you must first access the ProtectServer 3+ External console.
You must connect a terminal directly to the serial port on the rear of the appliance with the supplied Prolific
Technology Inc. USB to RJ45 (with 8P8C connector) adapter. Use the serial connection to configure at least
one of the network interfaces.
To open a serial connection and log in for the first time
1.
Connect the serial port on the appliance's rear panel to a terminal server, dumb terminal, PC, or laptop,
using the supplied Prolific Technology Inc. USB to RJ45 (with 8P8C connector) adapter.
NOTE
Do not connect the serial cable to one of the Ethernet ports.
2.
If the driver for the Prolific Technology Inc. USB to RJ45 (with 8P8C connector) adapter did not download
and install automatically, go to
to download and install the PL2303 USB-to-Serial
Windows driver.
3.
Open
Device Manager
(
Control Panel
>
Hardware
>
Device Manager
) and expand the
Ports (COM
and LPT)
folder. If the driver installed successfully, an entry is displayed for the
Prolific USB-to-Serial
Comm Port
, followed by the port associated with the adapter. For example:
Prolific USB-to-Serial Comm Port (COM4)
Record the COM port (COM4 in this example) associated with the adapter. You will need this port number
when you open a serial connection.
4.
Power on the ProtectServer 3+ External.
5.
Use a terminal emulation package, such as PuTTY, to open a serial connection to the COM port associated
with your Prolific USB-to-Serial adapter. Set the serial connection parameters as follows:
•
Baud rate
: 115200
•
Data bits
: 8
•
Parity
: None
•
Stop bits
: 1
Thales ProtectServer 3 HSM and ProtectToolkit 7 Installation and Configuration Guide
2021-06-30 10:29:48-04:00 Copyright 2009-2021 Thales Group
61


