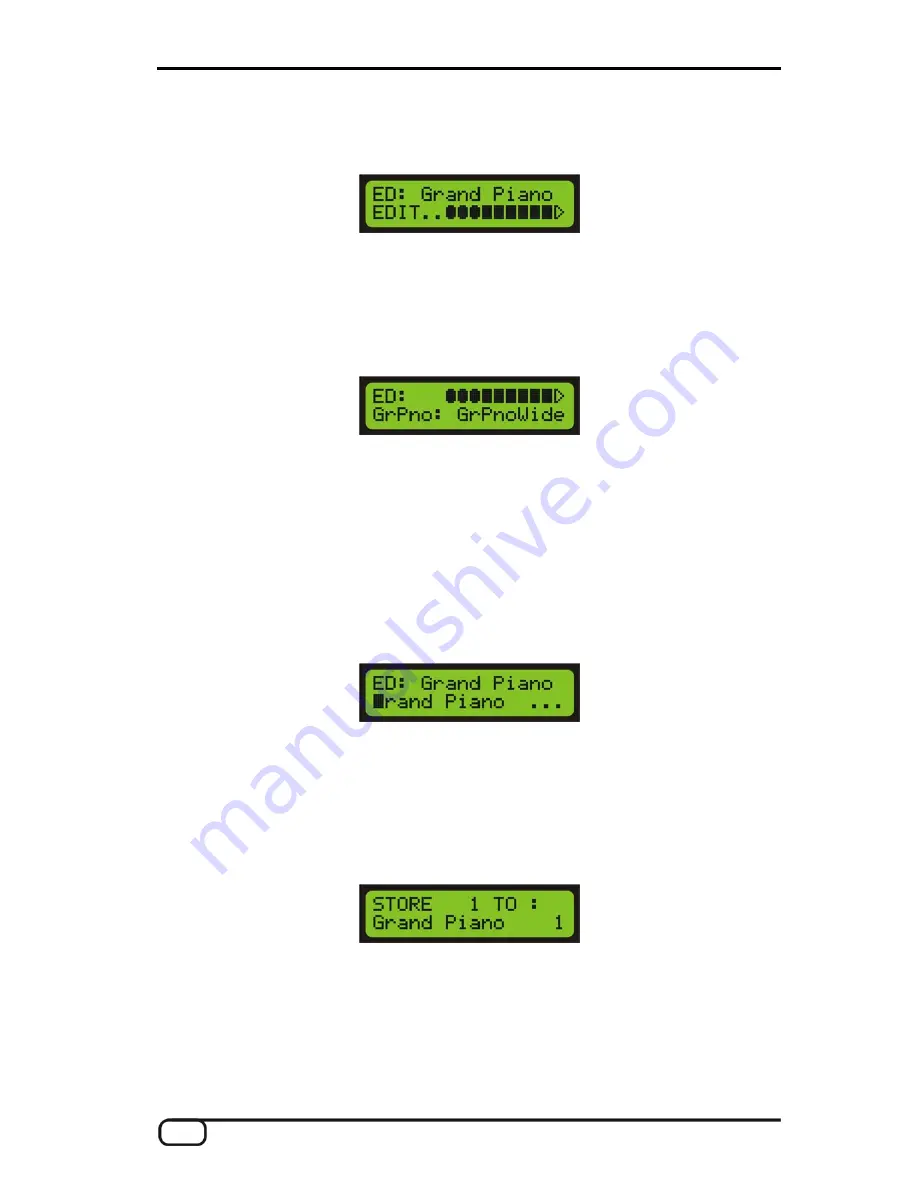
Once you have familiarised yourself with them, you can try modifying one of the existing presets:
1. Use the VALUE +/- buttons to select preset 1, "Grand Piano" (same as factory preset 129). You can also
use the UP/DOWN buttons of the guitar interface to select the preset. Next, press the EDIT button.
2. Press ENTER to open the AXON's split zone area. Confirm the selected split zone with ENTER. Then,
confirm the selected layer, likewise using the ENTER button.
3. You can now use the VALUE +/- buttons to select any INSTRUMENT. The instruments are sorted logi-
cally according to groups. Using the PARAMETER button, you can move the cursor towards the left to the
group and navigate through it using the VALUE +/- buttons in order to reach the desired sound more
quickly.
Pressing the PAR button again
4.
takes you to additional settings for the preset; these are ex-
5.
. This parameter results in a semitone shift of the note from its standard tuning. Press
6.
ea. We now want to give our modified
preset a new name by pressing the PAR button five times, then the ENTER button. The cursor
is now located on the "G" of the old preset name, "Grand Piano".
plained in detail later on in the manual. For example, you can use the VALUE +/- buttons to set the
VOLUME parameter to the desired value.
You may also change the TRANSPOSE setting in the next parameter. This can be useful for a bass
sound, for example
the PAR button and set the value with the VALUE +/- buttons (+12 or -12 raises or lowers the
pitch one octave).
Press the EXIT button three times to access the global preset ar
Use the VALUE +/- buttons to change the letter at the cursor position. Think of a new name for your pre-
set and set the first letter. Use the PA
7.
R/- buttons to move the cursor one position to the left or
8.
alf of the AXON display will now be
flashing. This indicates that you have changed the parameters and that you still need to confirm the
changes to store them permanently
right. Repeat the process for the other letters. If the new name is shorter than the old one, delete the re-
maining letters with the EDIT button.
Press the EXIT button twice to exit preset editing mode. The top h
. Now press the STORE button.
You can now select a slot in which to store the new preset. Either overwrite the preset or store it in any of
the slots within the user range (1-128). Now press the ENTER to copy the preset to the selected location
and store it there.
10
AXON AX 100 MKII V. 2.0 (English)


