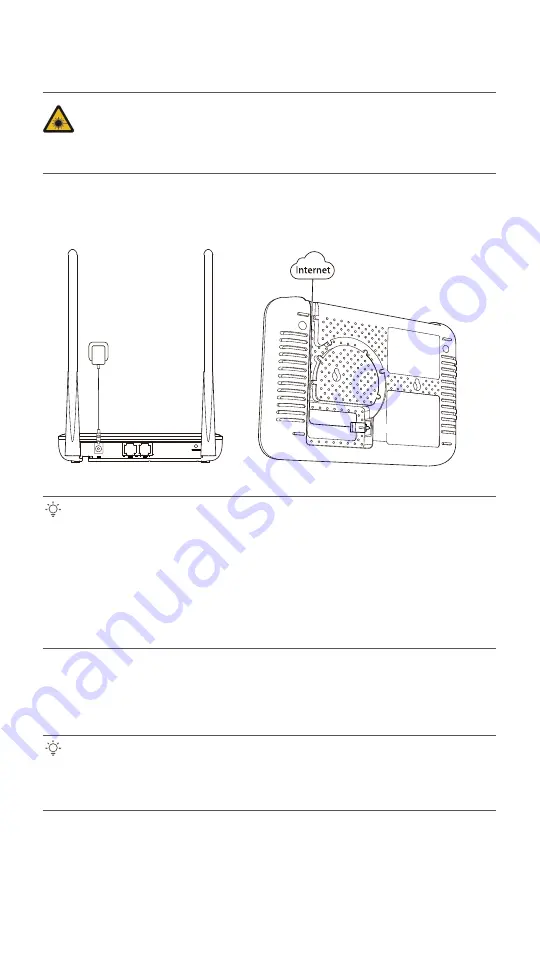
1. Connect and register the ONT
2. Configure the internet access
Tips:
Choose a desired mode to configure your internet access:
Tips:
DO NOT look directly at the
PON
port when the device is powered on, as well as the terminal of
the indoor fiber cord, to prevent any harm to your eyes.
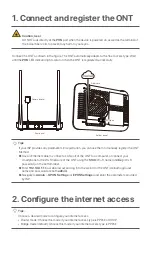
Connect the ONT as shown in the figure. The ONT automatically adapts to the fiber access type. Wait
until the
PON
LED indicator lights solid on, then the ONT is registered successfully.
Caution, laser
Fiber cord
PON port
Bottom panel
Rear panel
Power adapter
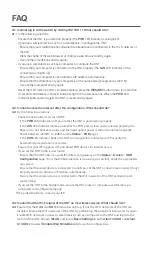
If your ISP provides any parameters for registration, you can use them to manually register the ONT.
Method:
➊ Use an Ethernet cable to connect a LAN port of the ONT to a computer, or connect your
smartphone to the Wi-Fi network of the ONT using the
SSID
(Wi-Fi name) and
Key
(Wi-Fi
password) on the bottom label.
➋ Enter
192.168.1.1
in a web browser and log in to the web UI of the ONT (default login user
name and password are both
admin
).
➌ Navigate to
Admin
>
GPON Settings
(or
EPON Settings
) and enter the parameters provided
by ISP.
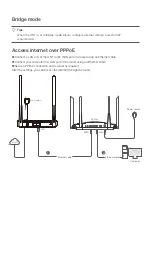
• Router mode: Choose this mode if your internet access type is PPPoE or DHCP.
• Bridge mode (default): Choose this mode if your internet access type is PPPoE.


