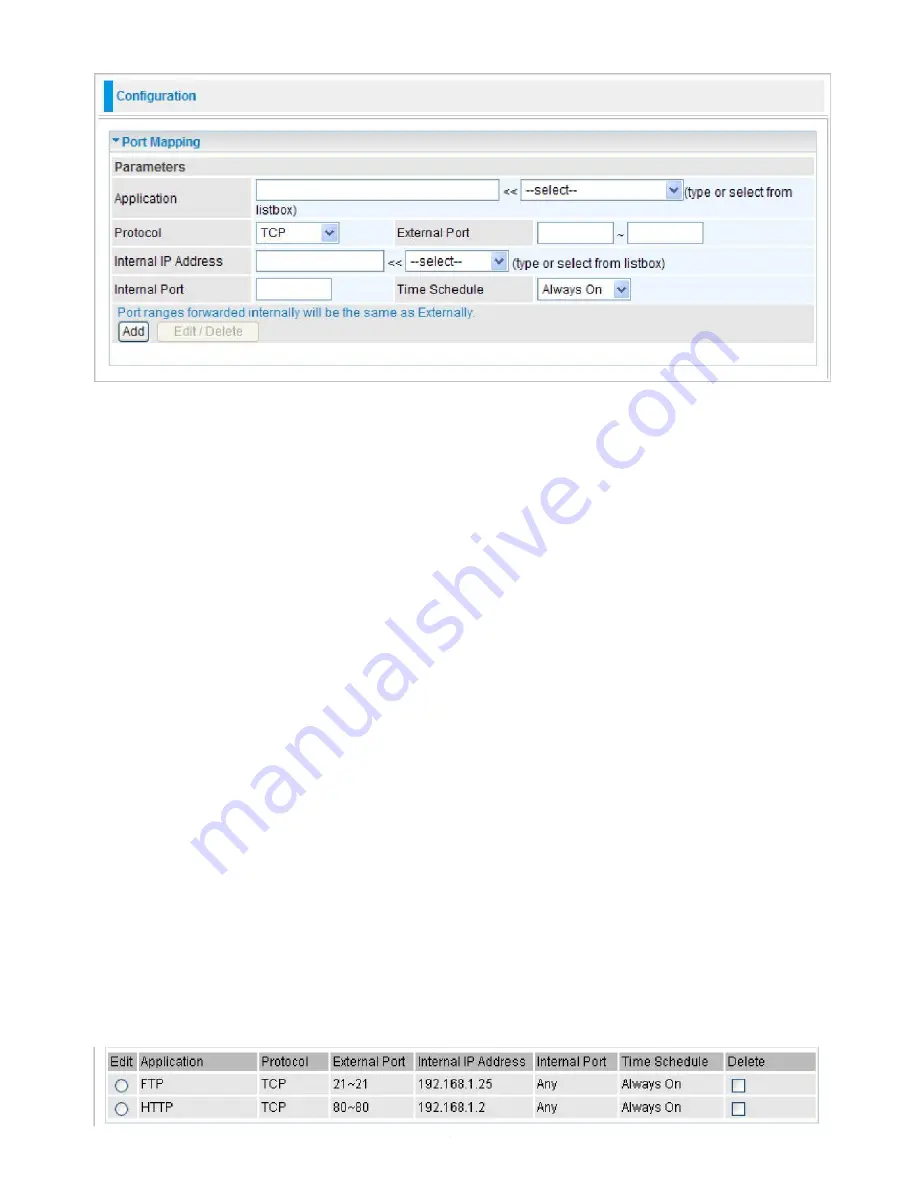
Port Mapping
Application:
Select the service you wish to configure.
Protocol:
A protocol is automatically applied when an Application is selected from the listbox or
you may select a protocol type which you want.
External Port
&
Internal Port:
Enter the public port number & range you wish to configure.
Internal IP Address:
Enter the IP address of a specific internal server to which requests from the
specified port is forwarded.
Time Schedule:
A self defined time period. You may specify a time schedule for your port
mapping. For setup and detail, refer to
Time Schedule
section.
Add:
Click to add a new virtual server rule. Click again and the next figure appears.
Edit:
Check the Edit radio button to display the parameter of the selected application, then after
changing the parameters click the "Edit/Delete" button to apply the changes.
Delete:
To remove a port mapping application, check the Delete box of the selected application
then click the "Edit/Delete" button.
Since NAT acts as a “natural” Internet firewall, your router protects your network from accessed
by outside users, as all incoming connection attempts point to your router unless you specifically
create Virtual Server entries to forward those ports to a PC on your network. When your router
needs to allow outside users to access internal servers, e.g. a web server, FTP server, Email
server or game server, the router can act as a “virtual server”. You can set up a local server with
a specific port number for the service to use, e.g. web/HTTP (port 80), FTP (port 21), Telnet (port
23), SMTP (port 25), or POP3 (port 110). When an incoming access request the router for a
specified port is received, it is forwarded to the corresponding internal server.
For example, if you set the port number 80 (Web/HTTP) to be mapped to the IP Address
192.168.1.2, then all incoming HTTP requests from outside users are forwarded to the local server
(PC) with the IP address of 192.168.1.2. If the port is not listed as a predefined application, you
need to add it manually.
104
Содержание TW-EF600
Страница 4: ...Logout 127 Chapter 5 Troubleshooting 128 Appendix Product Support Contact 129...
Страница 11: ...7 Important note for using this router...
Страница 17: ...13 Applications of the device...
Страница 46: ...42 Pure Bridge Click Apply to confirm the settings...
Страница 51: ...47 Gateway The IP address of the default gateway Primary DNS The IP address of the primary DNS server...
Страница 70: ...66...
Страница 71: ...67...
Страница 75: ...71 4 Enter the AP SSID then click Next 5 Enter the passphrase then click Next...
Страница 82: ...78 Pure Bridge Click Apply to confirm the settings...
Страница 98: ...94 Src IP Source IP Src Port Source Port Dst Port Destination Port Dst IP Destination IP...
Страница 104: ...100 For Mail Receiving QoS Rules created...


