


4
Configuration
Page 27
CELLX box 17.1/002
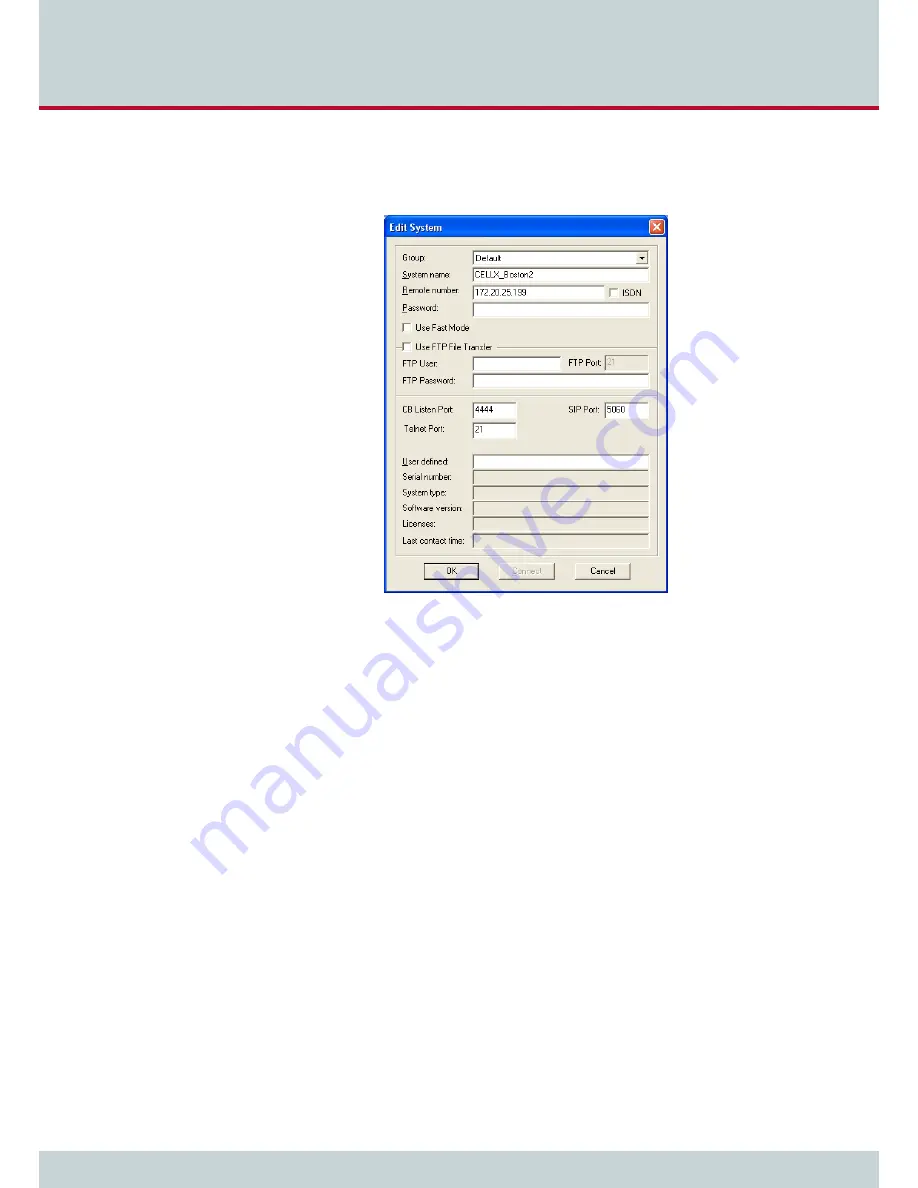
5. The
Edit System
dialog box will appear. Enter a meaningful name for your CELLX
Box to distinguish it from any others you plan to use. Enter the CELLX Box's IP
address. Click
OK
.
6. Click the green
Connect
button to connect to your CELLX Box.
Now you can run the maintenance tasks described in
Chapter 6 "Maintenance" on page 57
.
Before you go on with editing the config files, read the hints for the needed information in
Chapter 4.5
. After that familiarize yourself with the config files as described in
Chapter 4.6
on page 29
.
4.5 Required information for further scenarios
Let’s have a look at a typical deployment scenario for the CELLX Box, shown in
Figure 4.1
.
There are four clouds. The CELLX Box is connected to three of them:
1. the local and the telephone network with a PBX and two telephones (local network),
2. the
mobile network
connected with the public PSTN network, and
3. the
VoIP
network connected with the public PSTN network.
There are three types of hardware interfaces on the CELLX Box:
1. FXS – connects the CELLX Box with the telephones/PBX from telephone network
2. mobile – connects the CELLX Box with the mobile network
3. LAN – connects the CELLX Box with VoIP equipment (local and external VoIP devices).
The next task in the configuration is the activation of the interfaces – the configuration is al-
ready done for FXS and mobile, but some settings need to be made for VoIP.
Содержание CellX 3G-4
Страница 1: ...CELLX Box Systems Manual Software version 17 1 ...
Страница 7: ...1 Overview ...
Страница 12: ...2 System security and hardware overview ...
Страница 19: ...3 CELLX Box installation ...
Страница 23: ...4 Configuration ...
Страница 43: ...5 Adapting the config files ...
Страница 57: ...6 Maintenance ...
Страница 63: ...6 Maintenance Page 63 CELLX box 17 1 002 11 Send the trace to customer service 1 2 3 ...


