


3
CELLX Box installation
Page 21
CELLX box 17.1/002
3.3 Cabling
Before you carry out any assembly or servicing tasks, please read the safety instructions given
in
Chapter 2.1 on page 13
.
Make sure you have the following connections in place:
Ethernet connection
FXS or ISDN connection to the telephone equipment
Power (230 V)
3.3.1
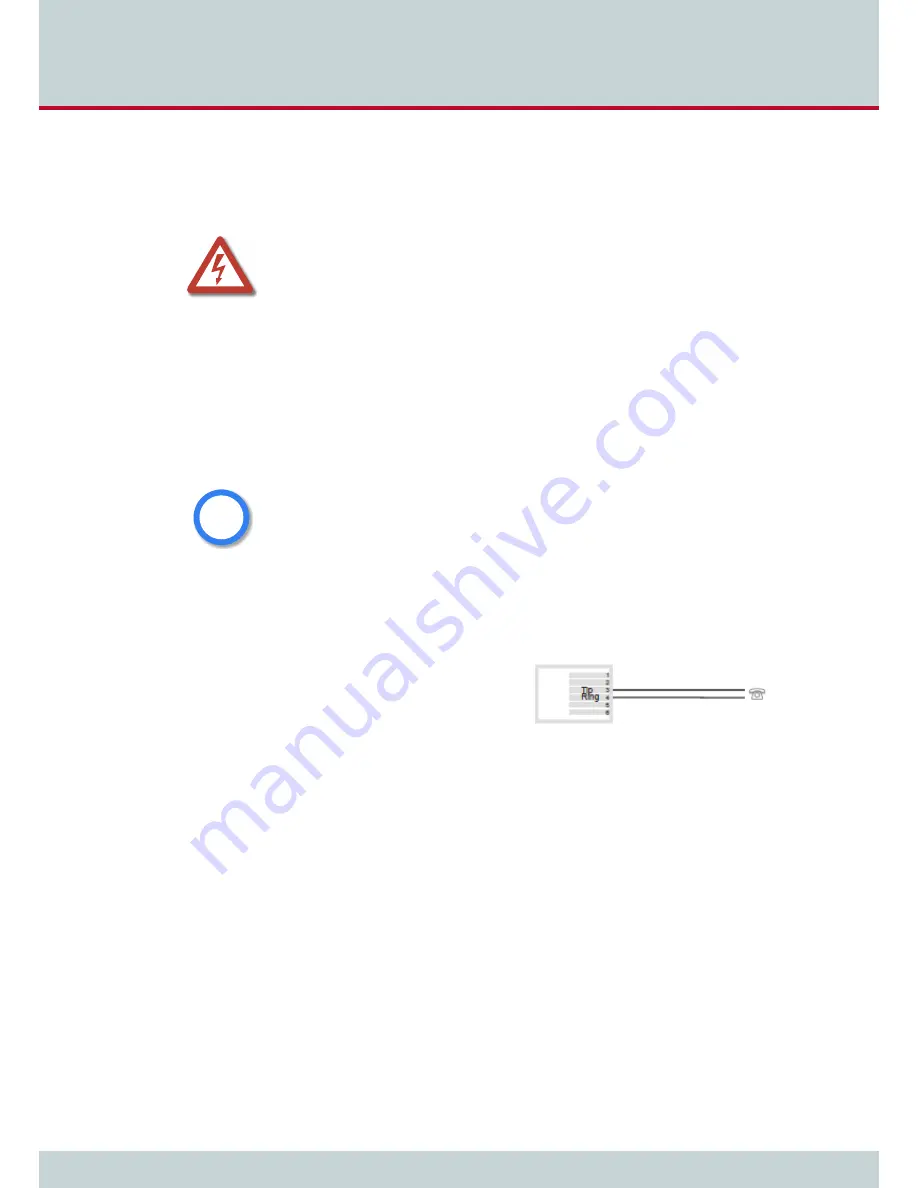
Analog wiring (optional for FXS)
You connect analog telephone device on the FXS ports.
When the device is properly connected, LED 6 blinks when you pick up the handset.
Figure 3.2
shows the standard pin assign-
ment for each FXS analog port.
Figure 3.2
Analog wiring scheme
3.3.2 Ethernet
wiring
This step is only needed for the advanced configuration in the failover
(see Chapter 1.2.2 on
page 10)
and cost saving model
(see Chapter 1.2.3 on page 11)
scenarios, or for mainte-
nance work on the CELLX Box.
Use the three-meter cable with gray connectors to connect the CELLX Box’s Ethernet port
ETH1 to an Ethernet switch in your network.
After successful connection, the LEDs on the Ethernet switch blinks.
3.3.3 Antenna
cabling
Place the antenna near a window or another place with good reception of the mobile signal.
Screw on the antenna to the SMA connector at the front of the CELLX Box.
Danger of electric shock - the power supply runs on 230 V. Use only the original power supply.
Do not use the power supply if it is damaged.
Bear in mind that telephone and WAN lines are also energized and can cause electric shocks.
Wire your system using only the cables included in the package contents. Use only proper Eth-
ernet cables.
Hold the device by its housing when you unplug it. Wall outlets can become mechanically
overloaded; do not pull on the cord.
If you do not use the supplied cable, make sure you use only a shielded Ethernet cable!
i
i
Содержание CellX 3G-4
Страница 1: ...CELLX Box Systems Manual Software version 17 1 ...
Страница 7: ...1 Overview ...
Страница 12: ...2 System security and hardware overview ...
Страница 19: ...3 CELLX Box installation ...
Страница 23: ...4 Configuration ...
Страница 43: ...5 Adapting the config files ...
Страница 57: ...6 Maintenance ...
Страница 63: ...6 Maintenance Page 63 CELLX box 17 1 002 11 Send the trace to customer service 1 2 3 ...


