Installation
Installation
Before connecting, installing, and powering on the instrument, read the Operating Requirements. (See page 4.)
Connection and power on
1.
Unpack the convertor (RSA7100) and the controller (CTRL7100).
2.
Ensure you have a monitor ready to connect to the controller.
3.
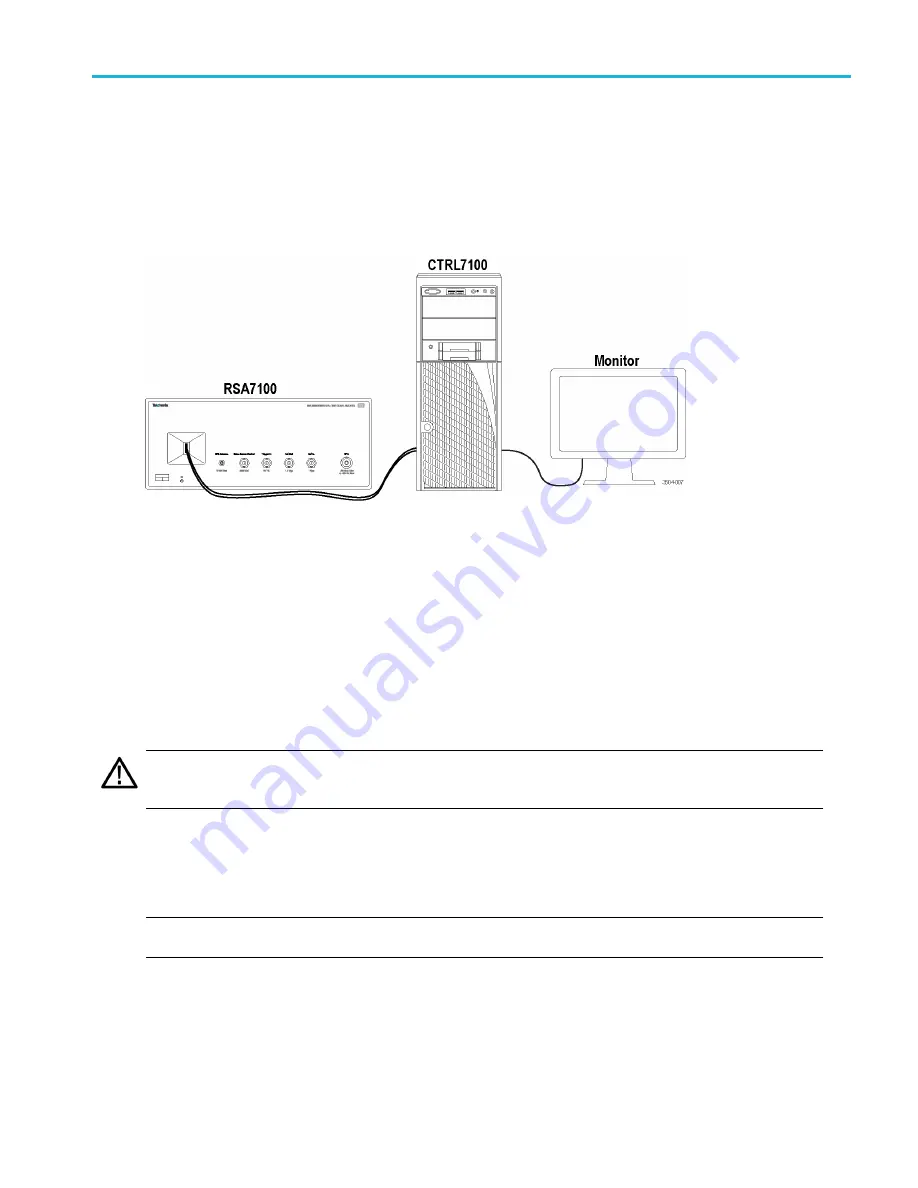
Set the convertor and controller on a surface, close enough together to allow for the PCIe connection.
4.
Connect a monitor, mouse, keyboard, and other accessories to the controller.
5.
Plug in the provided power cord to the controller and then to a power source.
6.
Plug in the provided power cord to the convertor and then to a power source.
7.
With the locking tab facing inward, connect the PCIe cable from the convertor front panel to the controller rear panel port.
CAUTION.
The PCIe cable has a locking tab. If you pull on the PCIe cable to disconnect it without
fi
rst using the locking tab,
you could damage the connector. To prevent damage to the connector, pull the locking tab toward you before pulling the
cable out to disconnect it.
8.
Push the power button on the controller to power on the RSA7100 and CTRL7100 system and to automatically launch
the SignalVu-PC application. The convertor will turn on after power is applied to the controller. The controller will
take several minutes to boot and launch SignalVu-PC.
NOTE.
The convertor fans default to 100% when the system is turned on. The fans will automatically reduce speed
after a minute or so.
RSA7100 Series Quick Start User Manual
11
Содержание RSA7100 Series
Страница 1: ...x RSA7100 Series Real Time Spectrum Analyzer ZZZ Quick Start User Manual 071 3504 10 ...
Страница 2: ......
Страница 6: ......
Страница 20: ...Preface xiv RSA7100 Series Quick Start User Manual ...
Страница 102: ...Operation 82 RSA7100 Series Quick Start User Manual ...


