INSTALLATION
INSTALLATION
P6L40-A4E
P6L40-A4E User’s Manual
User’s Manual
19
19
IDE Hard Drives and CD-ROMs
The on-board Enhanced IDE controller can support up to (4) IDE hard drives or other
ATAPI devices, such as CD-ROMs. This controller, as with all Enhanced IDE controllers,
consists of both
Primary
and
Secondary
ports. Each port has an associated connector and
cable which can support up to (2) ATAPI devices each.
All IDE devices have jumpers which allow the user to configure the device as either
“Master” or “Slave”. A Master device is one that is ALONE on the IDE cable, whereas a
Slave device is installed as a SECOND device on the same cable. Keep in mind that the
Master device will appear
before
the Slave device in the CMOS Setup, as well as the
Operating System software. *
Refer to the device documentation for jumper settings.
The Secondary IDE port can be used for up to (2) additional ATAPI devices. Normally it’s
recommended that you connect your first hard drive to the Primary port, and the first CD-
ROM to the Secondary.
Make sure to align the RED stripe on the ribbon cable with Pin-1 on the mainboard IDE
connector. On most hard drives and CD-ROMs, the RED stripe should be oriented towards
the power connector of the device.
Installing the Memory (DIMM)
•
The P6L40-A4E mainboard has three sockets available for
168-pin DIMMs
. They
must be 3.3 volt Unbuffered Synchronous DRAMs (SDRAM) or 3.3 volt EDO RAM.
•
DIMM Sizes supported:
8MB, 16MB, 32MB, 64MB,
and
128MB
•
A total of
(3)
DIMMs can be installed for a maximum RAM capacity of
384MB
.
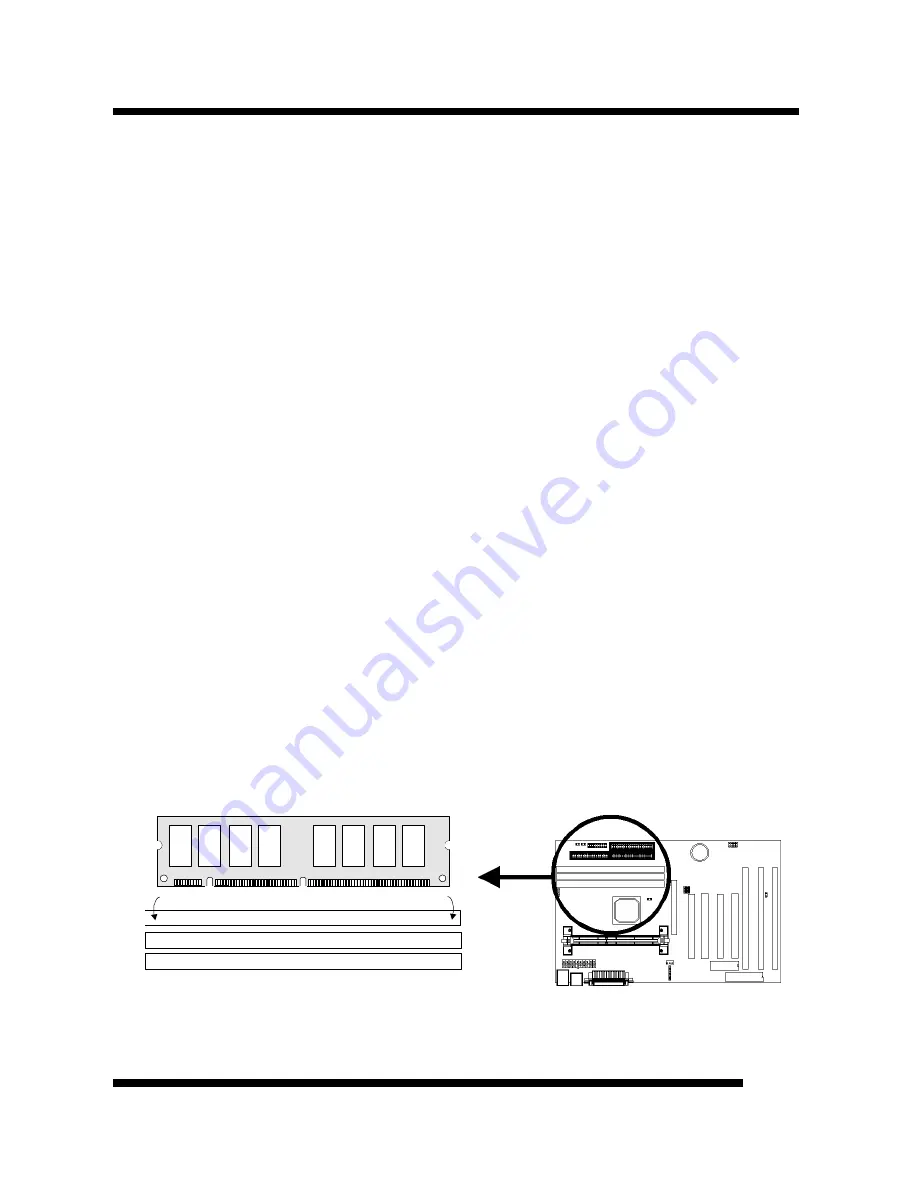
To insert the DIMMs, the modules must be oriented in the correct way. Notice the notches
of the DIMM. Align these notches as shown in the diagram below. Gently push the DIMM
until the retainers on both sides of the socket lock the module in place.
To remove a DIMM,
push the retainers outwards to release the module then pull the module out of the socket.
notch
notch
DIMM 3
DIMM 2
DIMM 1
1
1
1
1


