Revised 03/25/2020
8
1.)
Finding the Beam
a.)
Cli
ck the “Col. Valves Closed” button
to open the column valves (button
turns grey and status becomes “Ready”)
i.) If no beam is visible, try
decreasing the magnification (RC “Magnification”)
or moving the specimen stage (RC trackball), in case a grid bar is blocking
the beam path.
ii.) If these steps fail, see Troubleshooting (Section VIII).
2.)
Gun Tilt
a.) Set the microscope
magnification
(RC
“Magnification”) in the
10
−60 kx
range
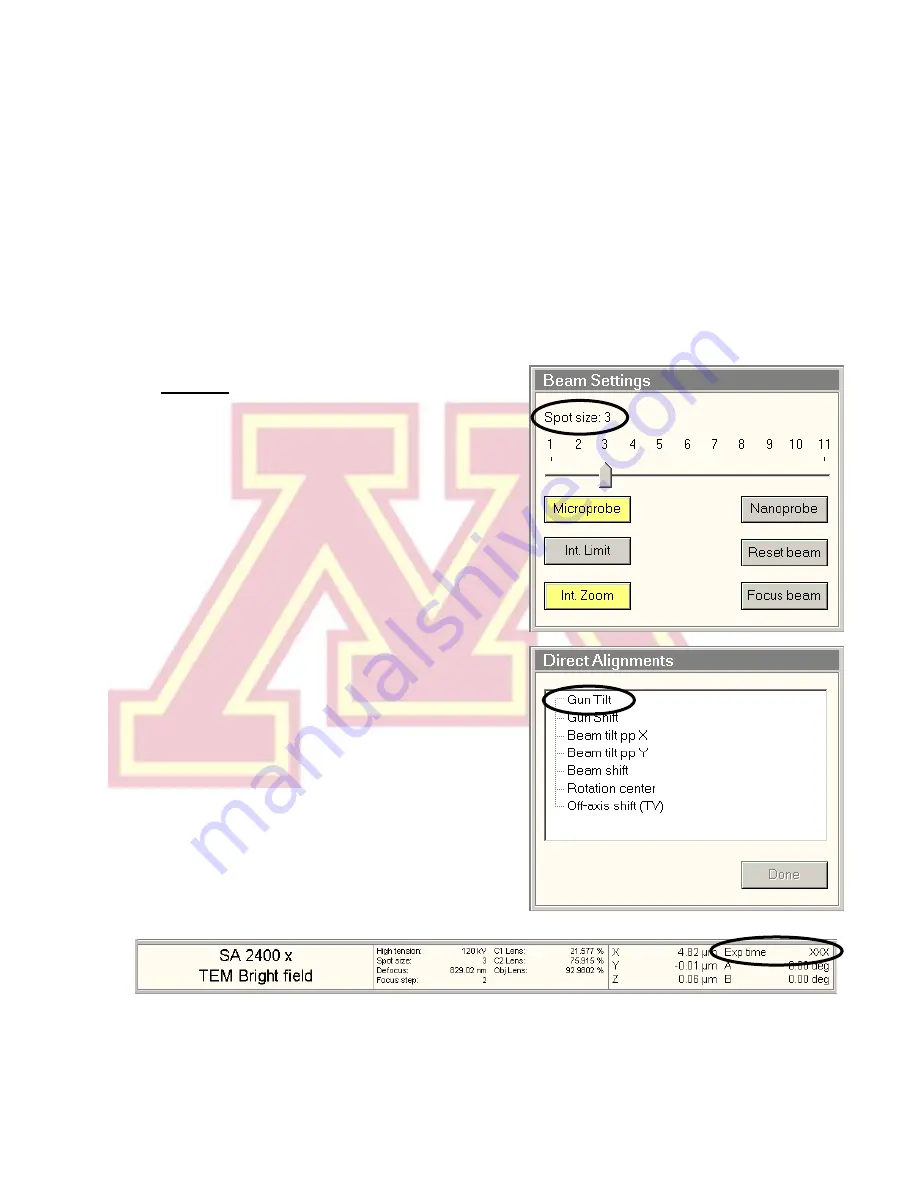
and set
“
Spot size
” to
3
.
b.)
Center
the beam using the
beam shift
(LC trackball) and
spread
the beam (LC
“Intensity”) clockwise from crossover to
~3/4 the size of the screen.
Note: If the beam is very asymmetrical,
roughly adjust the condenser stigmation
(see step 5).
c.)
Select “
Gun Tilt
” from the “Direct
Alignments” panel in the “Tune”
workspace.
d.) Adjust
the
gun
tilt
using
the
multifunction (MF) knobs
(LC & RC) to
produce
the
brightest
beam
by
minimizing the
Exposure time
. The
sensitivity of both MF knobs is controlled
by the +/
− buttons (LC).
e.)
Press “
Done
” in “Direct Alignments”.


