Revised 03/25/2020
15
2.)
Saving Images
Images should be saved locally and then transferred to your own storage via the
CharFac data server.
Please delete these files from the T12 computer and
data.charfac after you have secured their transfer. Any files older than 1
week may be subject to deletion without warning
if the drive(s) becomes full.
a.) Save images to the
“My documents” folder, preferably in a “T12” subdirectory.
b.) At the end of your session,
open WinSCP
(shortcut on desktop)
c.) Select the
“data.charfac.umn.edu” option and click “login”. You will
use your
X.500 username and password
(what you use for email, etc.)
d.)
Navigate to your directory
on the right-hand side
of the interface (if you start typing your username,
it should jump to it). You can
drag files from the
T12 PC to the right-hand window to transfer
them to your storage directory. If you use multiple
instruments, you may want to make a
“T12”
directory here.
e.) After transfer, close WinSCP and shutdown
normally.
f.) See addendum for instructions on remote file access.
3.)
Dark and Gain References
If consistent artifacts are present in acquired images, a new dark reference or
gain correction may be necessary. Follow these steps:
a.)
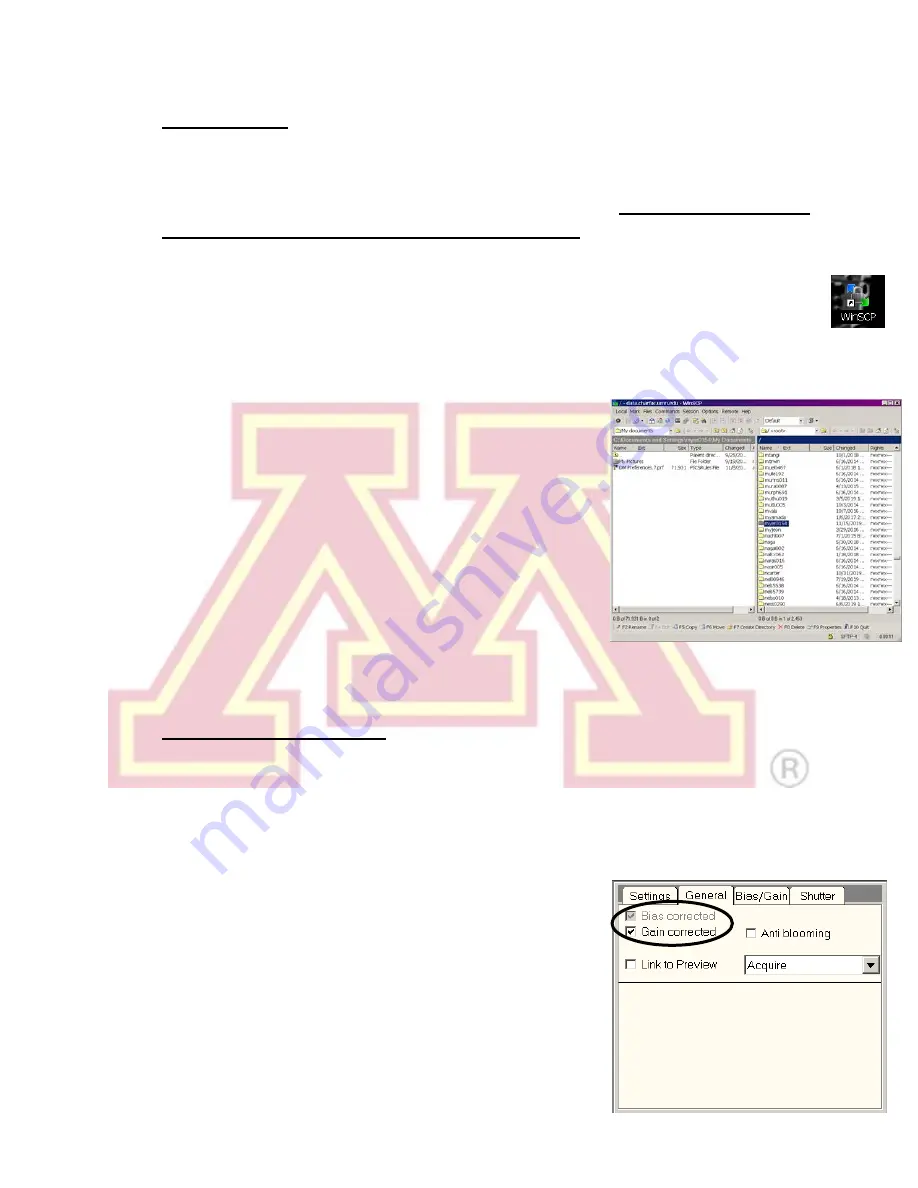
Verify that the “
Bias corrected
” and “
Gain corrected
” boxes
are checked
for
“Acquire” mode in the “General” flap-out panel of “CCD/TV Camera”.
b.) If both boxes are checked, first try preparing a
new
dark reference
(otherwise known as bias
reference) by clicking the “
Clear Bias
” button on
the “Bias/Gain” flap-out panel. (This can also be
done by selecting “Camera” → “Remove Dark
References” in Digital Micrograph.)


