Figure 8-3
There are totally six sections:
Section 1: There are eight function keys: monitor, E-map, record, save, alarm,
configuration, log and system.
Section 2: Here is for you to view channel video.
Section 3: Here is for you to select display mode. System supports various
display modes. HD item is for you to select priority between real-time and video
fluency.
Section 4: Here is for you to view current help information.
Section 5: Here is to display data flux and CPU status.
Section 6: There are four function buttons: PTZ, color, device, and plan. Please
note system only supports one window in full-screen. Here we recommend
resolution 1024*768.
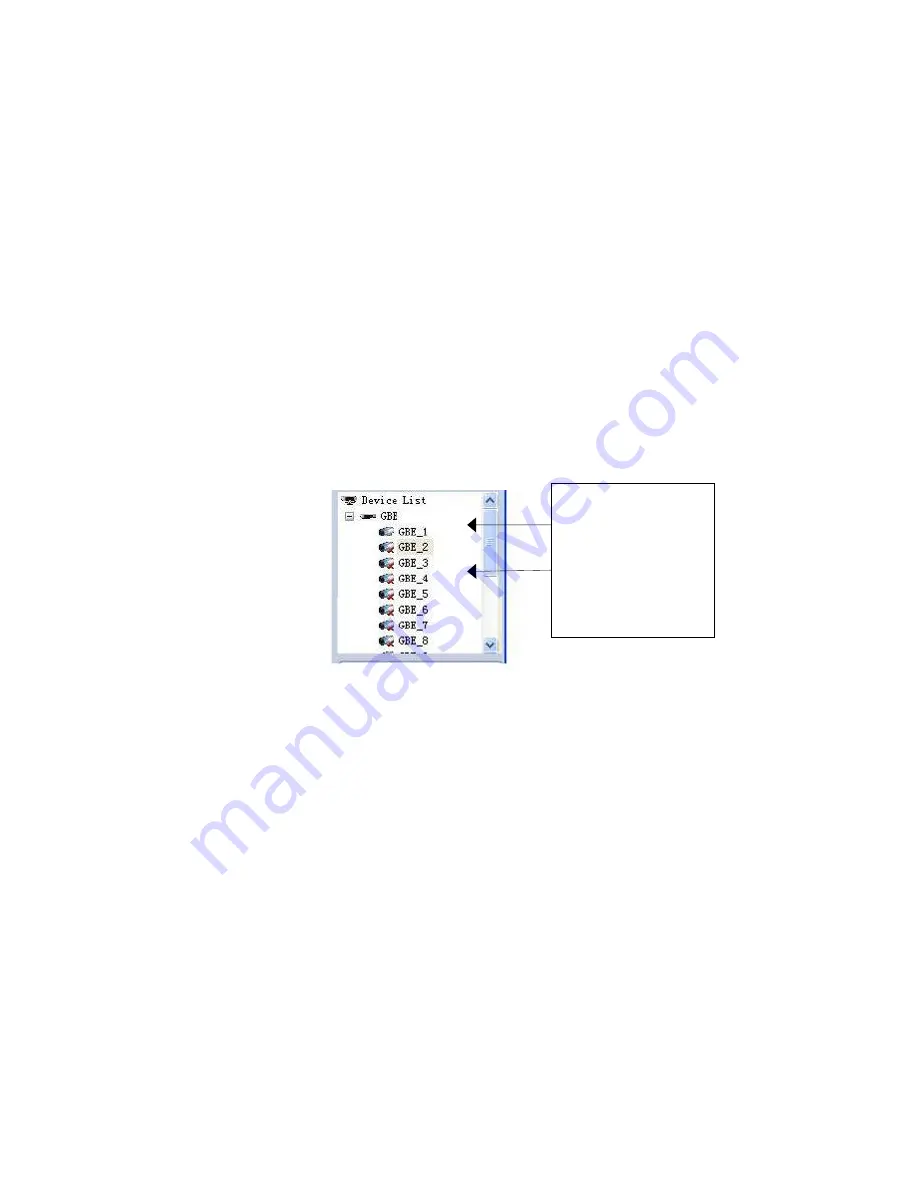
Select a device name and then click connect/disconnect button, you can connect
current device to network. You can see a little red -cross below the name
disappeared.
Click one window on you left side and then double click channel name on you right
hand, you can see the corresponding video in current window.
Please refer to Figure 8-4 for connection/disconnection information.
Connected channel
Disconnected channel
Figure 8-4
8.3 Add New Device
Click configuration button, you can see a network management unit shown as in
Figure 8-5.
There are five function buttons, from left to right: device management, user manager,
E-map, device configuration and upgrade.
129
Содержание DVR-LT016480
Страница 1: ...Standalone DVR User s Manual 1...
Страница 13: ...13...
Страница 19: ...Figure 2 3 2 2 2 Connection Sample Here is a connection sample for your reference See Figure 2 4 Figure 2 4 19...
Страница 44: ...Figure 4 15 Figure 4 16 Figure 4 17 44...
Страница 86: ...Figure 5 50 86...
Страница 91: ...Figure 6 11 91...
Страница 110: ...Figure 7 32 Mul DDNS Here you can select DDNS type This operation needs DVR device supported See Figure 7 33 110...
Страница 115: ...Figure 7 39 Figure 7 40 Figure 7 41 115...
Страница 130: ...Add organization structure Add device Figure 8 5 130...


