42
424 MKIII RECORDER
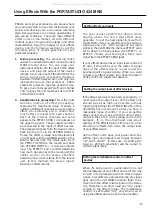
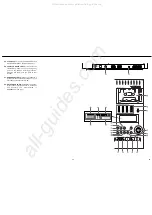
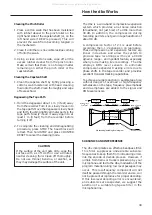
29. Cassette compartment door: To access the
cassette compartment for inserting or
removing a cassette, or cleaning the heads,
etc., lift the door, using the tab at the lower
right corner of the door. Once a cassette is
inserted, be sure to close the door to prevent
objects, dust or liquids from falling into the
tape path.
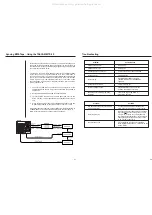
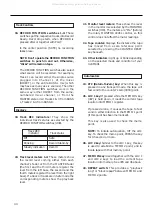
Tape path components
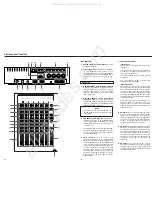
30. DBX NR switch: When this switch is set to its
ON position, the built-in dbx noise reduction
system for all 4 tracks is turned on. This is the
normal position for all recording and
playback.
When it is set to the SYNC position, Track 4 is
disconnected from the dbx system, so the
process does not affect the sync signals
going to and from track 4, but tracks 1-3 still
go through the dbx encode/decode process.
Use the SYNC position for recording and
playback of FSK sync or SMPTE time code.
The OFF position turns off the dbx noise
reduction completely. Use this position when
playing back tapes made with no noise
reduction, or with Dolby B type NR.
The dbx NR system provides a net noise
reduction (broadband, not just hiss) of about
30 dB, and also permits a net gain in tape
headroom of about 10 dB, allowing
recordings over a 90 dB dynamic range.
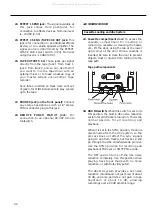
Cassette Loading and dbx System
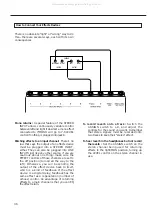
24. EFFECT 1 SEND jack : The signal available at
this jack comes from post-fader, for
connection to effects devices. Nominal level
is –10 dBV (0.3 V).
25. EFFECT 2 SEND /TAPE CUE OUT jack: This
jack is for connection to an additional effects
device, or to a studio speaker amplifier. The
signal source is determined by the EFFECT
2/TAPE CUE select switch (# 20). Nominal
output level is –10 dBV (0.3 V).
26. TAPE OUTPUTS 1-4: These jacks get signal
directly from the tape (jack 1 from track 1,
jack 2 from track 2, and so on). Use them if
you want to mix the tape down with an
external mixer or to make a backup copy of
your master 4-track onto another tape
recorder.
Sync tones recorded on track 4 are sent out
of jack 4, for MIDI instruments to play synced
up to the tape.
27. PHONES jack (on the front panel): Connect
any stereo headphones with a 1/4" stereo
TRS 3-conductor plug to this jack.
28. REMOTE PUNCH IN/OUT jack: For
connection to an optional RC-30P remote
footswitch.
All manuals and user guides at all-guides.com

