22
RECORDING OPERATION
Editing Recorded Programs
In this mode you can remove sections of the recorded program, so that during
playback, these sections will be skipped and playback will continue past the
removed section.
1. Open the DVR Menu by pressing
[DVR
] in Live TV mode.
2. Select the recorded program you wish to edit using
[
▲][▼].
Begin playback of the
selected program by pressing
[OK]
twice.
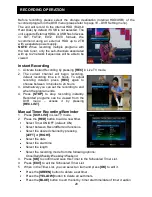
3. Once playback has begun, press the
[INFO]
button. This will display a playback
progress bar and a number of options using the coloured buttons:
Mark Point A
: Press the
[RED]
button during playback to set the start position of
the section to be removed. An “
A
” sign will be placed on the progress bar.
Mark Point B
: Press the
[GREEN]
button to set the end position of the section to
be remo
ved. A “
B
” sign will be placed on the progress bar.
Remove A-B
: Press
[YELLOW]
once you have set the section of the recorded
program to be removed. A dialog box will be displayed asking whether you wish to
remove the selected section. Select
Yes
and press the
OK
button. The section will
now be removed and will not be viewed during playback. This section will also
change from blue to purple in the progress bar when
[INFO]
is pressed. Should you
not wish to proceed with removing this section, select
NO
to change the section to
be cut, or select
Cancel
to exit completely and return to normal playback.
Blue Button - Recovery
: Press the
[BLUE]
button should you wish to bring back the
removed sections of the recorded program.
This will remove all removed sections and
the program will now play in its entirety.
NOTE
: You can remove as many sections within
the recorded program as you wish by simply
following the above steps again.
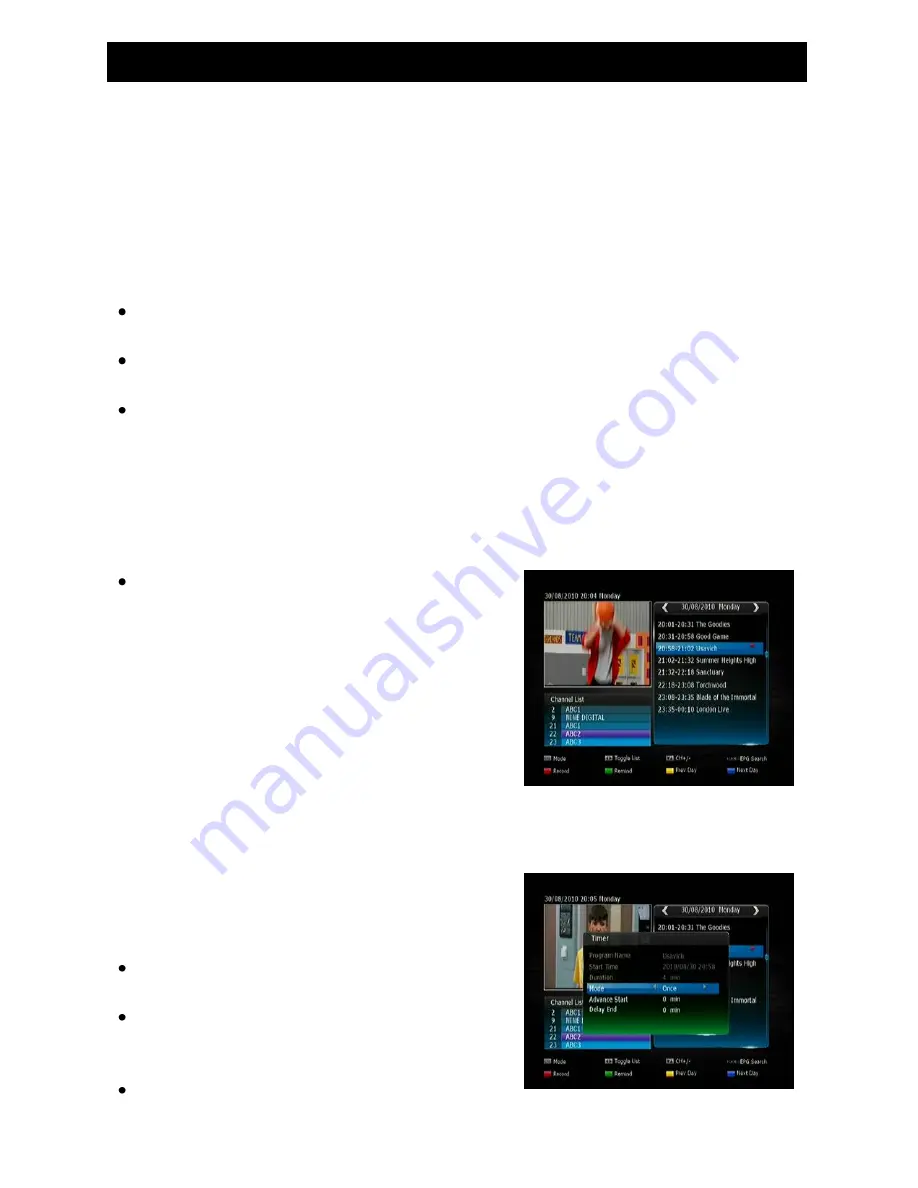
EPG Recording
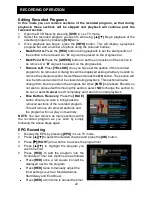
1. Display the EPG by pressing
[EPG]
in Live TV mode.
2. Press
[
▲][▼]
to select the desired channel and press the
[OK]
button.
3. Press
[
▶
]
(
RIGHT
) arrow button to access the program list
4. Press
[
▲][▼]
to highlight the program you
wish to record.
5. Press
[RED]
to add the program into the
Scheduled Timer List. Options are as follows:
Press
[RED]
once, a red square icon will be
displayed next to the program
Press
[RED]
twice to manually adjust the
timer settings (such as: Mode/Advance
Start/Delay and End times).
Press
[RED]
a third time to cancel the timer.
Содержание HDR9650TS
Страница 1: ......
Страница 2: ......
Страница 34: ...29 NETWORK 4 Select Security page and Edit 5 Select Add 6 Input guest to the box and select Check Names Apply...
Страница 38: ...33 NETWORK 15 Select Guest account and click the Remove button then click Apply and OK...
Страница 44: ......


