


User’s Manual
30
nector (VIDEO).
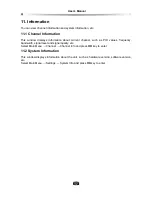
Time Zone Set:
Make sure that your local time is displayed correctly on this option, oth-
erwise, press
key to pop up a drop-down list, then press
keys to select the time
zone in which you live.
Closed Caption:
Set
SUBT
key function. Press
key to pop up a drop-down list. Press
keys to select “On” or “Off”.
Daylight Saving Time:
If daylight saving time is observed in your state at the moment, set
the option to “On”.
Note: Daylight saving time adds one hour to the time when the option is set to “On”.
When setting the time offset from Greenwich Mean Time, make sure that the time
offset does not include daylight saving time.
Audio Decode:
The unit can output two types of digital audio signals via the S/P DIF
connector. One is an encoded signal, and the other is a decoded signal. If your digital audio
system does not have a Dolby Digital decoder, you have to set the option to “PCM”. Oth-
erwise, set it to “Dolby Digital”.
Note: If the channel you are currently watching does not provide Dolby digital, you
cannot watch the program with Dolby sound even though you set the option to AC3.
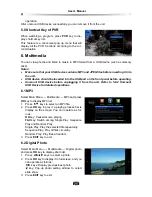
PIP:
Refer to
3.8 Picture in Picture (PIP).
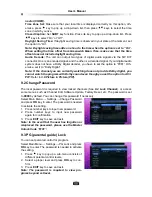
9.2 Change Password
The local password is required to view locked channels (See
8.2 Lock Channel
), or access
some menus, such as Channel Edit, Software Update, Factory Reset, etc. The password is set
to
0000
by default. You can change this password if necessary.
Select Main Menu
→
Settings
→
Change Password
and press
OK
key to enter. The password is needed
to activate the setting.
1. Press number keys to input new password.
2. Press number keys to input new password
again for confirmation.
3. Press
EXIT
key to save and exit.
Note:
In the event that the user has forgotten or
misplaced the password, please use the Master
Unlock Code “8101”.
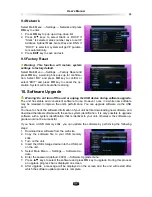
9.3 PG (parental guide) Lock
You can set parental control for program.
Select Main Menu
→
Settings
→
PG Lock and press
OK
key to enter. The password is needed to activate
the setting.
1. Press
key to pop up a sub-menu consists of
different parental control levels.
2. Select a proper level and press
OK
key to con-
firm.
3. Press
EXIT
key to save and exit.
Note: The password is required to view pro-
grams beyond set level.