


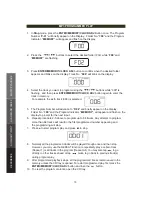


2.)
Press the
ENTER/MEMORY/CLOCK ADJUST
button once. The preset channel
number "
P - 01
" and “
MEMORY”
will appear with “
01
” and “
MEMORY”
flashing on
the display.
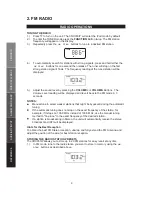
3.)
To change the preset channel number location, press the
FOLDER/PRESET
+
or
FOLDER/PRESET
-
Buttons to scroll through the preset locations (P-01~P-20).
For example the preset channel number P-10 is selected for this station.
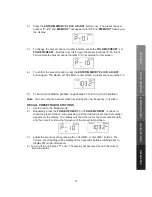
4.)
To confirm the preset location, press the
ENTER/MEMORY/CLOCK ADJUST
button again. The station at 103.2 MHz is now stored in preset channel number 10.
5.) To store more station presets, repeat steps 1 to 4 for up to 20 stations.
Note
: You can overwrite a preset station by storing the new frequency in its place.
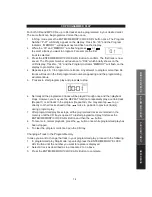
RECALL PRESET RADIO STATIONS
1.)
Set the unit to the
Tuner
mode.
2.)
Repeatedly press the
FOLDER/
or
FOLDER/PRESET
-
buttons to
recall the preset stations. Stop pressing until the desired preset channel number
appears on the display. The display will show the preset channel number briefly
and then revert to show the frequency of the preset radio station.
3.)
Adjust the sound level by pressing the or VOLUME- buttons. The
Volume Level reading will be displayed for 3 seconds before switching back to
display FM mode information.
4.) To turn off the unit, press
once. The display will become dim and the current
time will display.
10
FM RADIO
MUSIC PLA
YBACK
ALARM
AND SLEEP
AUXILIAR
Y
INPUT
REFERENCE
Содержание CRX350iP
Страница 1: ...Docking Alarm Clock for iPhone and iPod CRX350iP...
Страница 2: ......
Страница 23: ......
Страница 24: ...TEAC CUSTOMER SUPPORT HOTLINE TCS...


