


TASCAM CD-9010
19
4 – Playback
Setting the playback point
Selecting tracks
Use the TRACK
.
/
/
buttons to select tracks.
.
button
Press to move to the start of the current track when the elapsed
time of the current track is greater than one second. When the
elapsed time is less than one second, press this to skip to the
beginning of the previous track.
/
button
Press to skip to the beginning of the next track. Press again to
skip to the beginning of the track after that.
NOTE
When in program playback mode, tracks will be skipped in
•
the program order.
When at the beginning of the first track, press the
•
.
button to skip to the beginning of the last track. When at the
beginning of the last track, press the
/
button to skip to
the beginning of the first track.
Operation after selection of a track
When the TRACK
.
/
/
buttons are used to select a track,
what happens next depends on the unit's status and auto cue
function setting. (See "Auto cue function" on page 19.)
When Auto Cue is ON
The unit enters playback standby at the first position within
the track where the signal reaches the level set using the
PLAY
menu
AUTO CUE LEVEL
item.
When Auto Cue is OFF
The unit enters playback standby at the beginning of the
track.
Searching within tracks
When playback is stopped, the unit is in playback standby, or
during monitoring or jog playback, press and hold the SEARCH
m
/
,
buttons to search for a cue point.
While pressing one of the SEARCH
,
or
m
buttons to
search within a track, you can change the search speed by
pressing the other SEARCH
m
/
,
button.
Auto cue function
If the auto cue function is ON, and you select a track for
playback, any “silence” at the beginning of the track will be
skipped, and the unit will enter playback standby at the first
point where the track's “signal” is audible. As a result, sound will
be heard immediately when playback starts.
NOTE
When using the cue function, the Auto Cue function is
•
disabled.
If a track is selected when AUTO CUE is ON, the unit enters
•
playback standby at the first point where the track is
audible.
The AUTO CUE function setting is retained even when the
•
power is turned OFF.
You can specify the threshold level (
AUTO CUE LEVEL
) used to
detect the audio signal when the Auto Cue function is activated.
In other words, any signal higher than the
AUTO CUE LEVEL
will
be treated as “signal,” and any signal lower than this level will be
treated as “silence.”
1. Press the
MENU
button to open the
MENU
screen.
2.
Open the
PLAY
menu.
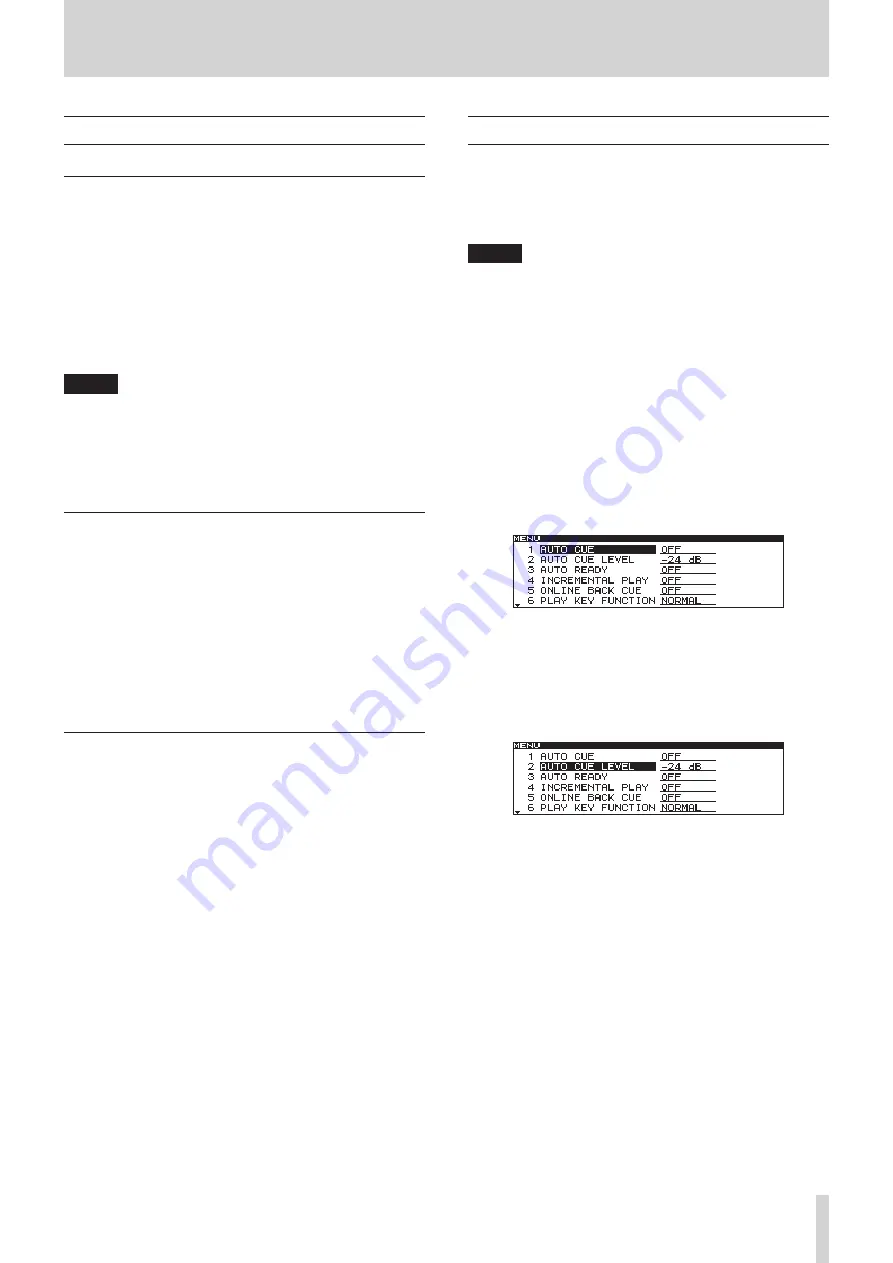
3. Select
AUTO CUE
.
4. Press the
DATA
dial to move the cursor right to select the
setting.
5. Turn the
DATA
dial to set the value to
ON
(default is
OFF
).
6. Press the
DATA
dial to move the cursor to the left, and
return to menu item selection.
7. Select
AUTO CUE LEVEL
.
8. Press the
DATA
dial to move the cursor right to select the
setting.
9. Turn the
DATA
dial to set the desired auto cue level.
Values:
•
–24 dB
to
–72 dB
(6 dB steps, default
–24 dB
)
10. After setting the value, press the
HOME
button to return
to the Home Screen.


