71
Recording Settings
NOTE:
- If the computer clock is set incorrectly the programmed start time will also be incorrect. Make sure the clock
settings are correct before starting a recording session.
- When using RTR-52Pt, please makes sure to carry out sensor settings as detailed in "RTR-52Pt Sensor
Settings" on p.120. If you wish to use adjustment functions please carry out settings as detailed in "RTR-
52Pt Adjustment" on p.121.
1.
Open [RTR-5W for Windows].
2.
From the Administration Tree, select the Remote Unit for which you wish to make
recording settings, and in the [Settings] Menu, select [Start / Stop Recording].
3.
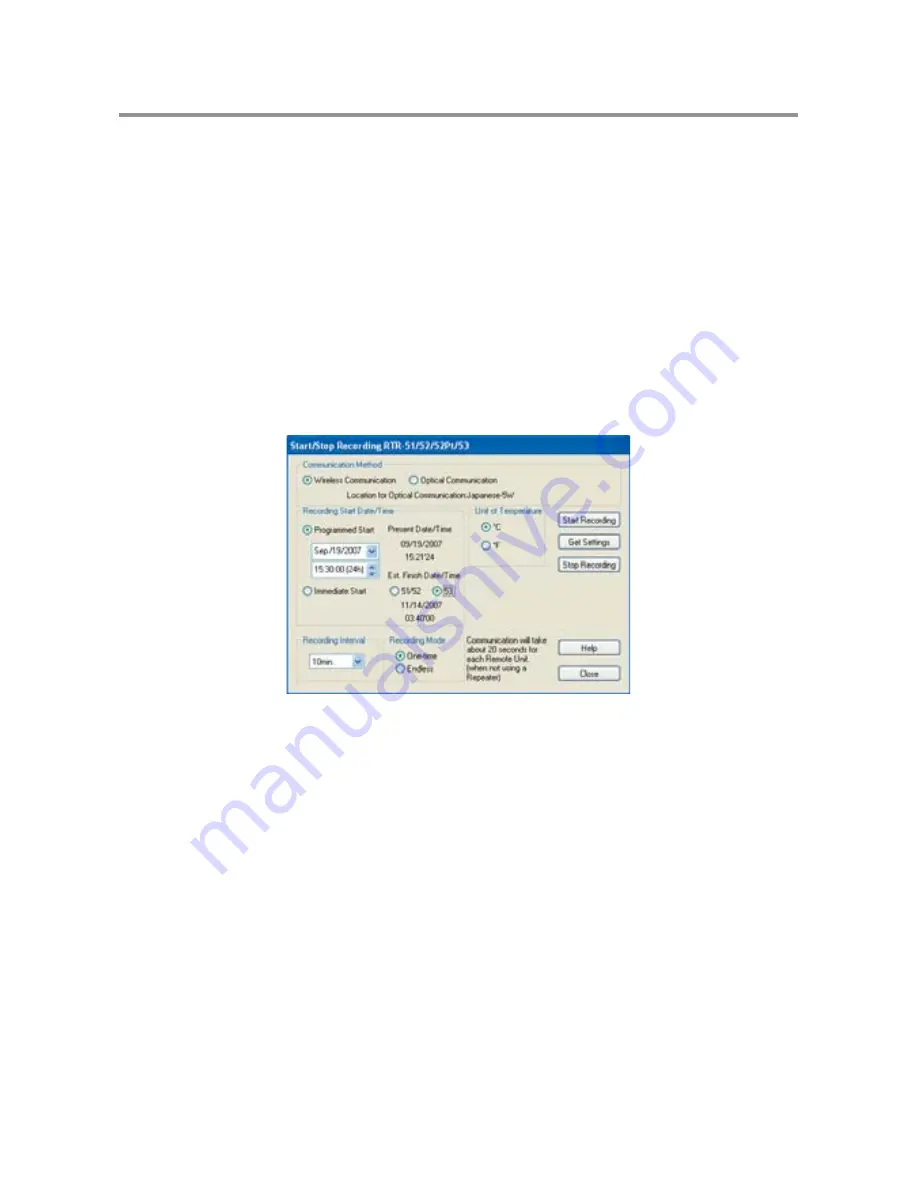
Setting the Recording Conditions.
Communication Method: <Select from: Wireless Communication / Optical Communication>
Select the communication method to be used between the Remote Unit and the Base Station
(RTR-5W).
*If more than one Remote Unit have been selected, only wireless communication can be used.
Recording Start Time: <Select from: Immediate Start / Programmed Start>
Programmed Start: Recording will begin on the set date and time.
Immediate Start: Recording will start after the [Start Recording] Button has been clicked.
When using RTR-51/52/53 units, by selecting the type of unit it is possible to view the
estimated recording fi nish time.
Recording Interval: <Select from: 1,2,5,10,15,20,30 seconds, or 1,2,5,10,15,20,30,60 minutes>
Click the
ɥ
Button to select an interval from the list.
Recording Mode: <Select from: Endless / One Time>
Endless Loop: Upon reaching capacity of 16,000 readings, the oldest data is overwritten and
recording continues.
One Time: Upon reaching capacity of 16,000 readings, [FULL] will appear in the LCD display
and recording will automatically stop.
*For RTR-53, the unit will become full at 8,000 readings in each channel.


