


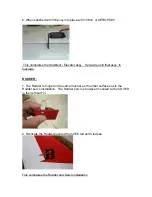


26. Shorten the latch pin by pulling the latch back, holding and cutting the pin
LEAVING 1/16” pin REMAINING.
27. Locate the latch pin opening as you did for the Main Hatch.
28. Locate and cut the latch lever slot into the Fuselage. Mount the latch using
CA tack. Than finish with Hysol 9462.
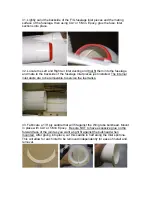
29. Mark the Canopy Frame as you did for the Main Hatch using the latch pin,
drill to receive the pin. Mount the Canopy Frame and check fit.
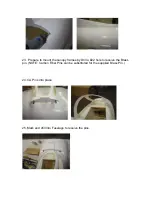
30. Install the Canopy only after you have completed your painting using silicone
or RC-56 canopy glue.
Содержание A4 Skyhawk
Страница 3: ......
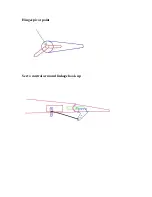
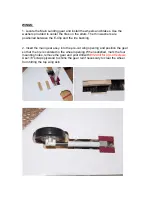
Страница 4: ...Hinges pivot point Servo control arm and linkage hook up ...
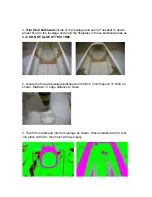
Страница 25: ...11 Install wheel pod Note try fit the wheel pod to made sure you had the correct side before doing any work ...
Страница 35: ...9 Hump option installation 10 Tail Hook installation ...
Страница 36: ...11 Fuel Probe 12 Left side fin This completes the final assy ...


