


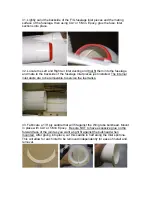


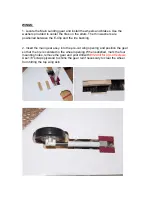


21. Using the Black Magic Marker, coat the end of the hatch pin, install hatch,
pull back and release striking the fuselage identifying the location of the pin. Drill
a
1/16”
hole at this location. Repeat for both latches.
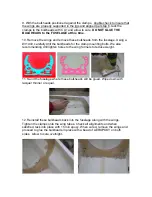
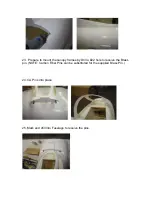
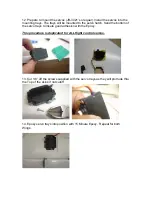
21. Locate a hole in each
FRONT corner
of the Main Hatch for the mounting of
the brass tube pins. Epoxy the pins into each hole allowing ¼” to stick out. Allow
to cure. (NOTE: Carbon Fiber Pins can be substituted for the supplied Brass
Pins)
22. Now transfer the location of the pins to the fuselage as shown, then drill to
accept the pins. This completes the Main Hatch Installation.
Содержание A4 Skyhawk
Страница 3: ......
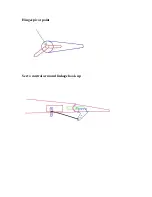
Страница 4: ...Hinges pivot point Servo control arm and linkage hook up ...
Страница 25: ...11 Install wheel pod Note try fit the wheel pod to made sure you had the correct side before doing any work ...
Страница 35: ...9 Hump option installation 10 Tail Hook installation ...
Страница 36: ...11 Fuel Probe 12 Left side fin This completes the final assy ...


