10
TALKSWITCH VOIP NETWORK CONFIGURATION GUIDE
STEP 3 — CONFIGURE TALKSWITCH TO REGISTER
WITH THE TALKSWITCH SIP SERVER
To make and receive VoIP calls, TalkSwitch systems must be configured to register
with the system designated as the SIP server. This step describes how to configure
a TalkSwitch system to register with the SIP server.
1.
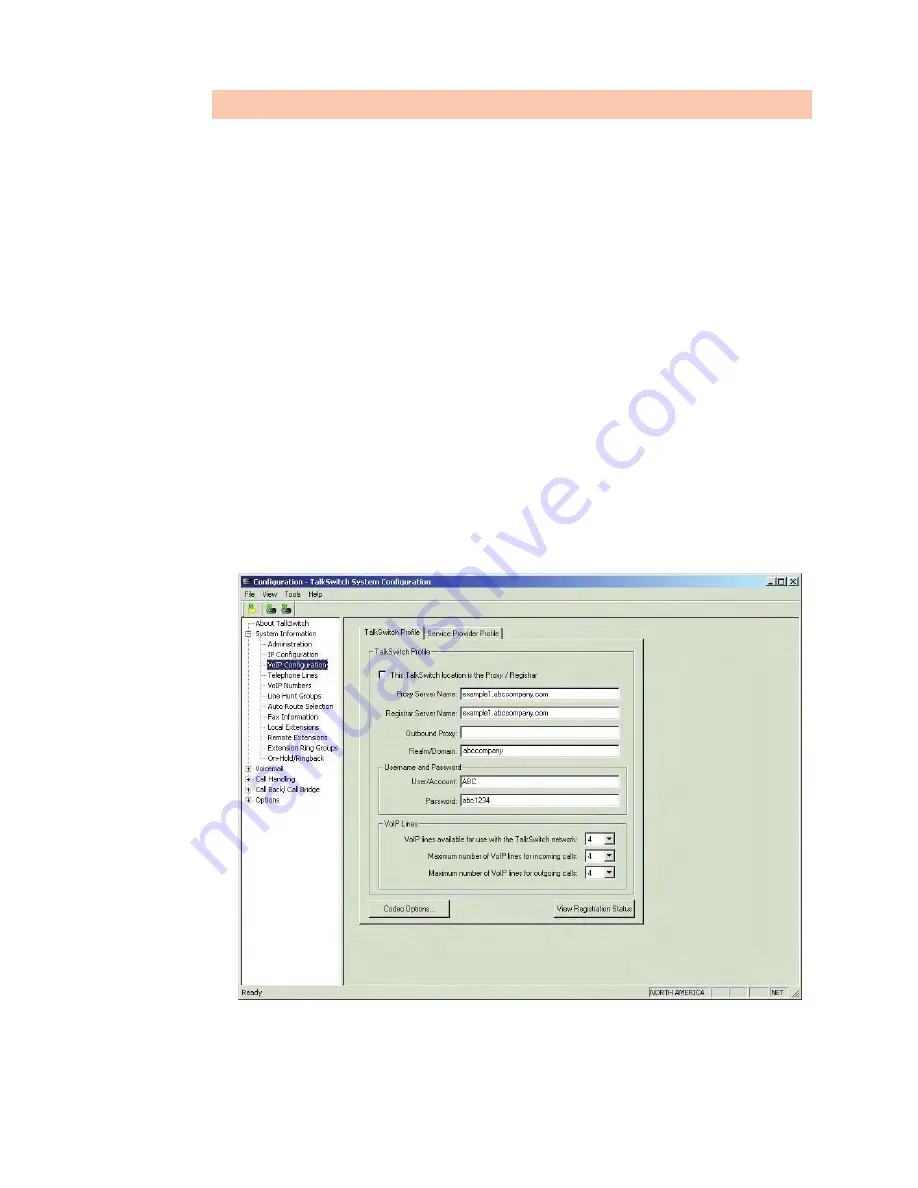
In the
TalkSwitch System Configuration
window, select
System Information ->
VoIP Configuration
from the menu on the left.
2.
Enter the
Proxy Server Name
and
Registrar Server Name
in the appropriate
fields. These should be the same as those specified for the SIP server.
3.
Leave the
Outbound Proxy
blank. In the
Realm/Domain
field, enter a name for
your network (example: abccompany).
4.
If authentication was enabled for the SIP server, then enter the
User/Account
name and system
Password
in the appropriate fields. These should be the same
as that specified for the SIP server.
5.
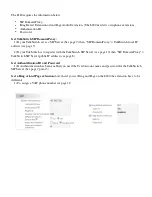
TalkSwitch provides options to reserve or limit the number of VoIP lines used
for calls. For details, see next page.
If using TalkSwitch with a VoIP Service Provider, proceed to STEP 6.


