


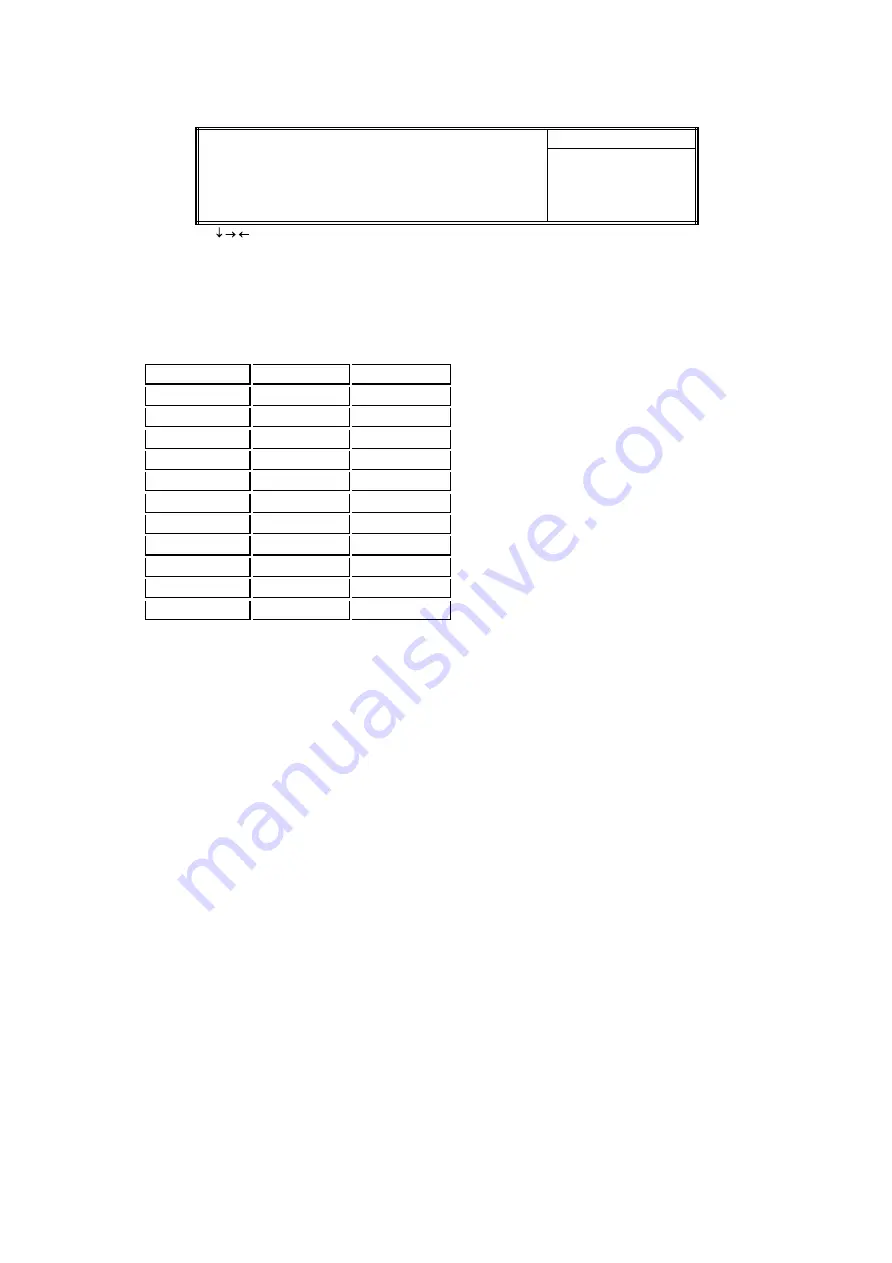
3.9 Frequency Control
Figure 3.9 Frequency Control
CMOS Setup Utility - Copyright ( C ) 1984 - 2000 Award Software
Frequency Control
CPU Host/PCI Clock
Default
Item Help
Menu Level >
¯
®
¬
: Move Enter : Select +/-/PU/PD : Value F10 : Save ESC : Exit F1 : General Help
F5 : Previous Value F6 : Fail-Safe Defaults F7 : Optimized Defaults
3.9.1 CPU Host/PCI Clock
Select Default, 66, 75 or 83MHz if your CPU is 66MHz FSB and select Default, 100, 103, 112 or 124, if
the CPU is 100MHz FSB. When CPU is 133MHz FSB, you can select the 124, 133, 140 or 150MHz.
The 75, 83, 103, 112, 124, 140 and 150 MHz frequency are optional.
Ext. frequency
AGP
PCI
66MHz
66MHz
33MHz
75MHz
75MHz
37.5MHz
83MHz
83MHz
41.6MHz
100MHz
66MHz
33MHz
103MHz
68.6MHz
34.3MHz
112MHz
74.6MHz
37.33MHz
124MHz
82.6MHz
41.33MHz
124MHz
82.6MHz
31MHz
133MHz
66MHz
33.25MHz
140MHz
70MHz
35MHz
150MHz
75MHz
37.5MHz
Notice:
The 75, 83, 103, 112, 124, 140 and 150MHz frequency are over specification.
You must install 8ns or faster DIMM on board if you set 103, 112 or 124MHz as external frequency and
must install 7ns or faster DIMM on board if you set 133 or 140MHz as external frequency. If the
external frequency is 150MHz, you must have installed 6ns or faster DIMM on board.
Warning: Over specification operations are not recommended.
3.10 Load Fail-Safe Defaults
This loads the troubleshooting default values permanently stored in the ROM chips. These settings are not
optimal and turn off all high performance features. You should use these values only if you have hardware
problems. Highlight this option in the main menu and press <Enter>. The message below will appear.
Load Fail-Safe Defaults (Y/N)?N
If you want to process, type <Y> and press <Enter>. The default settings will be loaded.
3.11 Load Optimized Defaults
This feature loads optimized setting from the BIOS ROM. Use the default values as standard values for your
system. Highlight this option in the main menu and press <Enter>. The message below will appear.
Load Optimized Defaults (Y/N)?N
Type <Y> and press <Enter> to load the Setup default values.
3.12 Set Supervisor/User Password
You can assign, modify, or cancel password settings. To modify, highlight "Set Supervisor Password" or "Set
User Password" and press the
<
Enter
>
key. The screen will prompt you ("Enter Password:"). Enter your
password. The maximum size of the password is 8 characters. System will prompt you to reenter the
password to verify. Remember the passwords are case sensitive.
If you want to remove the passwords, either delete passwords or press
<
Enter
>
when prompting for new
password.
If you want it to require password upon initial system startup and upon entering the CMOS Setup Utility,
you will need to change the selection of the (Security Option) under (Advanced BIOS Features ) to
"System".


