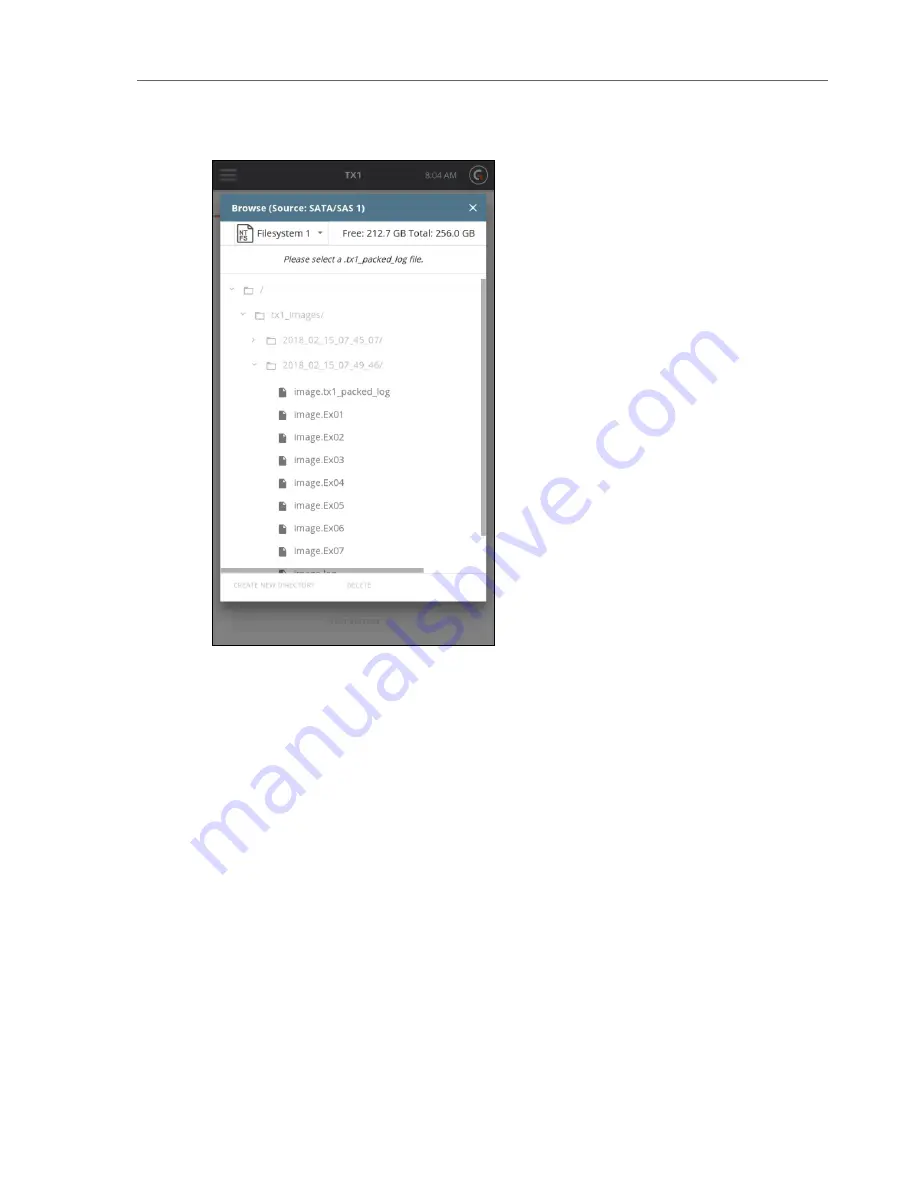
4. Select a Destination drive and, if desired, enable the Trim feature which will apply a DCO
on the destination to make it appear exactly as large as the original source drive.
5. If desired, enable read-back verification. This will read the entire destination drive back
after the Restore job is complete, calculate a read-back hash value, and compare that
value with the original image file acquisition hash.
CHAPTER 4 Using the TX1
87
Содержание TX1
Страница 1: ...USER GUIDE Tableau TX1 Version 2 0...
Страница 6: ...vi...
Страница 7: ...CHAPTER 1 PREFACE About this Guide 8 Drive Capacity and Transfer Rate Measurement Conventions 8...
Страница 22: ...22 Tableau TX1 User Guide Version 2 0...
Страница 32: ...32 Tableau TX1 User Guide Version 2 0...
Страница 56: ...3 Tap the Start Hash button at the bottom of the screen 56 Tableau TX1 User Guide Version 2 0...
Страница 83: ...The verification process begins A job status modal displays the verification status CHAPTER 4 Using the TX1 83...
Страница 98: ...98 Tableau TX1 User Guide Version 2 0...
Страница 108: ...108 Tableau TX1 User Guide Version 2 0...
Страница 110: ...110 Tableau TX1 User Guide Version 2 0...
Страница 111: ...CHAPTER 5 ADAPTERS Overview 112 IDE Adapter 112 PCIe Adapters 113 Apple Target Disk Mode Acquisition Adapters 113...
Страница 116: ...116 Tableau TX1 User Guide Version 2 0...
Страница 117: ...CHAPTER 6 SPECIFICATIONS TROUBLESHOOTING AND SUPPORT Specifications 118 Troubleshooting Common Problems 120 Support 121...
Страница 122: ...122 Tableau TX1 User Guide Version 2 0...


