background image

3

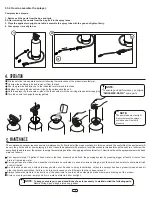
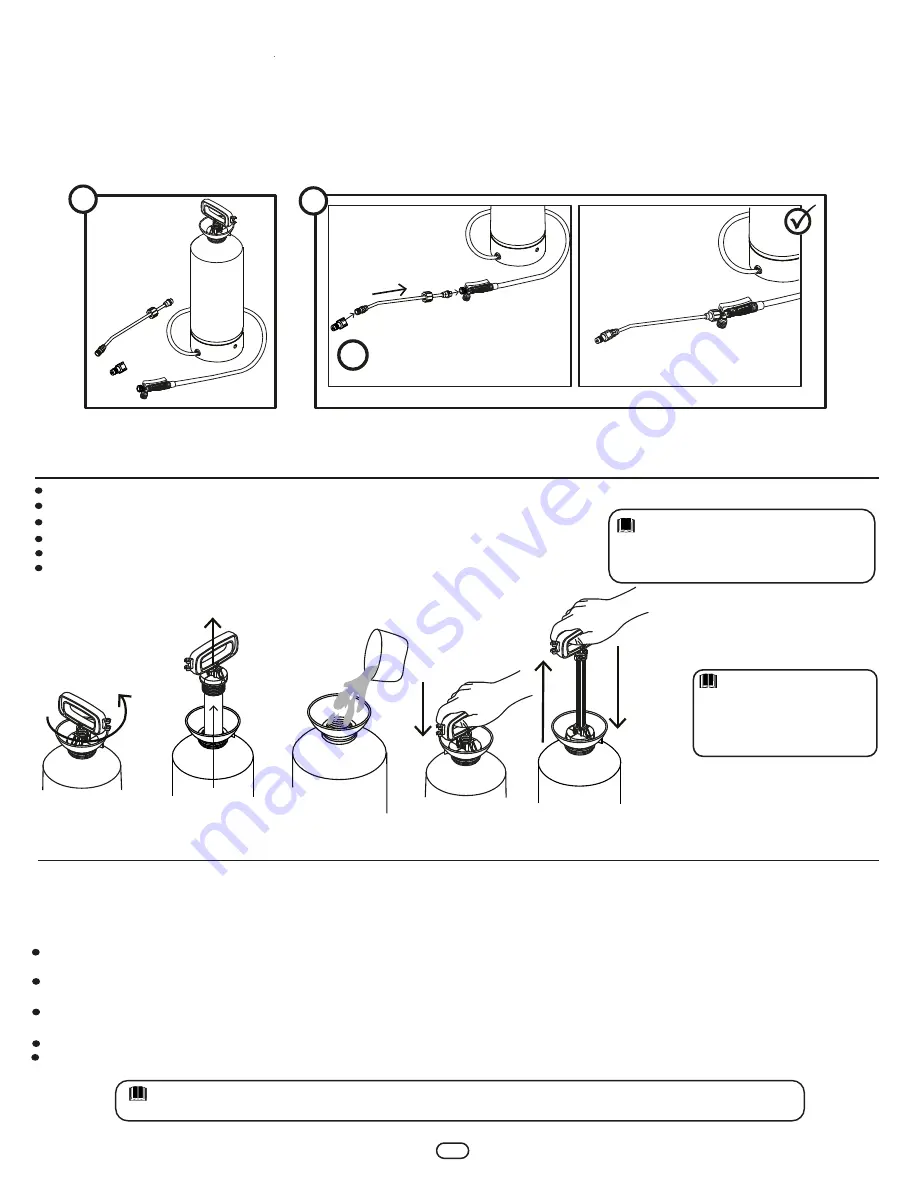
Compression sprayers:

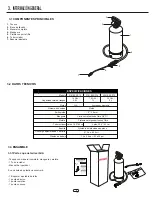
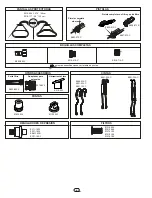
1. Remove all the parts from the box and tank.

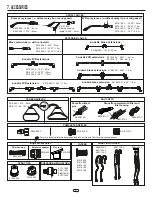
2. After removing the nozzle from the bag fix it in the spray lance.

3. Place the applicator upright on a table, assemble the spray tube with the gun and tighten firmly.

4. Your sprayer is ready to use.

3.3.2 How to assemble the sprayer:

MAINTENANCE

5.

The compression sprayer requires minimum maintenance. Follow in detail the steps mentioned in this manual and the useful life of the equipment will 

be very long. At the end of your spraying job, don’t leave the applicator with pressure, let all the pressure release through the nozzle, or unscrew the 

pump handle and turn over the sprayer to empty the remaining solution in an appropriate container for it. Now rinse the entire sprayer system with fresh 

water, as follows:

OPERATION

4.

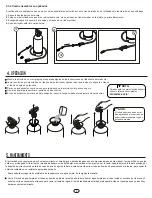
Mix the solution in a separate container following the instructions of the product manufacturer.

Unscrew the pumping tube and remove it from the tank.

Pour the pre-mixed solution up to the indicated level marked in the tank.

Replace the pump tube and screw it tightly, then pressurize the unit.

Hold the sprayer by the handle or place it on the shoulder with the carrying strap and start applying.

Turn the nozzle to change the spray pattern.

The pump tube must be tight 

firmly otherwise the sprayer

will leak and will not hold 

pressure.

NOTE:

1

2

3

NOTE:

To ensure good performance use original 

“SWISSMEX-RAPID” 

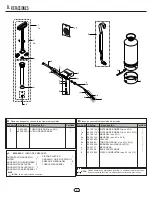
spare parts

Pour approximately 1/2 gallon of fresh water in the tank, pressurize and flush, the pumping system by pressing trigger at least 2 minutes, then 

drain all remaining water.

Carrying straps are made of non-absorbent materials, nevertheless in case of solution spillage, wash them with fresh water to eliminate all risk 

of skin irritation.

A unit that has been used with herbicides should never be used to spray insecticides, unless the sprayer has been properly cleaned and all 

other chemicals neutralized. Failure to do this could cause you to kill plants that have been sprayed. 

Always follow manufacturer’s instructions of the chemicals in use to avoid accidents and take maximum advantage of the product.

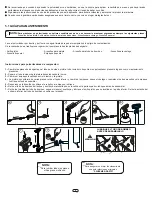
Store your sprayer clean, empty and dry in a place protected from sunlight.

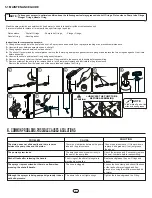
To keep your sprayer in good conditions of use is necessary to maintain oiled the following parts:

Nozzle O-rings, gun o-rings, piston ring, gasket.

NOTE:

Содержание 318195

Страница 1: ...with an inter nal piston system very practical and secure Ideal for the application of insecticides pesticides and liquid fertilizers BNSPCIL 1019E EX R00 Litho d in M xico Impreso en M xico OPERATOR...

Страница 2: ...lems possible causes and solutions 4 Accessories 5 Spare parts 6 Storage 7 Warranty 7 1 2 3 4 6 5 7 8 9 10 SAFETY MEASURES 2 2 PROTECTION EQUIPMENT 2 1 Read this manual carefully before operating the...

Страница 3: ...rrying strap Padded and adjustable N A Pump system Piston Pist n sleeve 1 5 38 mm Professional with filter Work pressure 1 a 2 5 bar 22 a 36 psi Discharge at a 3 bar min 21 3 oz 630 ml Hose Fiber vini...

Страница 4: ...ressurize the unit Hold the sprayer by the handle or place it on the shoulder with the carrying strap and start applying Turn the nozzle to change the spray pattern The pump tube must be tight firmly...

Страница 5: ...ove handle in the lower part replace and lubricate the the piston sleeve Remove the antenna from the lower end of the pump tube and replace the O ring To lubricate all parts Use silicone based grease...

Страница 6: ...extensions 7 Brass extensions with connector 2 nozzle brass extensions EXTENSION LANCE E219 500 C 26 3 67 cm E219 510 C 39 37 1 0 m E219 520 C 47 24 1 20 m E219 098 C 15 74 40 cm SCREEN SHIELDS E219 0...

Страница 7: ...17 C2 E318 314 C E320 314 C E808 185 C E803 085 E803 092 C E803 177 E120 109 E501 269 C SPRAY LANCE mod SP13 KIT SEALS 1 1 4 9 E803 400 E320 206 C A Spare parts and consumables always available B Medi...

Страница 8: ...tenance lack of proper cleaning and rinsing according to the instructions contained in the Owner s manual 2 For the purpose of this warranty the use of any chemical solution listed as dangerous or dif...

Страница 9: ...iones ya que pueden comprometer su equipo y poner en riesgo su seguridad y la de terceros adem s invalidan la garant a No permita la presencia de ni os ancianos personas con capacidades especiales o a...

Страница 10: ...Profesional ergon mica con filtro Presi n de trabajo 1 5 a 2 5 bar 22 a 36 psi Descarga aproximada a 3 bar min 21 3 oz 630 ml Manguera Vinilo con refuerzo de fibra 3 8 DI Pistola Tubo rociador Lat n 1...

Страница 11: ...u equipo la lleve posteriormente quite el tubo de bombeo desenroscando la tuerca para vaciar la soluci n restante en un recipiente apropiado para ello Mezcle la soluci n en un recipiente por separado...

Страница 12: ...stola 4 La pistola se conforma de varias piezas retire el tap n inferior y cambie el empaque saque el v stago y reemplace los dos arosellos y el empaque Lubrique antes de ensamblar 5 Desenrosque la bo...

Страница 13: ...o el pivote de la salida del tanque est n tapados de ser as proceda a destaparlos con aire o agua a presi n Aunque se bombee vigorosamente no se genera presi n La manguera est obstruida Apriete bien...

Страница 14: ...FILTROS REGULADORES DE PRESI N BOQUILLAS COMPLETAS Herramienta Llave Porta filtro Adaptador para extensi n para mas especificaciones ver la tabla de puntas OTROS ACCESORIOS E803 092 C E219 610 C E219...

Страница 15: ...TAGO 1 AROSELLO PARA BOQUEREL 1 PIST N PL STICO 1 AROSELLO GDE P V STAGO 1 EMPAQUE P BOQUEREL 2 TUERCA P BOQUEREL 1 TUBO ROCIADOR mod SP13 JUEGO DE EMPAQUES 1 1 4 9 E803 400 E320 206 C A B 5 4 4a 3 6...

Страница 16: ...uerdo a las instrucciones contenidas en el Manual del Operador 2 Para el prop sito de esta garant a el uso de cualquier soluci n qu mica listada como peligrosa o diferente de las recomendadas en el ma...

Отзывы: