41
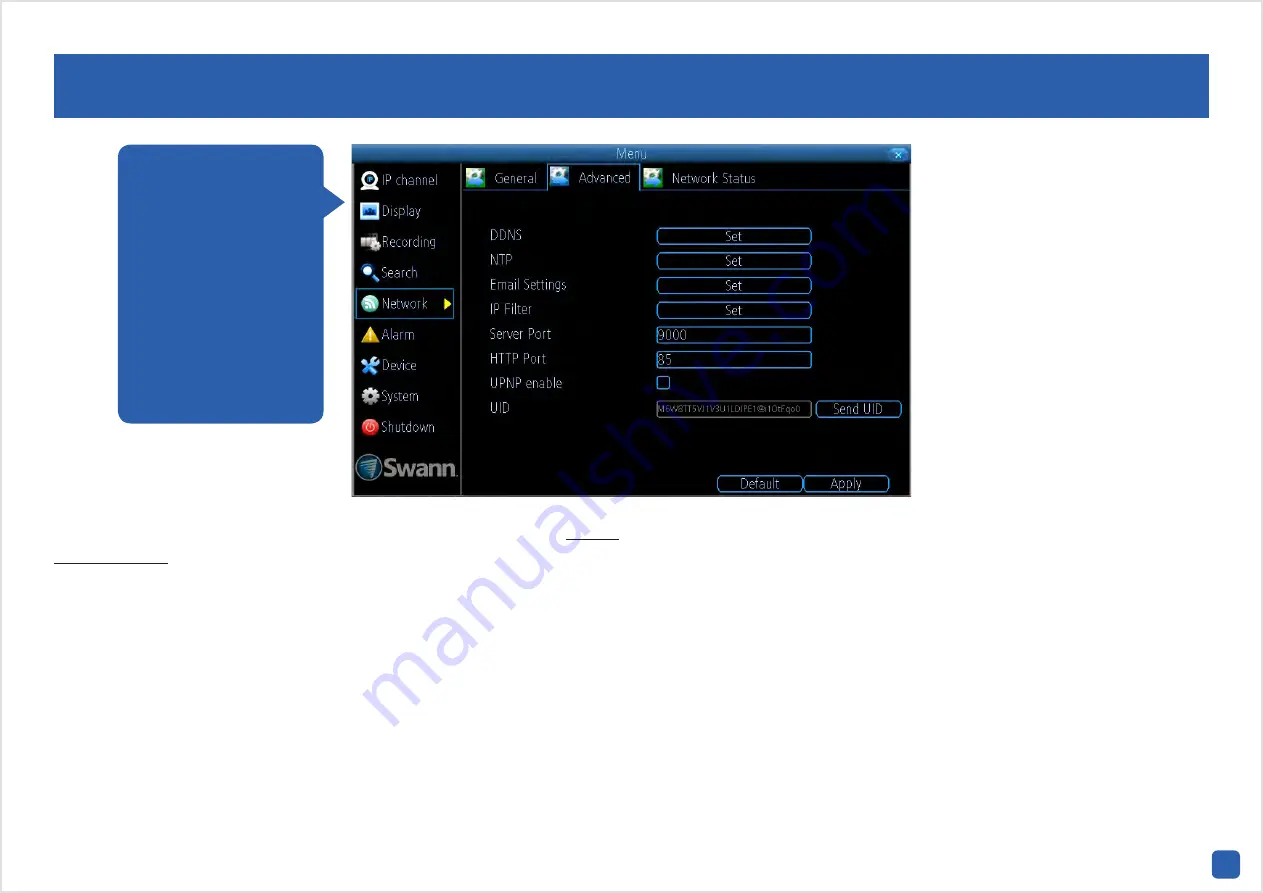
Network: Advanced
DDNS:
Click the “Set” button to configure a DDNS service. Go to (mydvr.
swanndvr.com) to create your account then input the details here.
NTP:
The NTP (Network Time Protocol) function allows your NVR to au-
tomatically sync its clock with an on-line server. This gives it the ability
to constantly have an accurate time setting.
Email Settings:
Click the “Set” button if any changes are required to
your email account.
IP Filter:
An advanced feature which allows you to exercise precise con-
trol over what devices are allowed to communicate with your NVR.
Server Port:
This is the port that your NVR will use to send information
through. The default number will work in most situations.
HTTP Port:
This port is used to log into your NVR from a remote location.
UPNP enable:
This option allows your NVR and your router to open and
close the necessary ports. Click the checkbox to enable when using our
SwannDNS service.
UID:
This is your NVR’s unique identification code. Click “Send UID” to
send this to your email address.
• Click the “Default” button to revert back to default settings.
• Don’t forget to click “Apply” to save settings.
• Right-click the mouse to exit the Menu.
Prior to developing our
SwannLink Peer-to-
Peer technology, our
SwannDNS service
was used to connect
to your NVR remote-
ly. This service is still
active and we recom-
mend creating an ac-
count as a means of
backup.


