11
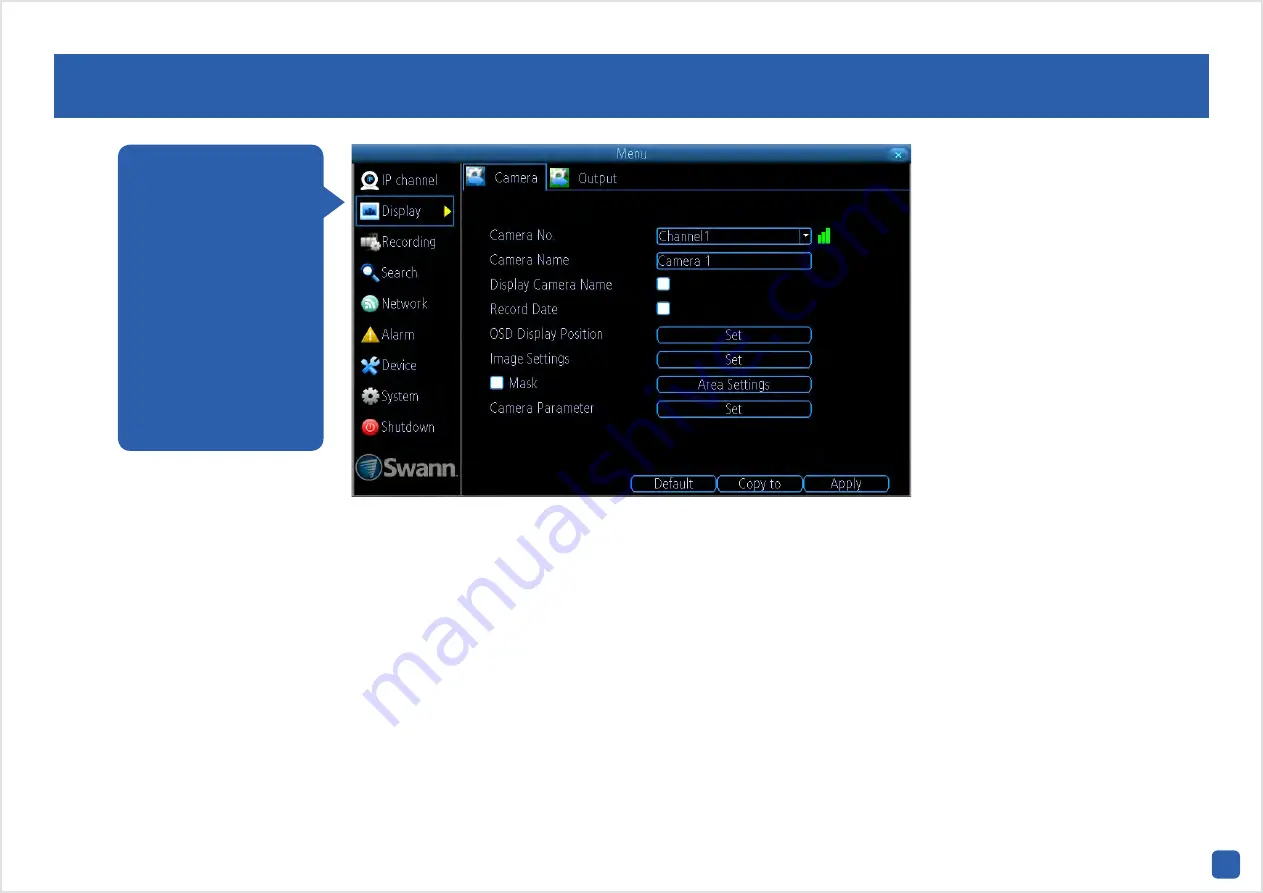
Display: Camera
Camera No.:
Select a camera that you would like to configure. Hovering
the mouse over the selection box will display the IP address and MAC
address of the camera selected. A green icon indicates that a camera is
connected to that particular channel. A red icon indicates that a camera
is not connected to that particular channel.
Camera Name:
Select a name for the camera you’ve selected. It can be
up to 16 characters in length.
Display Camera Name:
Leave this enabled if you would like to display
the camera name on the Live View screen, otherwise click to disable.
Record Date:
It’s recommended to leave this enabled as the date will be
recorded directly onto your videos and creates an inseparable record of
exactly when the footage was captured.
OSD Display Position:
Allows you to change the position of the camera
name on the Live View screen. Click the “Set” button to change. Use the
mouse to reposition the camera name. Right-click the mouse then click
“Save” to exit.
Image Settings:
This gives you access to the image adjustment tools.
Click the “Set” button to change then click “OK” when finished.
Brightness:
This changes how light the image appears to be.
Contrast:
This increases the difference between the blackest black and
the whitest white in the image.
Saturation:
This alters how much colour is displayed in the image. The
higher the saturation, the more bright and vivid colours will appear.
Hue:
This changes the colour mix of the image.
The configuration op-
tions available allow
you to name each cam-
era relevant to where it
has been installed as
well as the ability to
adjust image settings
such as brightness
and contrast. You also
have complete control
of the camera’s display
capabilities.


