4
Before using the DVR, you must set up the system according to your needs and location;
otherwise the DVR will run with the default settings which may be unsuitable. Refer to the
button description pages starting on page 14 to describe the button functions in detail.
1. Using the Setup Menu
When in setup mode, pushing the up button or down button, will move the cursor among the
various settings, continuous pushing will make the cursor move among the options one by
one. The selected option will display in a yellow color.
While choosing digital fields, e.g. year, month, day, hour, minute, second etc, push the left
button or right button, to move to the different digits of one field, continuous pushing will
make it move among digits one by one, and it can recur.
Please push the “
+
” or “
-
” button to change the value that the cursor shows, then push the
ENTER
button to enter the sub menu and push
Menu
button to return to previous menu.
2. Accessing the Menu
If the DVR is in recording mode you cannot access the menu unless you stop record first.
Press the
Stop
button and enter the password to stop all functions then press the
Menu
button.
System setup is achieved through entering the setup menu, and then setting the options in
each feature’s window. To access the menu, please push
Menu
button on the front panel, it
will display the password input window.
The password is a random combination of 4 digits of “0-9”. The default is “
0000
”. To enter the
menu below, you have to input the correct password by pushing the digit buttons. If the
password you input is incorrect, the system will automatically return to the main screen. If you
want to cancel the input of the password, you can push the
Menu
button to return to the
main screen again. While inputting the password, in order to avoid being revealed to a
bystander, the password you input is displayed on the screen as “
*
” signs.
To change the password, please refer to “password change” section.
System Setup
39
Network Configurations
After connecting to Internet, DVR users should make the following configurations to
make remote view/playback.
1): When in LAN, network administrators should open the following ports for
specifics computers: 5000- 5002. Please make sure that the other services don't use
the same ports.
2): In case users use ADSL network and the surveillance system computer connect to
the ADSL MODEM, then the ports have all opened by default. If not, please close fire
wall by guidance of the ADSL MODEM user's manual.
3): In case you connect to Internet by proxy server, users should utilize port mapping
software and open ports 5000, 5001, and 5002 for the surveillance computer.
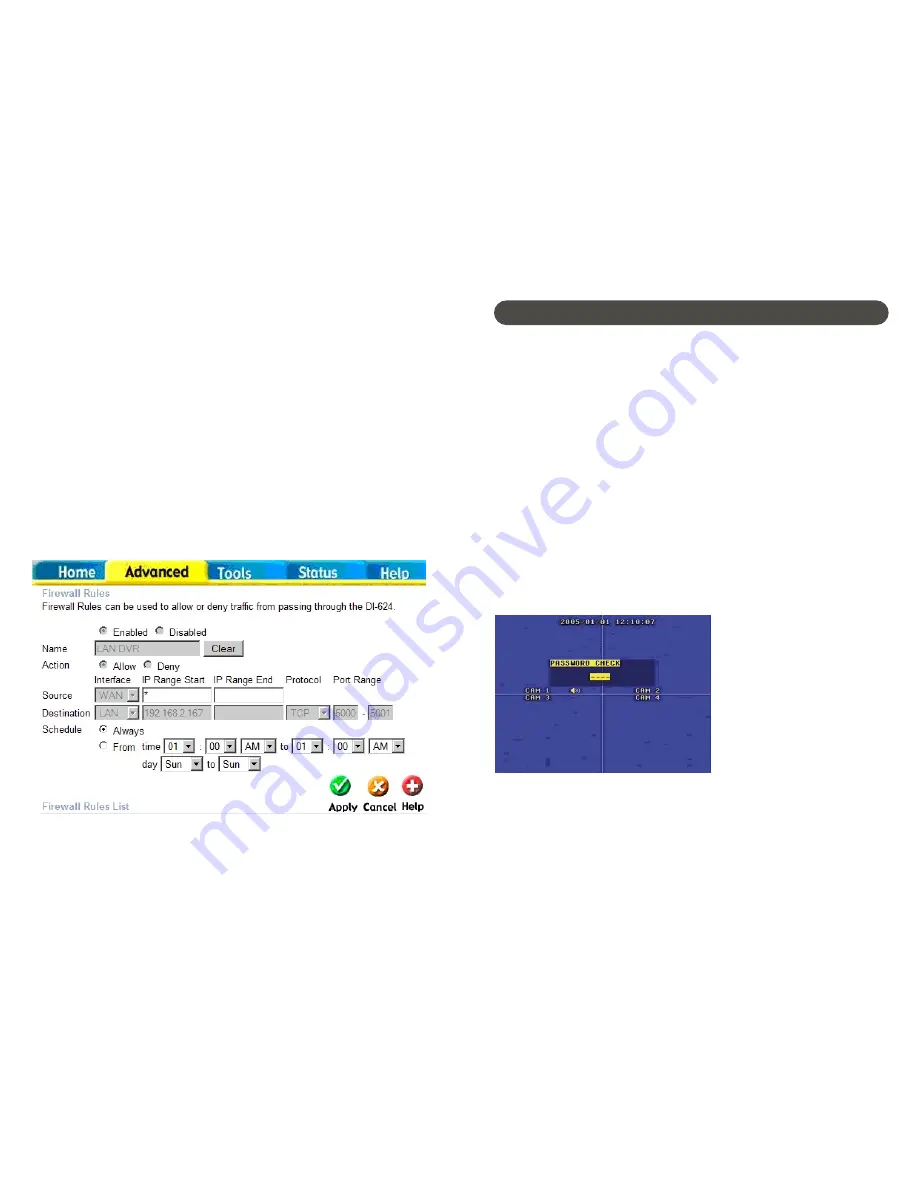
4): In case users connect to Internet by router, then users should add the IP address
of the surveillance computer and open the above mentioned ports in DMZ setup or
Virtual Server setup (the names maybe different in various other kind of routers) of
the router.
5): For CABLE MODEM type and ADSL MODEM type, the configurations are similar
to the images below:


