3-37 ENGINE
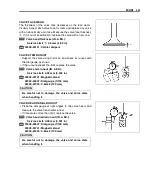
CONROD DEFLECTION AND CONROD BIG END SIDE
CLEARANCE
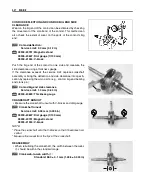
Wear on the big end of the conrod can be estimated by checking
the movement of the small end of the conrod. This method can
also check the extent of wear on the parts of the conrod’s big
end.
Conrod deflection:
Service Limit: 3.0 mm (0.12 in)
\
09900-20701: Magnetic stand
09900-20607: Dial gauge (1/100 mm)
09900-21304: V-block
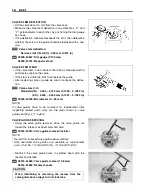
Push the big end of the conrod to one side and measure the
side clearance using a thickness gauge.
If the clearance exceeds the service limit, replace crankshaft
assembly or bring the deflection and side clearance into specifi-
cation by replacing the worn parts. (e.g., conrod, big end bearing
and crank pin)
Conrod big end side clearance
Service Limit: 1.0 mm (0.04 in)
\
09900-20803: Thickness gauge
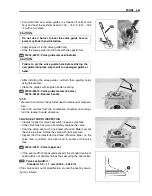
CRANKSHAFT RUNOUT
• Measure the crankshaft runout with V-blocks and dial gauge.
Crankshaft runout
Service Limit: 0.08 mm (0.003 in)
\
09900-20607: Dial gauge (1/100 mm)
09900-20701: Magnetic stand
09900-21304: V-block
NOTE:
* Place the crankshaft onto the V-blocks so that it becomes hori-
zontal.
* Measure the runout from the tips of the crankshaft.
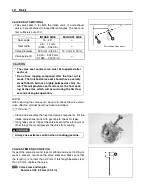
REASSEMBLY
• When rebuilding the crankshaft, the width between the webs
A
should be within the standard range.
Crank web-to-web width
A
:
Standard: 38.0 ± 0.1 mm (1.496 ± 0.004 in)


