48
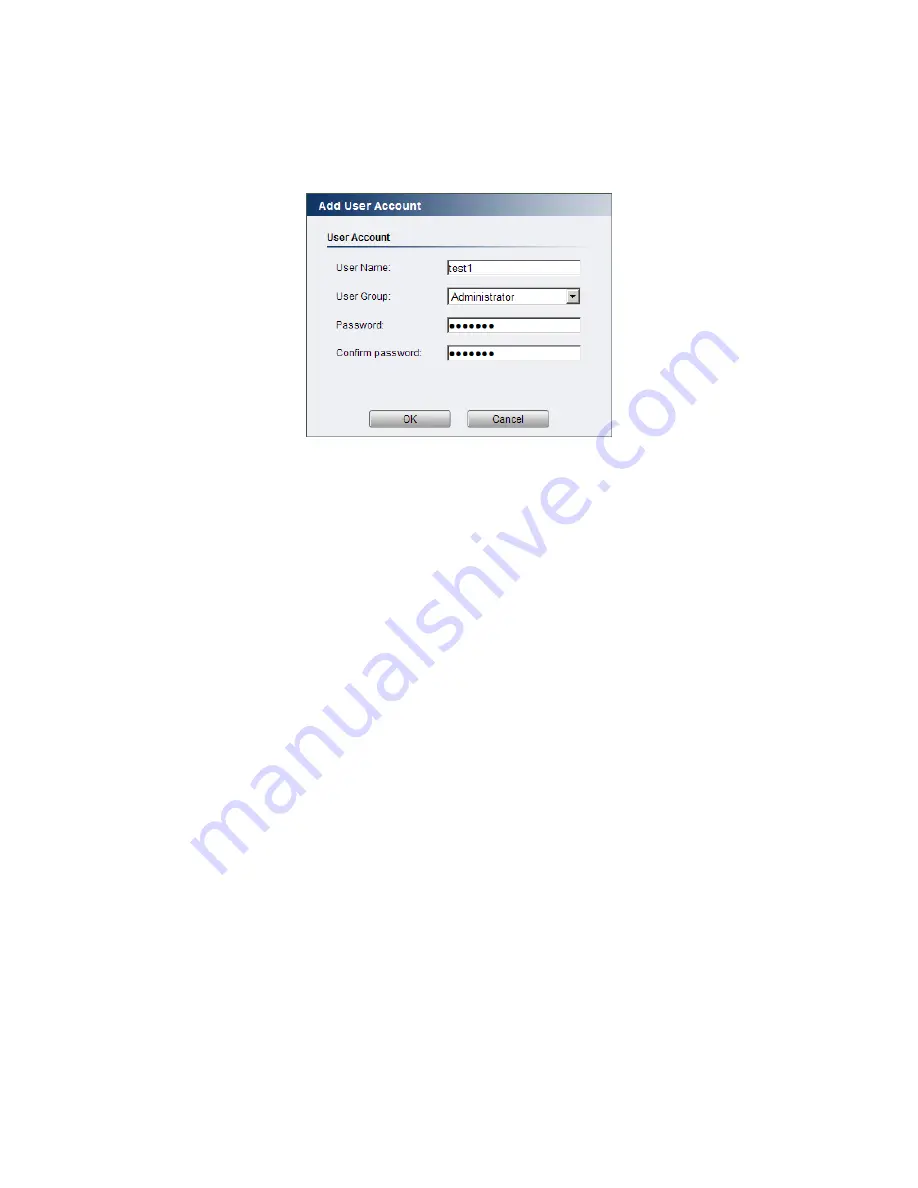
Adding Accounts
In
General > User Account
under the
User Account
heading, click on “Add”.
Up to 10 accounts can be added to the system.
All User Names and Passwords must be combinations of alphanumeric
characters, “:”, “-“, “_” between 4 and 20 characters in length, and must
begin with an alphabet letter. Fill out the following fields:
User Name
-
The identifier name used to login to the system.
User Group
-
The system allows for 2 types of users.
o
Administrator
- Administrators have full access privileges.
o
Operator
-
Operators can only access the live view page.
Password
-
A passkey used to control user access. The password must
be a combination of alphanumeric characters, “:”, “-“, “_” between 4
and 20 characters in length, and must begin with an alphabet letter.
This password should be retyped in the
Confirm password
field, to
ensure that the correct key is saved.
Click
OK
when finished to add the user to the system.
Содержание CAM1200
Страница 1: ...CAM12xx 13xx Series User Manual Release 1 2...
Страница 19: ...19 Front View for1300 1301 CAM1300 CAM1301 Side View for CAM1320...
Страница 21: ...21 2 2 Dimensions CAM1200 1201 Unit mm inches...
Страница 22: ...22 CAM1300 1301 Unit mm inches...
Страница 23: ...23 CAM1320 Unit mm inches...
Страница 24: ...24 2 3 Functions CAM1200 1201 CAM1300 1301...
Страница 29: ...29 3 Connect the camera to network with the network connector 1 Internet Internet...
Страница 33: ...33 2 6 Before You Start Please prepare a PC with Windows XP or above and web browsers installed...
Страница 54: ...54...
Страница 60: ...60 SNMP Note CAM 12XX 13XX series do not support SNMP functionalities...
Страница 73: ...73 PTZ Note CAM 12XX 13XX series do not support PTZ functionalities...
Страница 77: ...77 Event Alert Action Note CAM12XX 13XX series do not support Event Alert Action...
Страница 80: ...80 Click OK to save or Cancel to abort the changes before you leave the page...
Страница 82: ...82 DI DO Note CAM12XX 13XX series do not support DI DO...
Страница 107: ...107 The Camera Information popup will display with camera details...
Страница 112: ...112 Click OK to save or Cancel to abort the changes before you leave the page...
Страница 123: ...123 4 In the Select Group pop up box select the destination group 5 Click OK to copy the selected camera s to the group...


