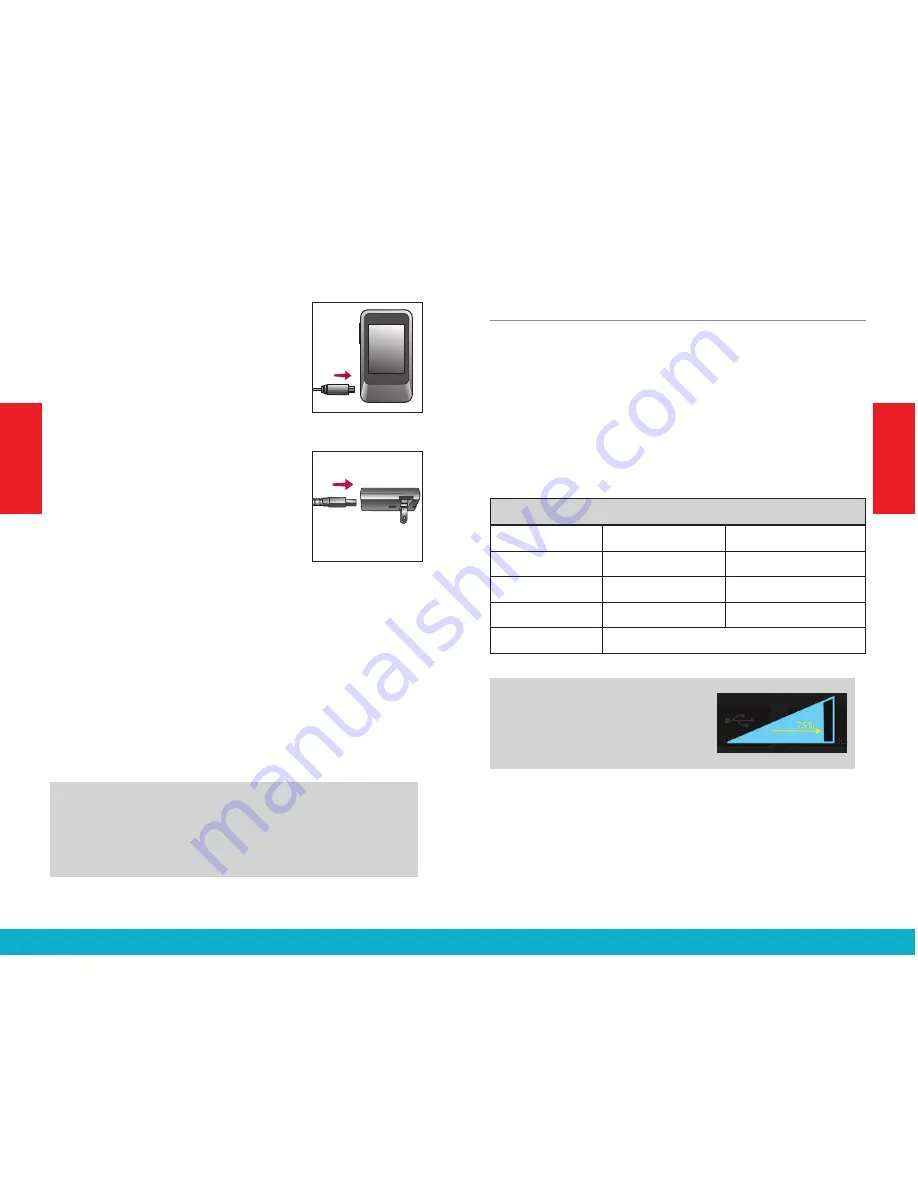
To
recharge the battery, connect
the Battery-Charging cable
to the
micro-USB jack on SurfLink Mobile 2
(Figure 2). Attach the USB connector
of the Battery-Charging cable to the
power adaptor (Figure 3) and plug
into a wall outlet. To ensure proper
charging, verify that the lightning
bolt charging indicator appears on
the taskbar.
The SurfLink Mobile 2 battery can
also be charged via a computer
USB jack or an optional car charger
adaptor, although it may take longer than recharging
via a wall outlet. Charging time may also take longer
if the SurfLink Mobile 2 is streaming audio while it is
being recharged.
Plugging SurfLink Mobile 2 into active power source
will briefly light up the display (when the SurfLink
Mobile 2 is powered on, but the display is off).
TIP
– If SurfLink Mobile 2 is powered off, then
plugging it into an active power source will begin
the recharge process even though the display does
not illuminate.
Built-In Microphones
SurfLink Mobile 2 includes built-in microphones
for gathering sound. The
Directional Microphone
(“Focus”)
receives sound from a particular direction.
The
Omni Microphone (“Surround”)
receives
sound from all directions. Turning on or off a specific
microphone is done from the Streaming screen –
see page 23 for more details.
Performance Overview
Style*
Original
Higher Capacity
Recharge Time
Up to 3 hours
Up to 6 hours
Streaming Time Up to 4 hours
Up to 8 hours
Standby Time
Up to 60 hours
Up to 120 hours
Battery Type
Rechargeable lithium-ion
TIP
– For best streaming sound
quality, use the side buttons to
adjust the stream level (audio
resolution) to 75% or higher.
S
URF
L
INK
Fig. 2
Fig. 3
* To determine the Style, examine the small bar code label on back housing.
If “480” appears above the serial number, then it is “Higher Capacity” style.
Otherwise, your SurfLink Mobile is the “Original” style.
14
15
Getting Started
Getting Started


