Chapter 5: Advanced Serverboard Setup
5-15
5-14
S
UPER
S
TORAGE
S
YSTEM 6048R-E1CR60N/L User's Manual
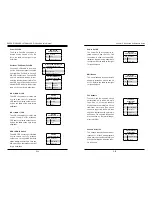
Overheat, Fan/Power Fail LED
Connect an LED cable to pins 7 and
8 of the front control panel to use the
Overheat/Fan Fail/Power Fail and
UID LED connections. The red LED
on pin 8 provides warnings of over-
heat, fan failure or power failure. The
blue LED on pin 7 works as the front
panel UID LED indicator. Refer to the
table on the right for pin definitions.
HDD LED/UID Switch
The HDD LED connection is located
on pins 13 and 14 of JF1. Attach a
cable to pin 14 to show HDD activity
status. Attach a cable to pin 13 to use
UID switch. See the table on the right
for pin definitions.
NIC2 LED
Pin Definitions (JF1)
Pin# Definition
9
Activity
10
Link
HDD LED
Pin Definitions (JF1)
Pin# Definition
13
UID Switch
14
HD Active
NIC2 (JLAN2) LED
The LED connections for LAN2 are
on pins 9 and 10 of JF1. Attach an
LED cable to display network activ-
ity. See the table on the right for pin
definitions.
NIC1 LED
Pin Definitions (JF1)
Pin# Definition
11
Activity
12
Link
NIC1 (JLAN1) LED
The LED connections for LAN1 are
on pins 11 and 12 of JF1. Attach an
LED cable to display network activ-
ity. See the table on the right for pin
definitions.
Power Fail LED
The Power Fail LED connection is
located on pins 5 and 6 of JF1. Re-
fer to the table on the right for pin
definitions.
PWR Fail LED
Pin Definitions (JF1)
Pin# Definition
5
3.3V
6
PWR Supply Fail
OH/Fan Fail/ PWR Fail/Blue_UID
LED Pin Definitions (JF1)
Pin# Definition
7
Blue_UID LED
8
OH/Fan Fail/Power Fail
OH/Fan Fail/PWR Fail
LED Status (Red LED)
State Definition
Off
Normal
On
Overheat
Flashing
Fan Fail
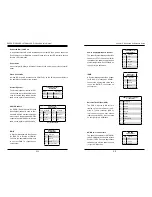
Fan Headers
There are five fan headers on the
serverboard, all of which are 4-pin
fans. Pins 1-3 of the fan headers
are backward compatible with the
traditional 3-pin fans. (Fan speed
control is supported with 4-pin fans
only.) See the table on the right for pin
definitions. The onboard fan speeds
are controlled by Thermal Manage-
ment (via IPMI).
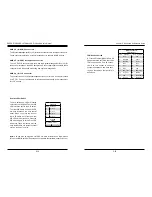
NMI Button
The non-maskable interrupt button
header is located on pins 19 and 20
of JF1. Refer to the table on the right
for pin definitions.
NMI Button
Pin Definitions (JF1)
Pin# Definition
19
Control
20
Ground
Fan Header
Pin Definitions
(FAN1-8)
Pin# Definition
1
Ground (Black)
2
+12V (Red)
3
Tachometer
4
PWR Modulation
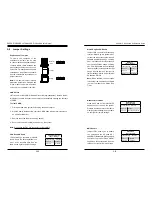
Power On LED
The Power On LED connector is lo-
cated on pins 15 and 16 of JF1. This
connection is used to provide LED
indication of power being supplied to
the system. See the table on the right
for pin definitions.
Power LED
Pin Definitions (JF1)
Pin# Definition
15
3.3V
16
PWR LED
Chassis Intrusion
The Chassis Intrusion header is des-
ignated JL1. Attach an appropriate
cable from the chassis to inform you
of a chassis intrusion when the chas-
sis is opened
Chassis Intrusion
Pin Definitions
Pin# Definition
1
Intrusion Input
2
Ground
Содержание 6048R-E1CR60L
Страница 1: ...SUPER STORAGE SYSTEM 6048R E1CR60N 6048R E1CR60L USER S MANUAL 1 0 ...
Страница 6: ...Notes SUPERSTORAGESYSTEM 6048R E1CR60N L User s Manual x ...
Страница 10: ...1 6 SUPERSTORAGESYSTEM 6048R E1CR60N L User s Manual Notes ...
Страница 30: ...4 20 SUPERSTORAGESYSTEM 6048R E1CR60N L User s Manual Notes ...
Страница 56: ...6 22 SUPERSTORAGESYSTEM 6048R E1CR60N L User s Manual Notes ...
Страница 77: ...7 40 SUPERSTORAGESYSTEM 6048R E1CR60N L User s Manual Notes ...
Страница 79: ...A 2 SUPERSTORAGESYSTEM 6048R E1CR60N L User s Manual Notes ...


