31
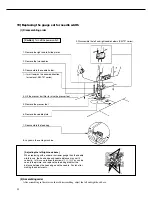
18) Adjusting the wiper
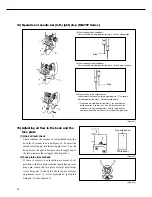
(1) Set the needle at the up-stop position. (at the needle position on the control after trimming)
(2) Set the stitch length at dial
“
2
”
.
(3) When pressing with hand as in the above picture, the wiper edge
①
should protrude about 0.3 mm from the needle edge.
Loosen the four clamp screws
②
to vertically adjust the solenoid
③
.
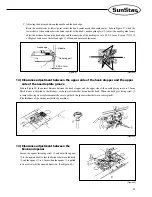
(4) Hang the thread onto the two needles.
(5) The position of the wiper edge
①
should look like the picture
⑤
, where the two hooks of the wiper
①
can securely hang
the thread. To do so, loosen the clamp screws
④
of the wiper and horizontally adjust the wiper
①
.
(6) When the wiper
①
is in waiting position, the distance between the wiper edge
①
and the presser bar
⑥
equal point
should be about 3 mm. To do so, loosen the clamp screw
⑧
and vertically adjust the stopper
⑦
.
※
Depending on the thread type, there are cases where the thread cannot be hung to the wiper edge. Hence, it is
necessary to bring the wiper into the range of the needle where the thread from the sewing material can be
hung. Make sure that the needle fixing screw does not get in the way of the wiper.
(7) The trace of wiper edge
①
is as the above picture. Adjust the wiper edge
①
by loosening the clamp screw
④
and
vertically adjusting the distance between the needle edge and wiper to 0.5~1mm.
about 0.3 mm
about 0.3 mm
about 0.3 mm
about 3 mm
0.5~1mm
[Figure 55]
[Figure 56]
[Figure 57]
Содержание KM-757
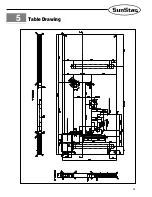
Страница 35: ...35 5 Table Drawing ...


