52
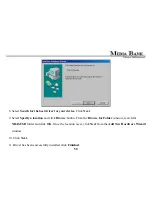
3.
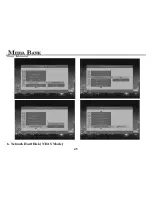
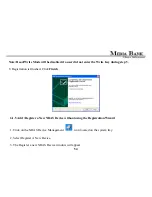
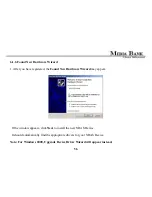
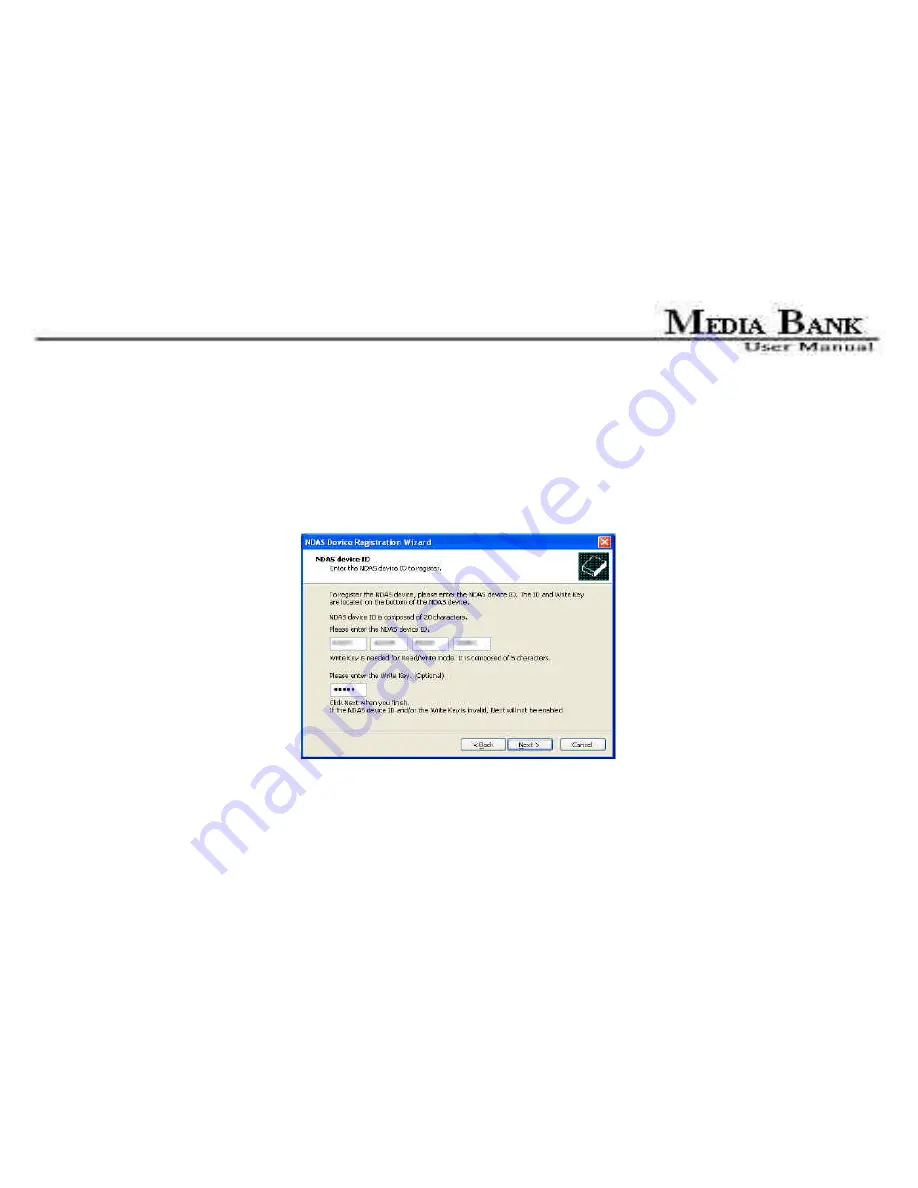
NDAS Device Registration Wizard
will appear. Click
Next
to continue.
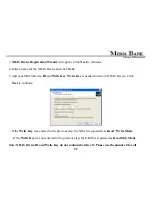
4. Enter a name for the NDAS Device and click
Next.
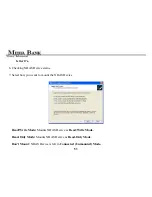
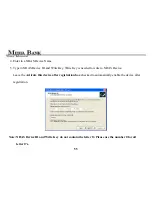
5. Add your NDAS Device
ID
and
Write Key
.
Write Key
is needed to write to NDAS Device. Click
Next
to continue.
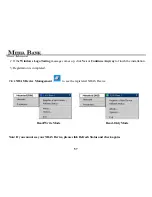
- If the
Write Key
was entered in the previous step, the NDAS is registered as
Read / Write Mode
.
- If the
Write Key
was not entered in the previous step, the NDAS is registered as
Read Only Mode
.
Note:
NDAS Device ID and Write Key do not contain the letter O. Please use the number 0 for all
Содержание ME-747AK
Страница 1: ...USER MANUAL Media Bank ME 747AK...
Страница 9: ...9 6 8 Uninstall 109 6 9 Use NDAS Device in Linux 109 7 FAQ 110...
Страница 11: ...11 1 3 Take a look to the ME 747AK...
Страница 12: ...12...
Страница 16: ...16 2 6 Start To Assemble Step1 Step2 Step3 Step4...
Страница 18: ...18 Notes If you plug the ME 747AK into computer with USB media file playback and NDAS will not work...
Страница 23: ...23 a power source...
Страница 32: ...32 FOLDER REPEAT...
Страница 45: ...45 6 Network Hard Disk NDAS Mode...
Страница 63: ...63...
Страница 64: ...64...
Страница 100: ...100 1 Right click on your Mirror then select Add Spare Disk 2 Choose the Spare Disk and click OK...

