How to configure and to install the Xcom-LAN
©
Studer Innot
ec S
A - v
er
sion 1.2.1_EN
Insert the Micro SD card into the Xcom-232i
Xcom connects to the server
Remove the SD card
from the PC and insert
it into the Xcom-232i.
The setup process will
start automatically
and normally takes 1
second.
When the LED stops
blinking red, the setup
is finished.
ATTENTION!
The Xcom-232i needs to be powered during the setup pro-
cess. Otherwise, the configuration will not be taken into
account.
After the parameters are set and applied, the Xcom–LAN
will automatically connect to the server and send a con
-
firmation message to the RCC. If there is no message, the
Xcom is not connected to the server. Use the FAQ of this
Quick guide to see what could have gone wrong.
10.
11.
It is very important to set the terminations correctly for the functionning of the system.
With one device in the system the termination on the Studer device should be put to T as in "Termi
-
nated". With more than one device in the system all Studer devices should be put to O as in "Open"
apart from the devices at the end of the communication chain. These devices should be put to T
as in "Terminated".
The termination switch next to the two RJ45 connectors on the Xcom-232i must be set in position T.
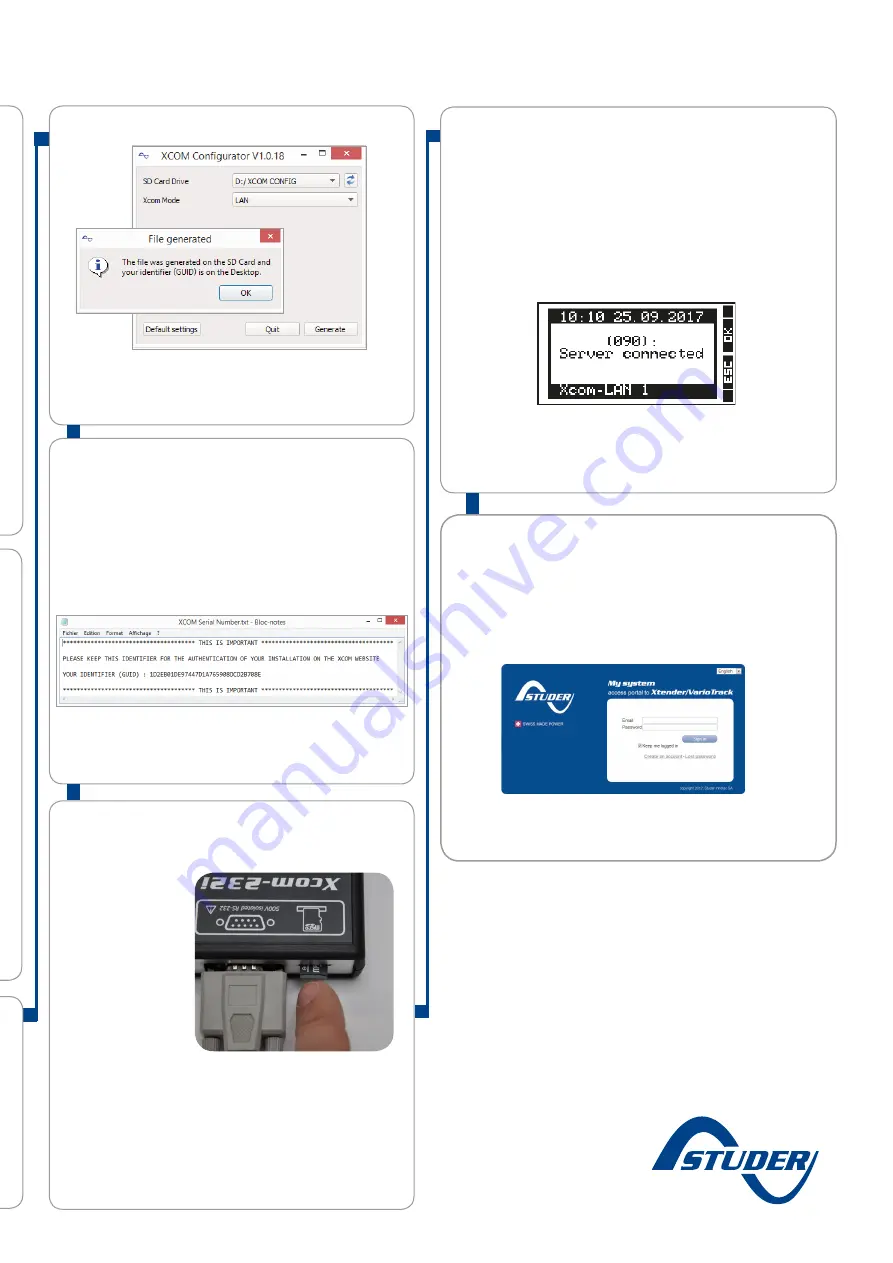
Run the Xcom-configurator
8.
Choose "LAN" as Xcom mode. No other parameters are re
-
quired. The gateway is already configured. Press "Generate"
to save the parameter settings. A window will automatically
confirm the successful file generation.
Take note of your GUID file
Close the message box and a text file with your identifier
(GUID) will appear. This file is saved on your "Desktop" or in
"My documents". The unique identifier (GUID) is required to
link your installation with your account on the Xcom portal.
Keep it safe.
9.
The Xcom-LAN is successfully
installed!
Register the installation at: https://xcom.studer-innotec.com in
order to control it remotely with the Xcom-LAN.


