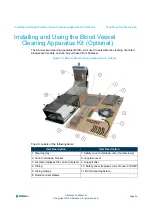
Installing and Using the Blood Vessel Cleaning Apparatus Kit (Optional)
Calibrating the BVCA Cleaning
Page 33
© Copyright 2019 Stratasys. All rights reserved.
Stratasys Confidential
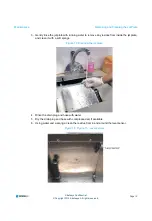
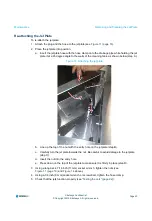
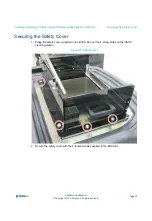
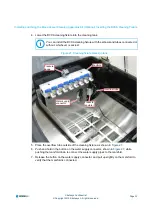
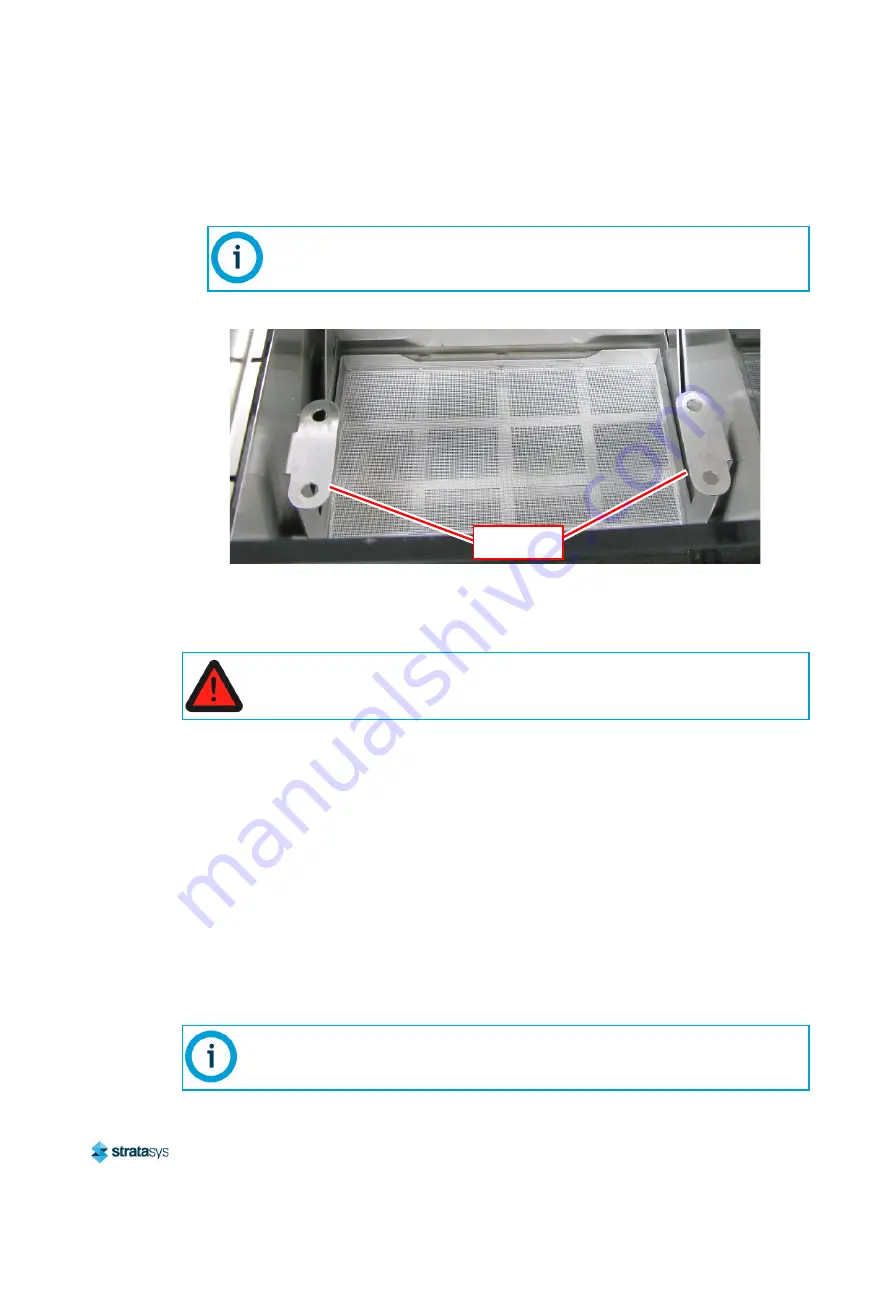
8. Using the tray handles, insert the cleaning tray into the cleaning fixture.
Figure 28: Cleaning tray inserted into cleaning fixture
Calibrating the BVCA Cleaning Fixture
1. Fill the tank with water only (see
).
2. On the CSIIP control panel, turn the Agitation control to HIGH (see
3. Close all of the valves on the manifold.
4. On the CSIIP control panel, turn the Selector switch to CLEAN PARTS.
5. Close the cover, and activate the CSIIP (see
“Starting and Stopping the Cleaning Cycle”
).
6. Open the cover and adjust the pressure regulator (see
), so the pressure gauge
on the manifold shows 1 bar.
7. On the CSIIP control panel, turn the Agitation control up slowly, and as the pressure gauge
on the manifold rises, verify that the water exits the manifold from the overflow tube as the
pressure increases past 1 bar.
8. Return the Agitation control back to LOW.
9. Repeat the pressure calibration procedure once every 3 months, or whenever you notice a
higher pressure on the gauge.
Tip the tray towards the manifold and insert the left side of the tray below the
manifold first.
Cleaning tray
handles
Warning: Chemical Hazard.
Do not add the alkaline cleaning solution at this stage, as you first need to calibrate
the manifold pressure.
Open the relevant manifold valves when connecting the blood vessel nipples to the
manifold, and adjust the pressure to 1 bar using the Agitation control.

