26
4.17
SOLENOID MAGNETIC COIL
REMOVAL
1. Remove the Phillips head screw from the bottom of
the left side panel and remove the side panel by
sliding down and out. Locate the faulty valve, then
remove the Phillips head screws from the back or
front panel, if necessary, by sliding down and out.
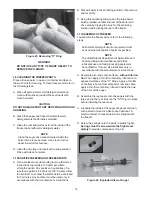
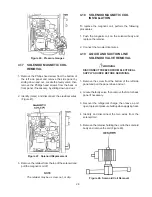
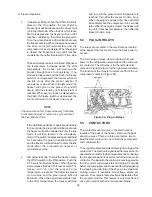
2. Identify (mark) and disconnect the electrical wires
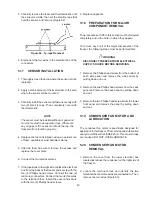
(Figure 47).
Figure 47. Solenoid Replacement
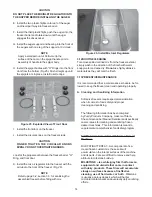
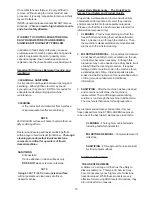
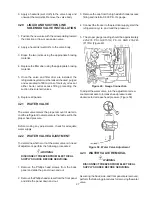
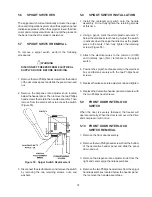
Figure 48. Solenoid Coil Removal
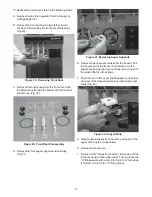
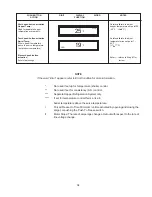
Figure 46. Pressure Gauges
3. Remove the retainer from the top of the solenoid and
pull the magnetic coil off.
NOTE
The retainer may be a screw, nut, or clip.
4.18
SOLENOID MAGNETIC COIL
INSTALLATION
To replace the magnetic coil, perform the following
procedures:
1. Push the magnetic coil on the solenoid body and
replace the retainer.
2. Connect the two electrical wires.
4.19
LIQUID AND SUCTION LINE
SOLENOID VALVE REMOVAL
WARNING
DISCONNECT FREEZER FROM ELECTRICAL
SUPPLY SOURCE BEFORE SERVICING.
1. Remove the screw from the bottom of the left side
panel and pull the panel down and out.
2. Locate the faulty valve, then remove the front or back
panel if necessary.
3. Recover the refrigerant charge, then leave a port
open to prevent pressure buildup when applying heat.
4. Identify and disconnect the two wires from the
solenoid coil.
5. Remove the retainer holding the coil to the solenoid
body and remove the coil (Figure 48).
Содержание E131G
Страница 1: ...Model E131G F131G SERVICE MANUAL Manual No 513537 3 Mar 2004...
Страница 2: ......
Страница 14: ...6...
Страница 38: ...30 Figure 51 Power Board...
Страница 39: ...31 Figure 52 Program Module...
Страница 54: ...46...
Страница 66: ...58...
Страница 68: ...60...
Страница 69: ...61 666786...
Страница 70: ...62...
Страница 71: ...63...
Страница 72: ...64...
Страница 73: ...65...
Страница 74: ...66...
Страница 75: ...67...
Страница 76: ...68...
Страница 77: ...69...
Страница 78: ...70...
Страница 80: ......

