


Audio Mode Setup
The
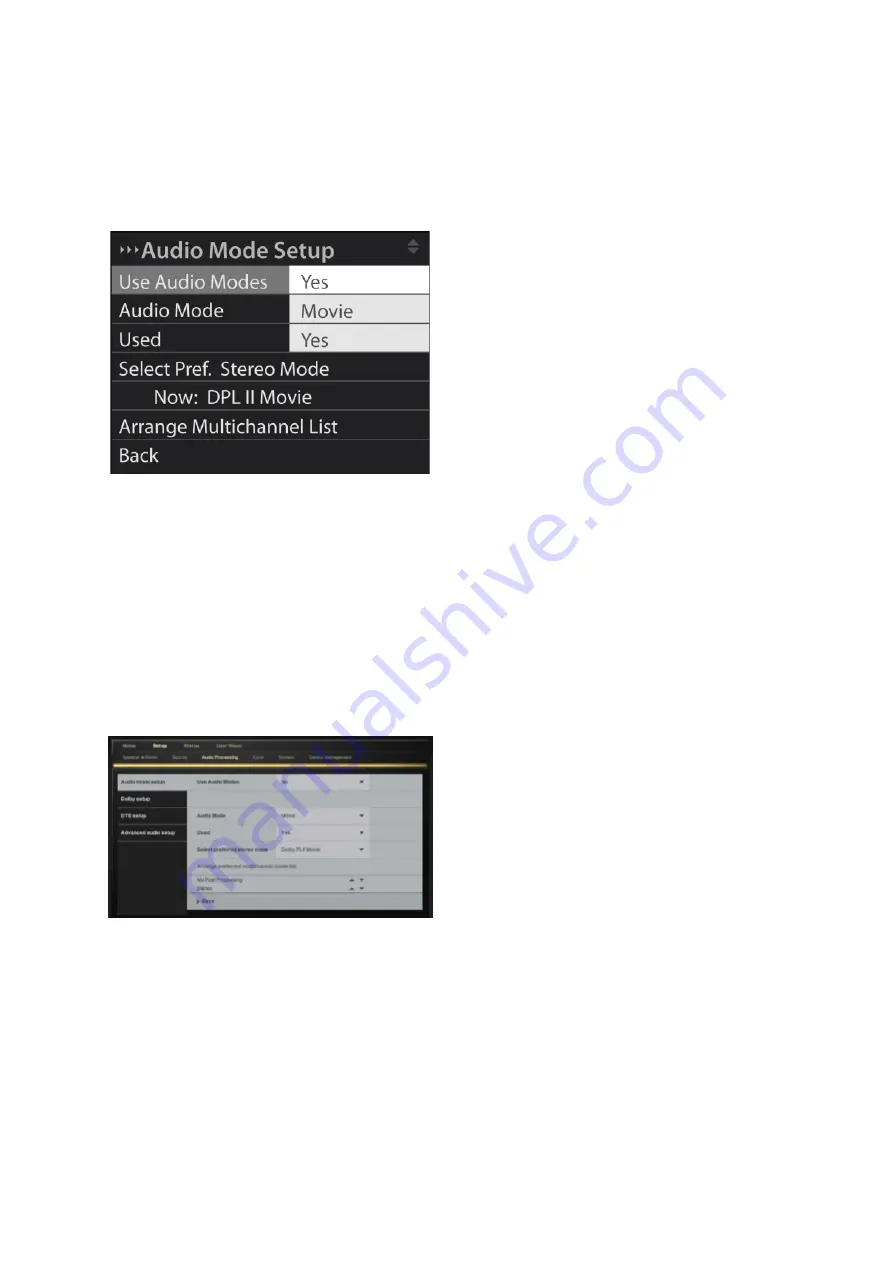
Audio Mode Setup
menu allows you to assign different types of post-processing, such as Dolby
ProLogic II, to specific sources. This can improve the user’s experience of sources for which content
is oriented towards a particular variety of multichannel playback.
A game console, for example, should perform differently depending on the type of game being played.
A karaoke game is perhaps best experienced in stereo, while a fantasy action/adventure game
may be more oriented towards surround sound experiences. But since it’s the same game console in
both situations, being able to choose the post processing type from game to game is very useful.
In day-to-day use, the user switches on a source and then presses the AUDIO button on the P1
remote control repeatedly to browse through the available audio modes – types of post processing -
that the installer has selected for the source. The post processing modes, which cannot be processed
with the signal, will be omitted by the processor.
22


