Appendix 2: ēno one Projector Control Application
Steelcase 62
Appendix 2: ēno one Projector
Control Application
The ēno one interactive whiteboard models provide a built-in PolyVision short-throw
or ultra short-throw projector in a variety of mounting options.
To configure and control the PolyVision projector through the ēno App:
1
When you install the ēno App on the host computer, select the option to install the
Projector Control Application as a device. Refer to “Install the ēno App” on page 7.
2
Fasten the magnetic Projector Control Icon Strip to the whiteboard. Refer to
“Projector control icons (for ēno one models)” on page 63.
3
Configure the ēno App as described below to identify the port where your projector
is connected.
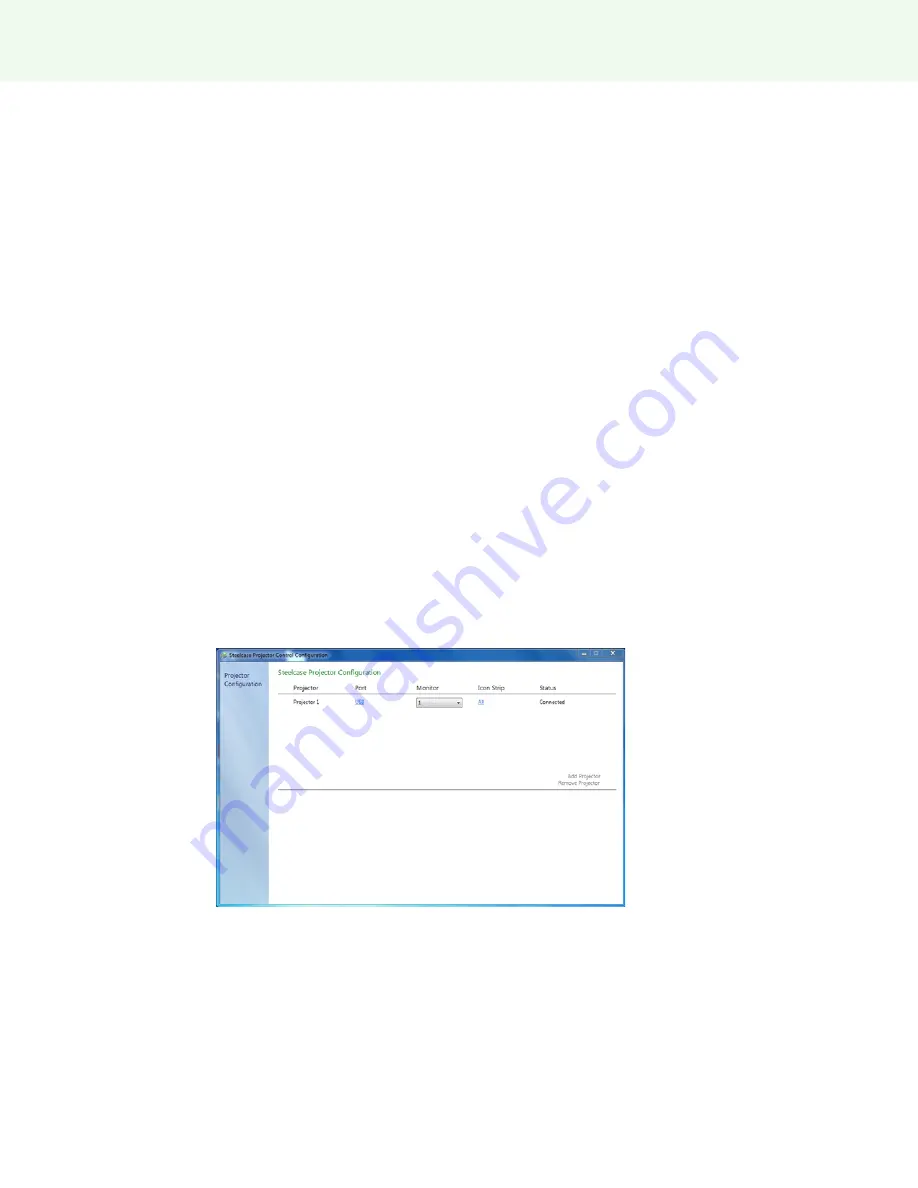
Configuring PolyVision projectors
To configure a PolyVision projector for ēno one models:
1
Connect the PolyVision projector to the host computer.
2
Click the ēno App icon in the system tray (Windows) or menu extras (Macintosh).
3
Choose “Configure Projectors” from the menu.
4
Click “Add Projector.” The projector first appears in the dialog box as “Not
Connected” with the Port displaying “None.”
5
Move your cursor over the link under “Port.” You see a drop-down list of available
ports on the computer.
6
Select the port from the drop-down list where your projector is connected. The
projector status changes to “Connected” and configuration is complete.
Содержание ?no
Страница 1: ...2014 Steelcase Inc All rights reserved no interactive whiteboard user guide 2003173001 Rev G...
Страница 70: ......


