


– 31 –
7-3. Releasing a Locked Cutter (Auto Cutter Mode only)
If the auto cutter locks up or fails to cut the paper, follow the steps below.
WARNING
Since working on the cutter may be dangerous, be sure to turn off the printer first.
(1) Set the power switch to OFF to turn off the printer.
(2) Ordinarily, a locked cutter will recover automatically by
closing all the covers and turning the power back ON.
Recovery means that the locked cutter has been released,
so steps (3) and thereafter are unnecessary. If the cutter has
not recovered, proceed to step (3).
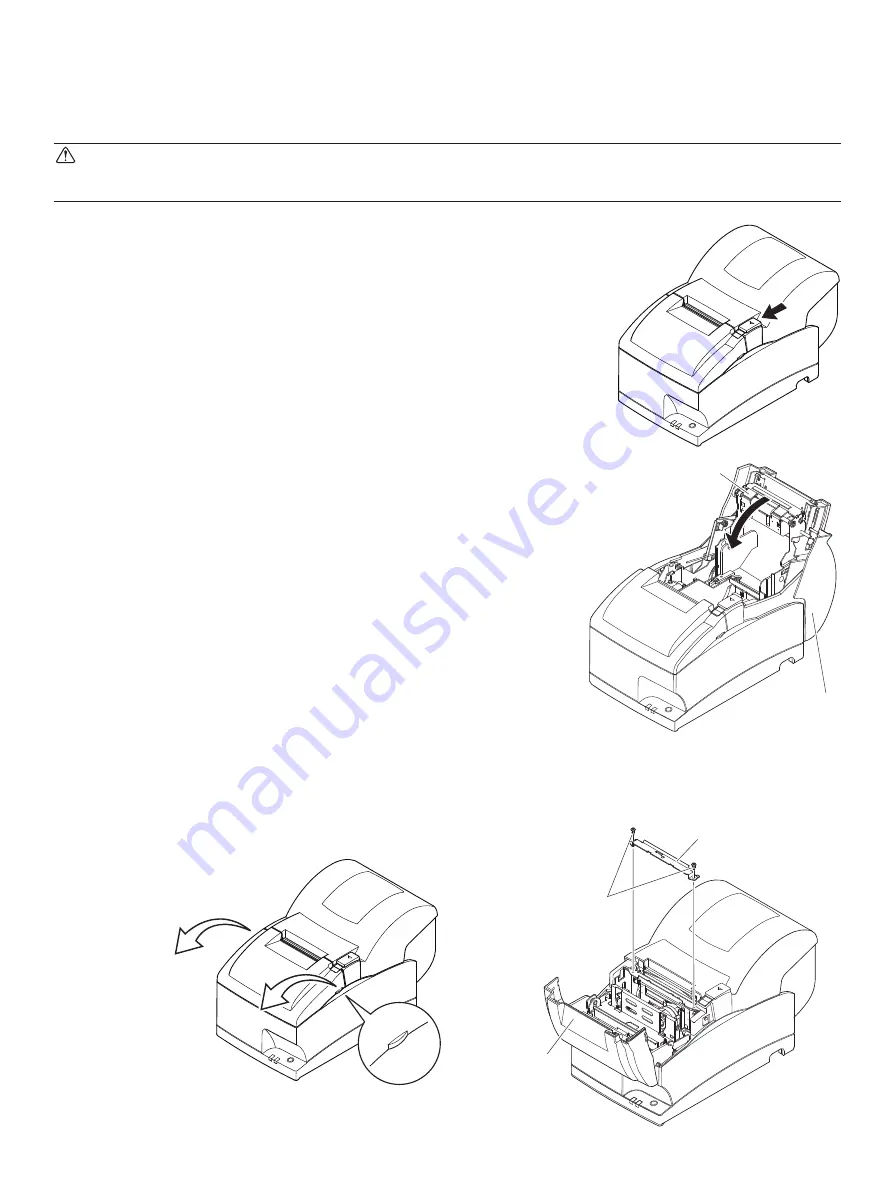
(3) Pull the cover open lever towards you, open the printer
cover, and close the platen arm. The printer cover may not
open due to the cutter being locked. In this case, follow
steps (4) and (5) to first open the front cover and remove
the tear bar. If the printer cover opens, proceed to step (6).
Note: Since the print head is hot immediately after print-
ing, be sure not to touch it.
On an auto cutter model, a paper cutter is located
at the paper outlet slot. Be careful not to touch the
cutter blade.
Front cover
Screws
Tear bar
(4) Open the front cover by holding the finger grips on both ends of the cover and lifting it up.
(5) Remove the two screws to remove the tear bar.
Printer cover
Platen arm


